Can I blur only one part of a photo online?
Yes. You can place the removal region only over the area that should be hidden, instead of affecting the whole image.
Free trial · Blur, pixelate, or cover
Blur, pixelate, or cover plates, addresses, phone numbers, faces, or badges—then add timestamps or QR on a safer export. Built for claims, compliance, and external sharing.
16:19:03
Aug 3, 2024 · Saturday
Atlanta, GA · 33.7490°N, 84.3880°W
Plate / ID hide
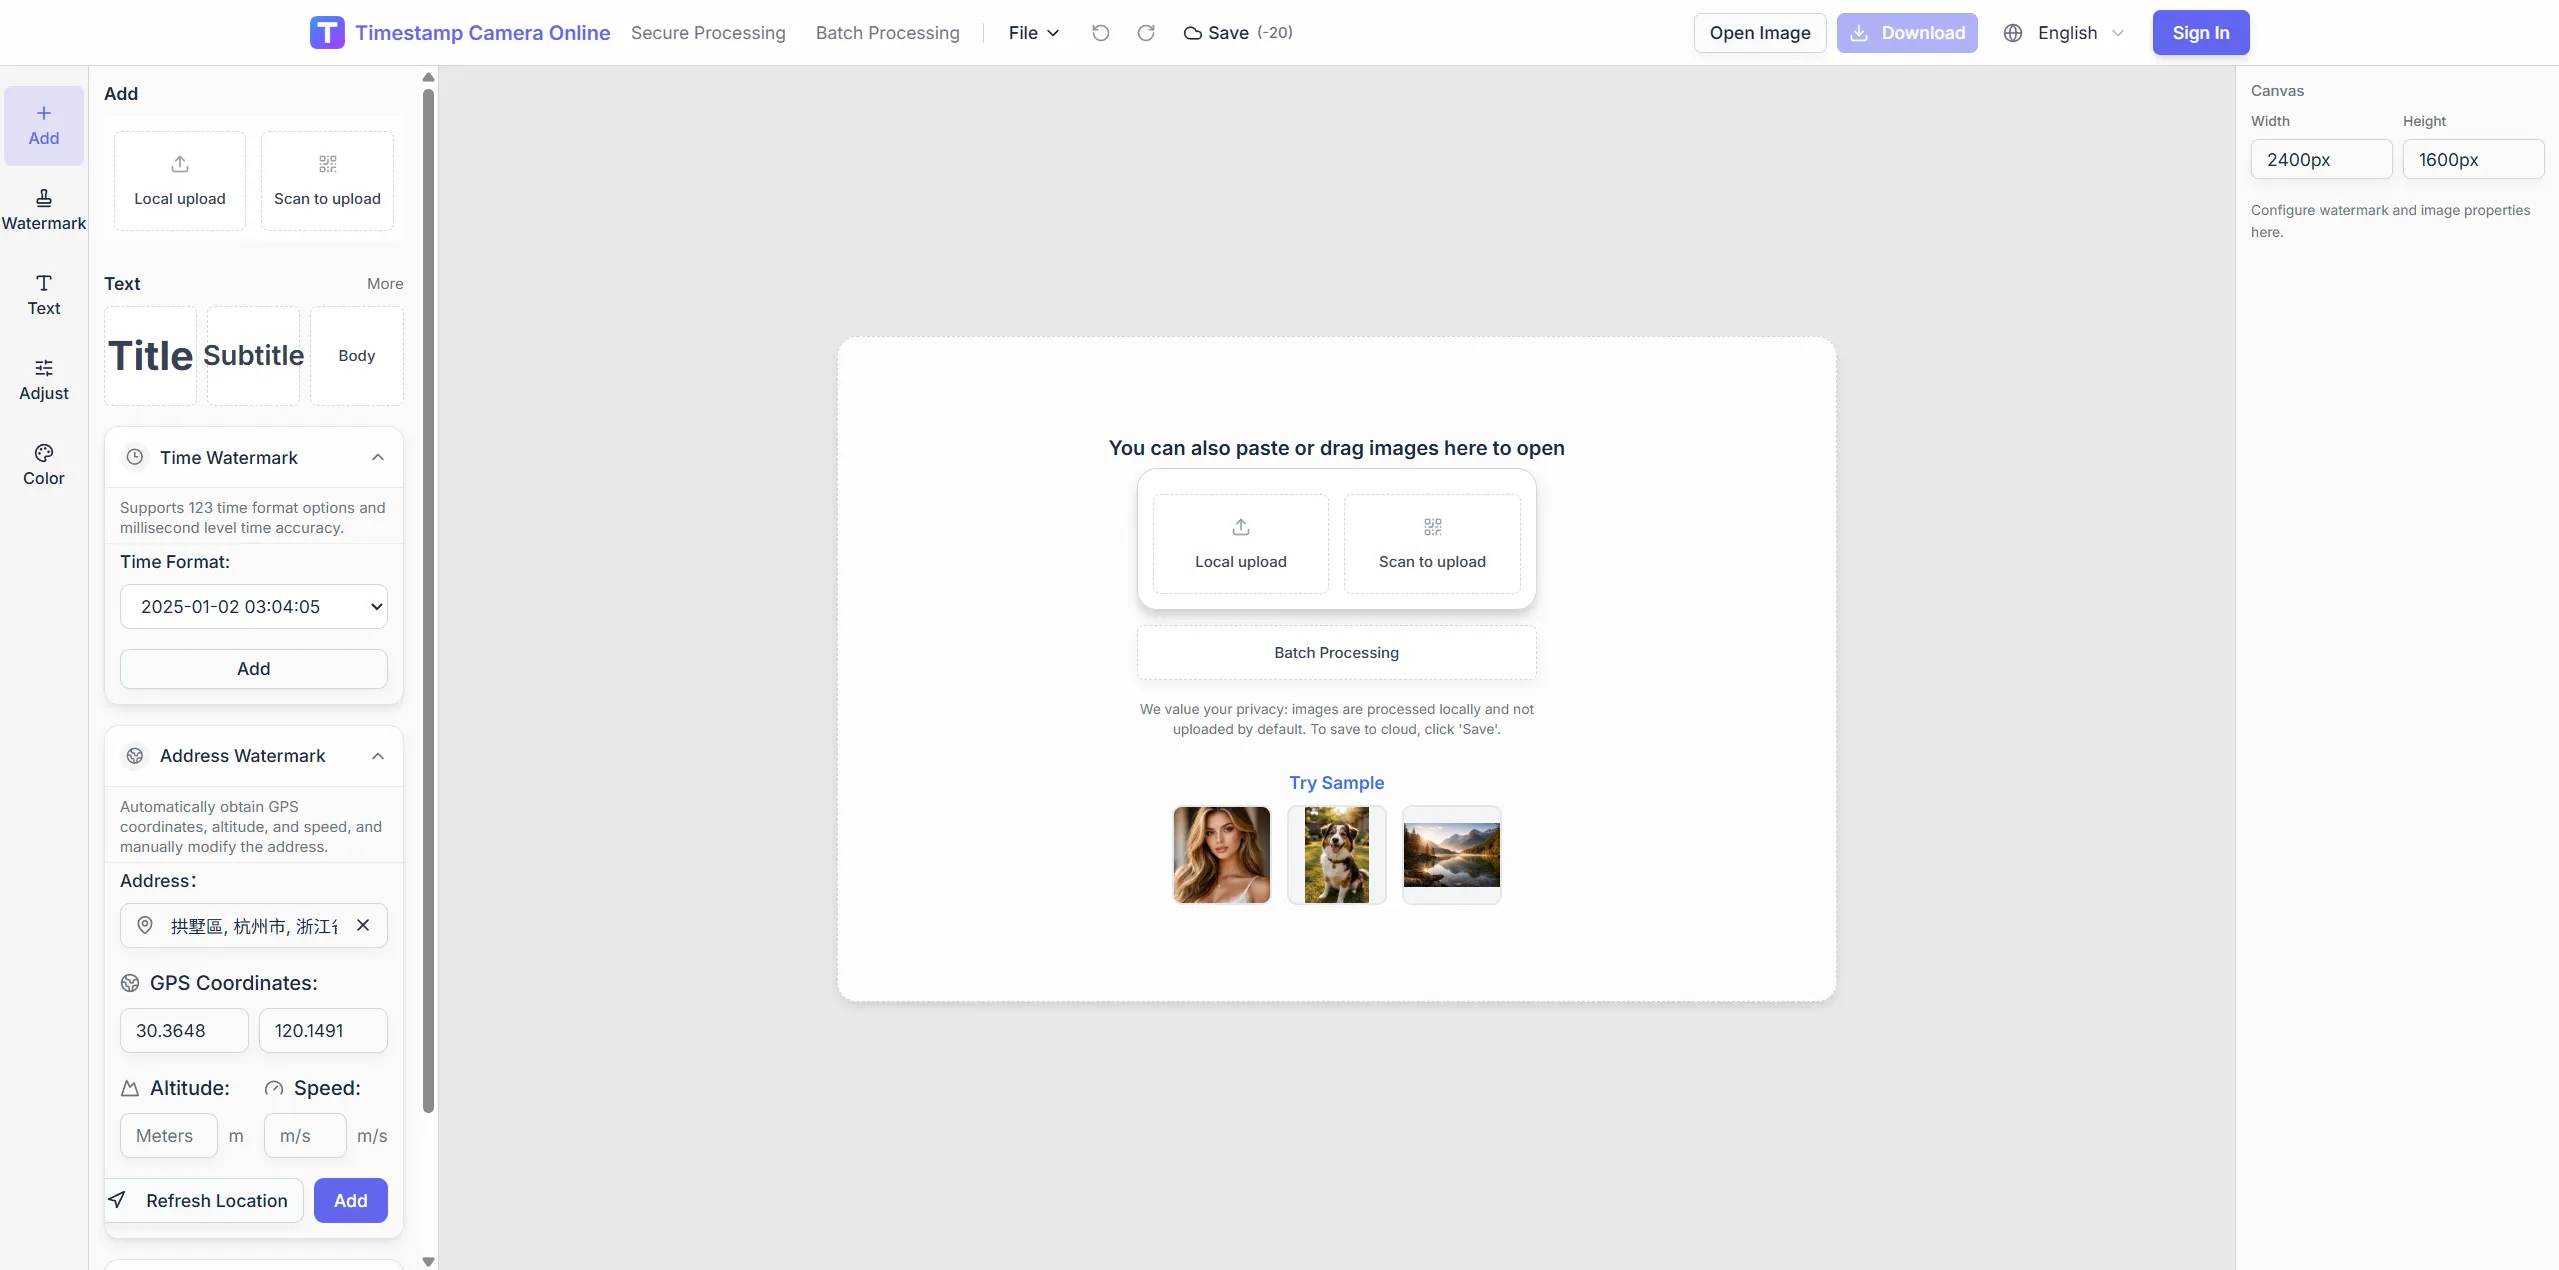
Pick removal styles that match the sensitive content, then continue with time, place, or QR layers.
A better fit when privacy cleanup is the main reason you are editing the image.
Supports multiple removal styles so you can match the type of information being hidden.
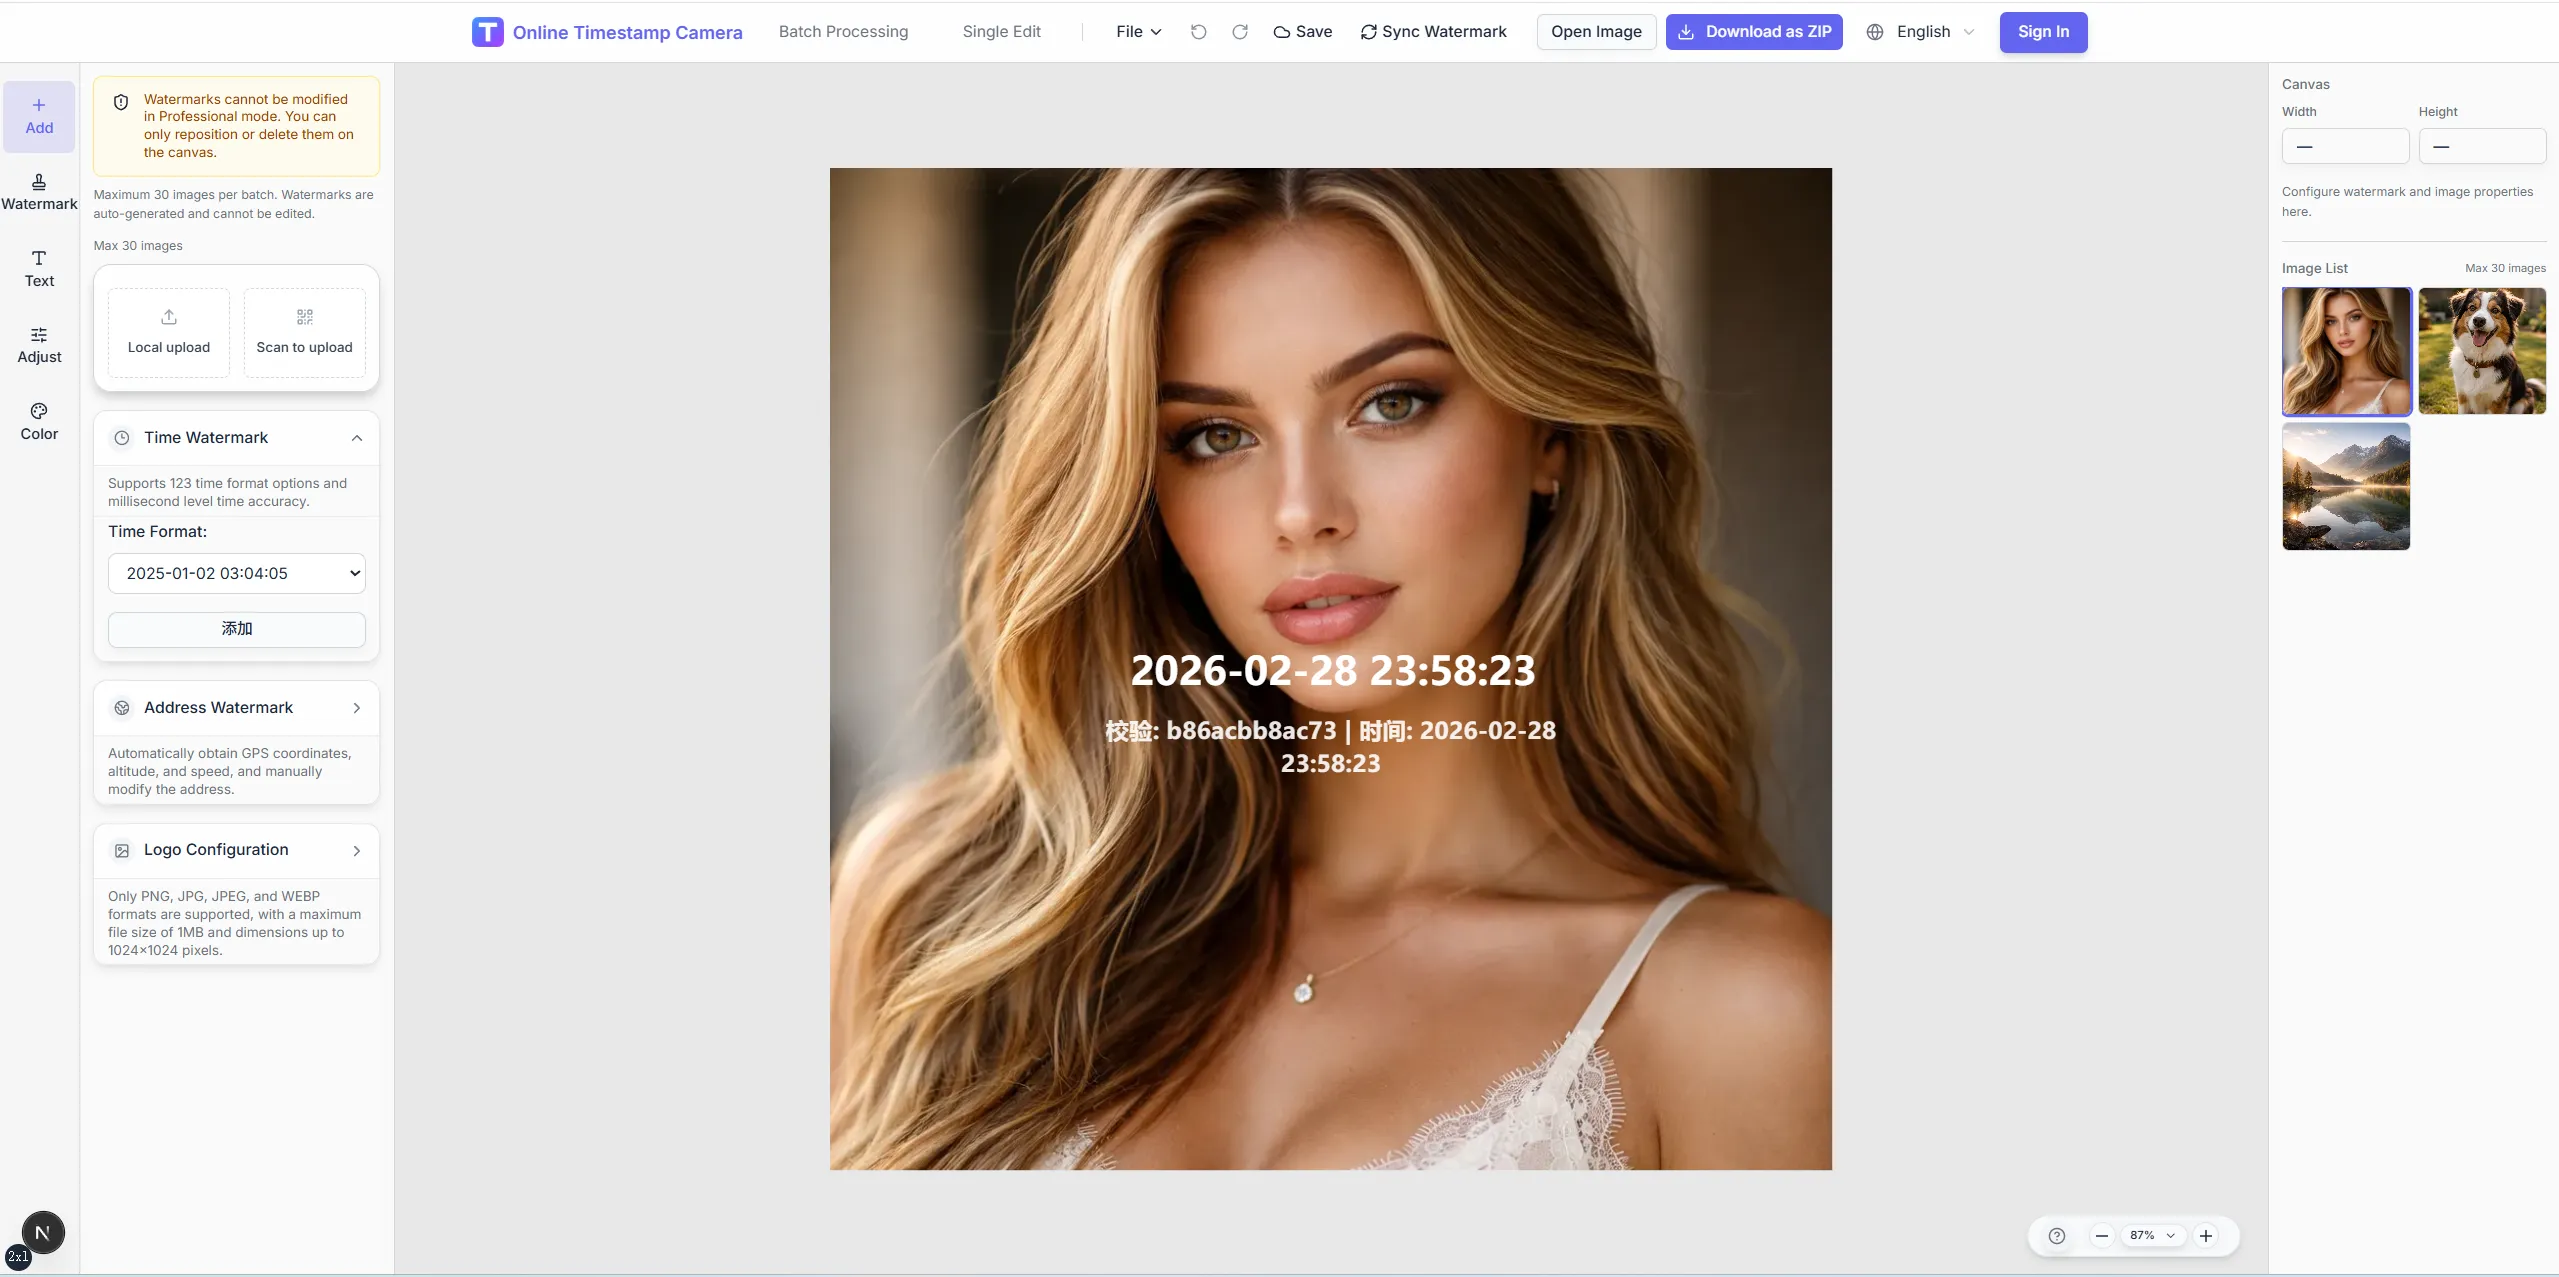
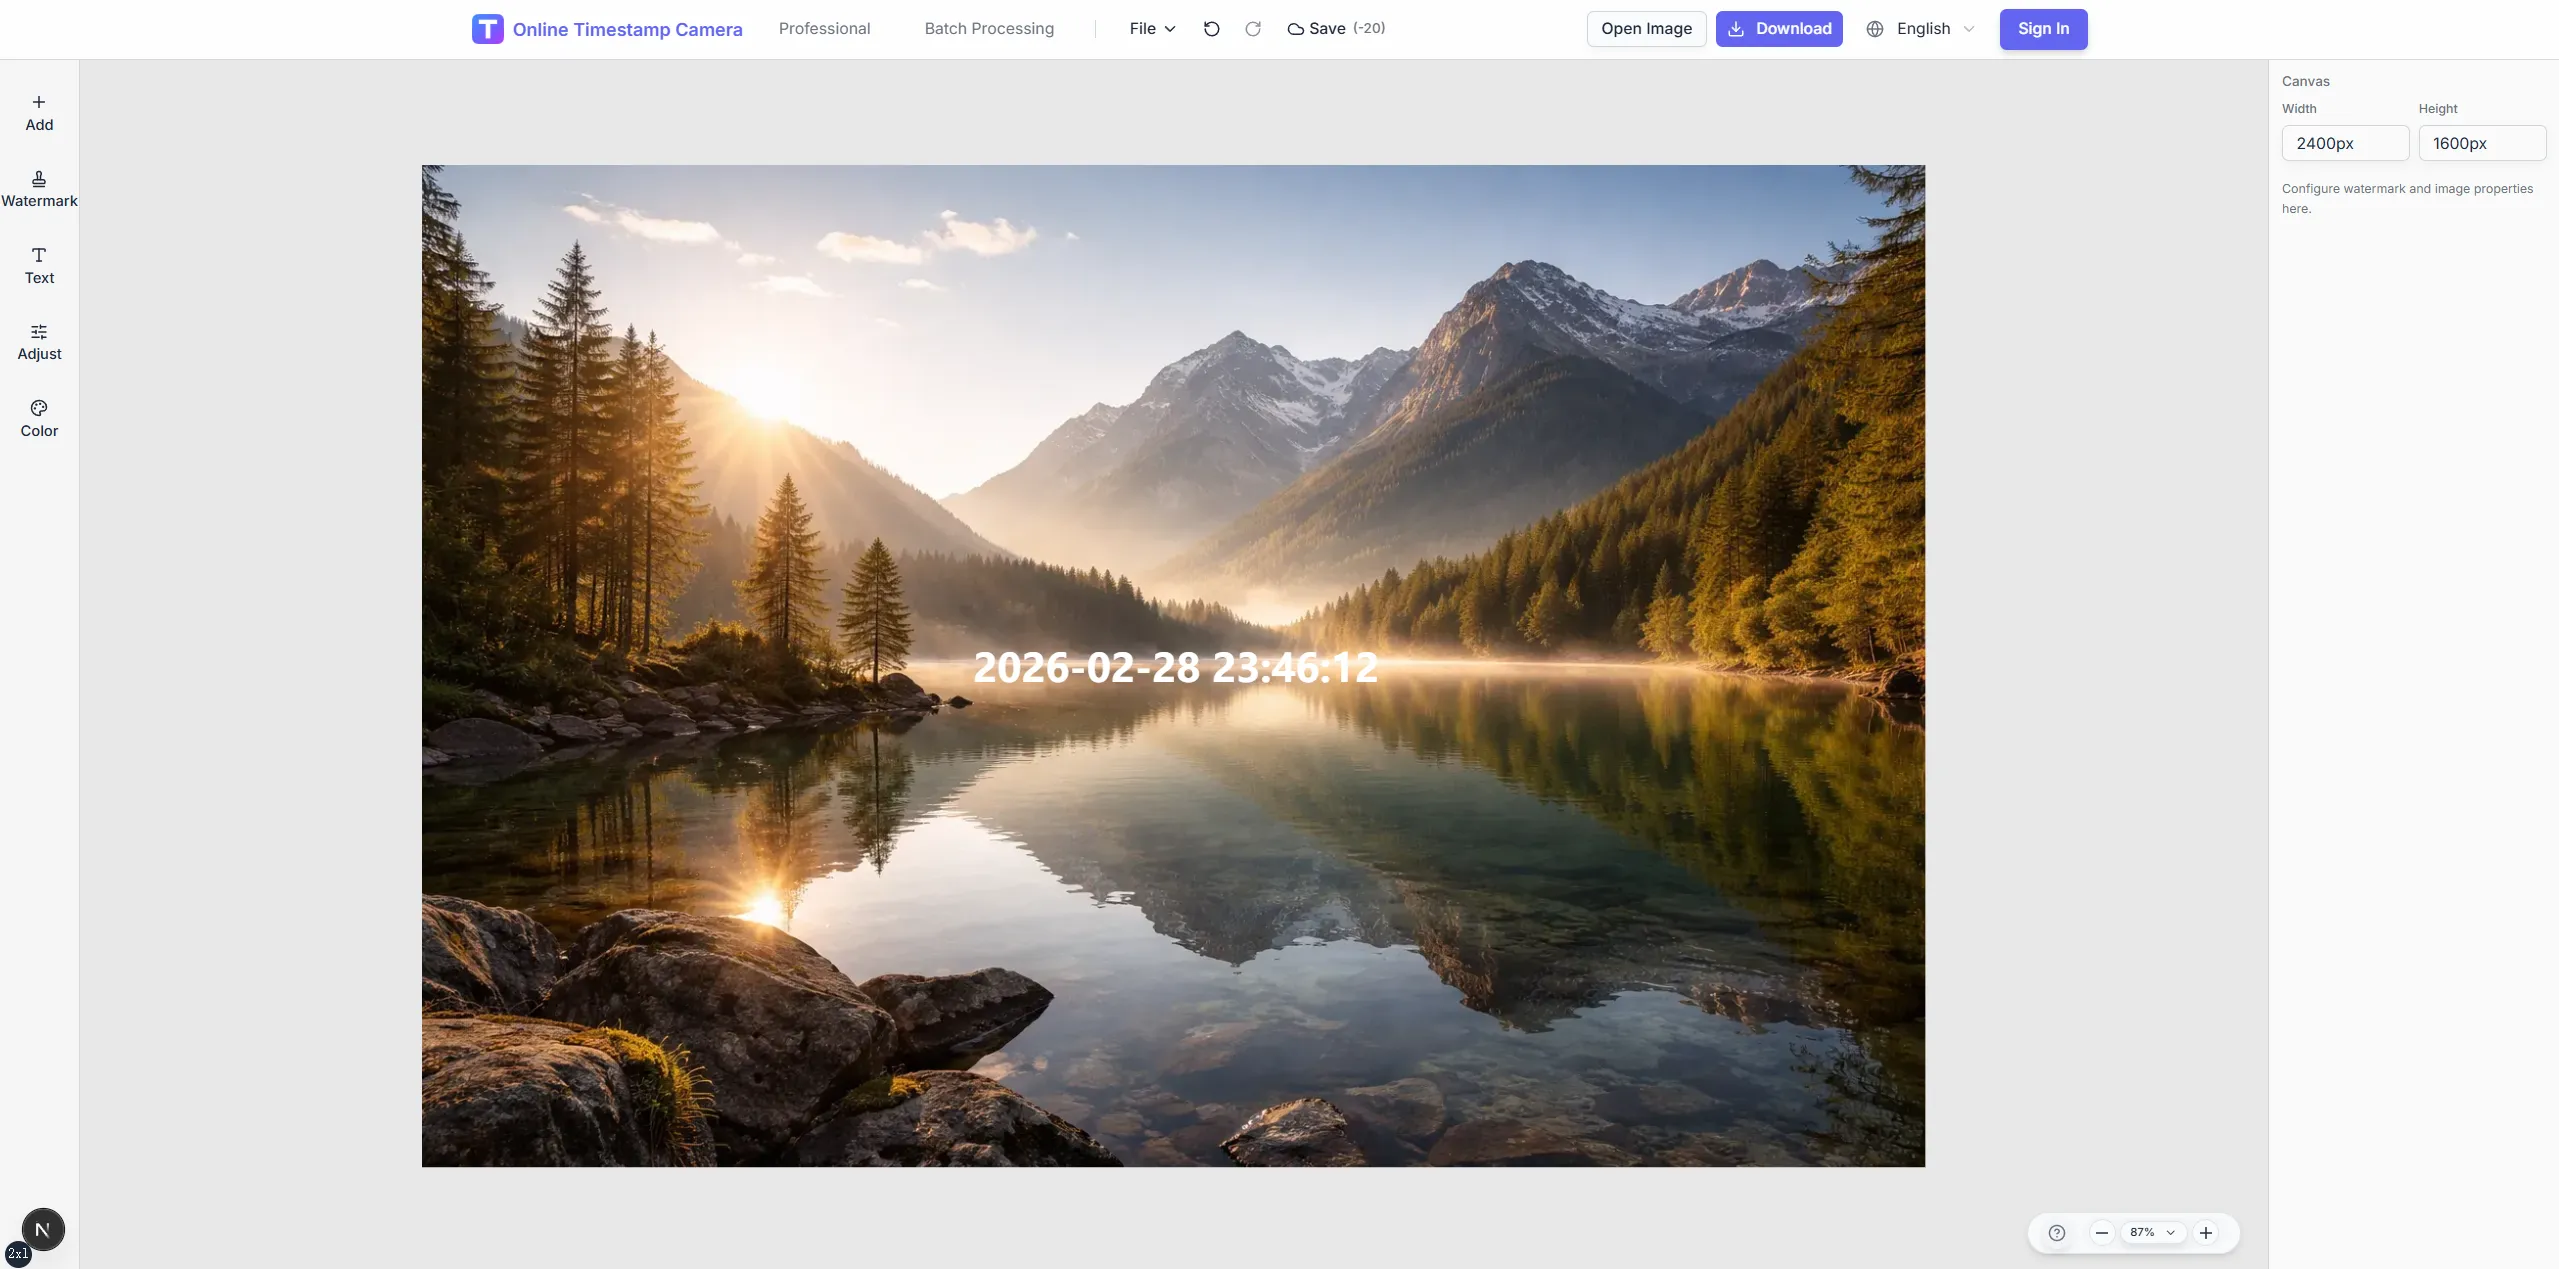
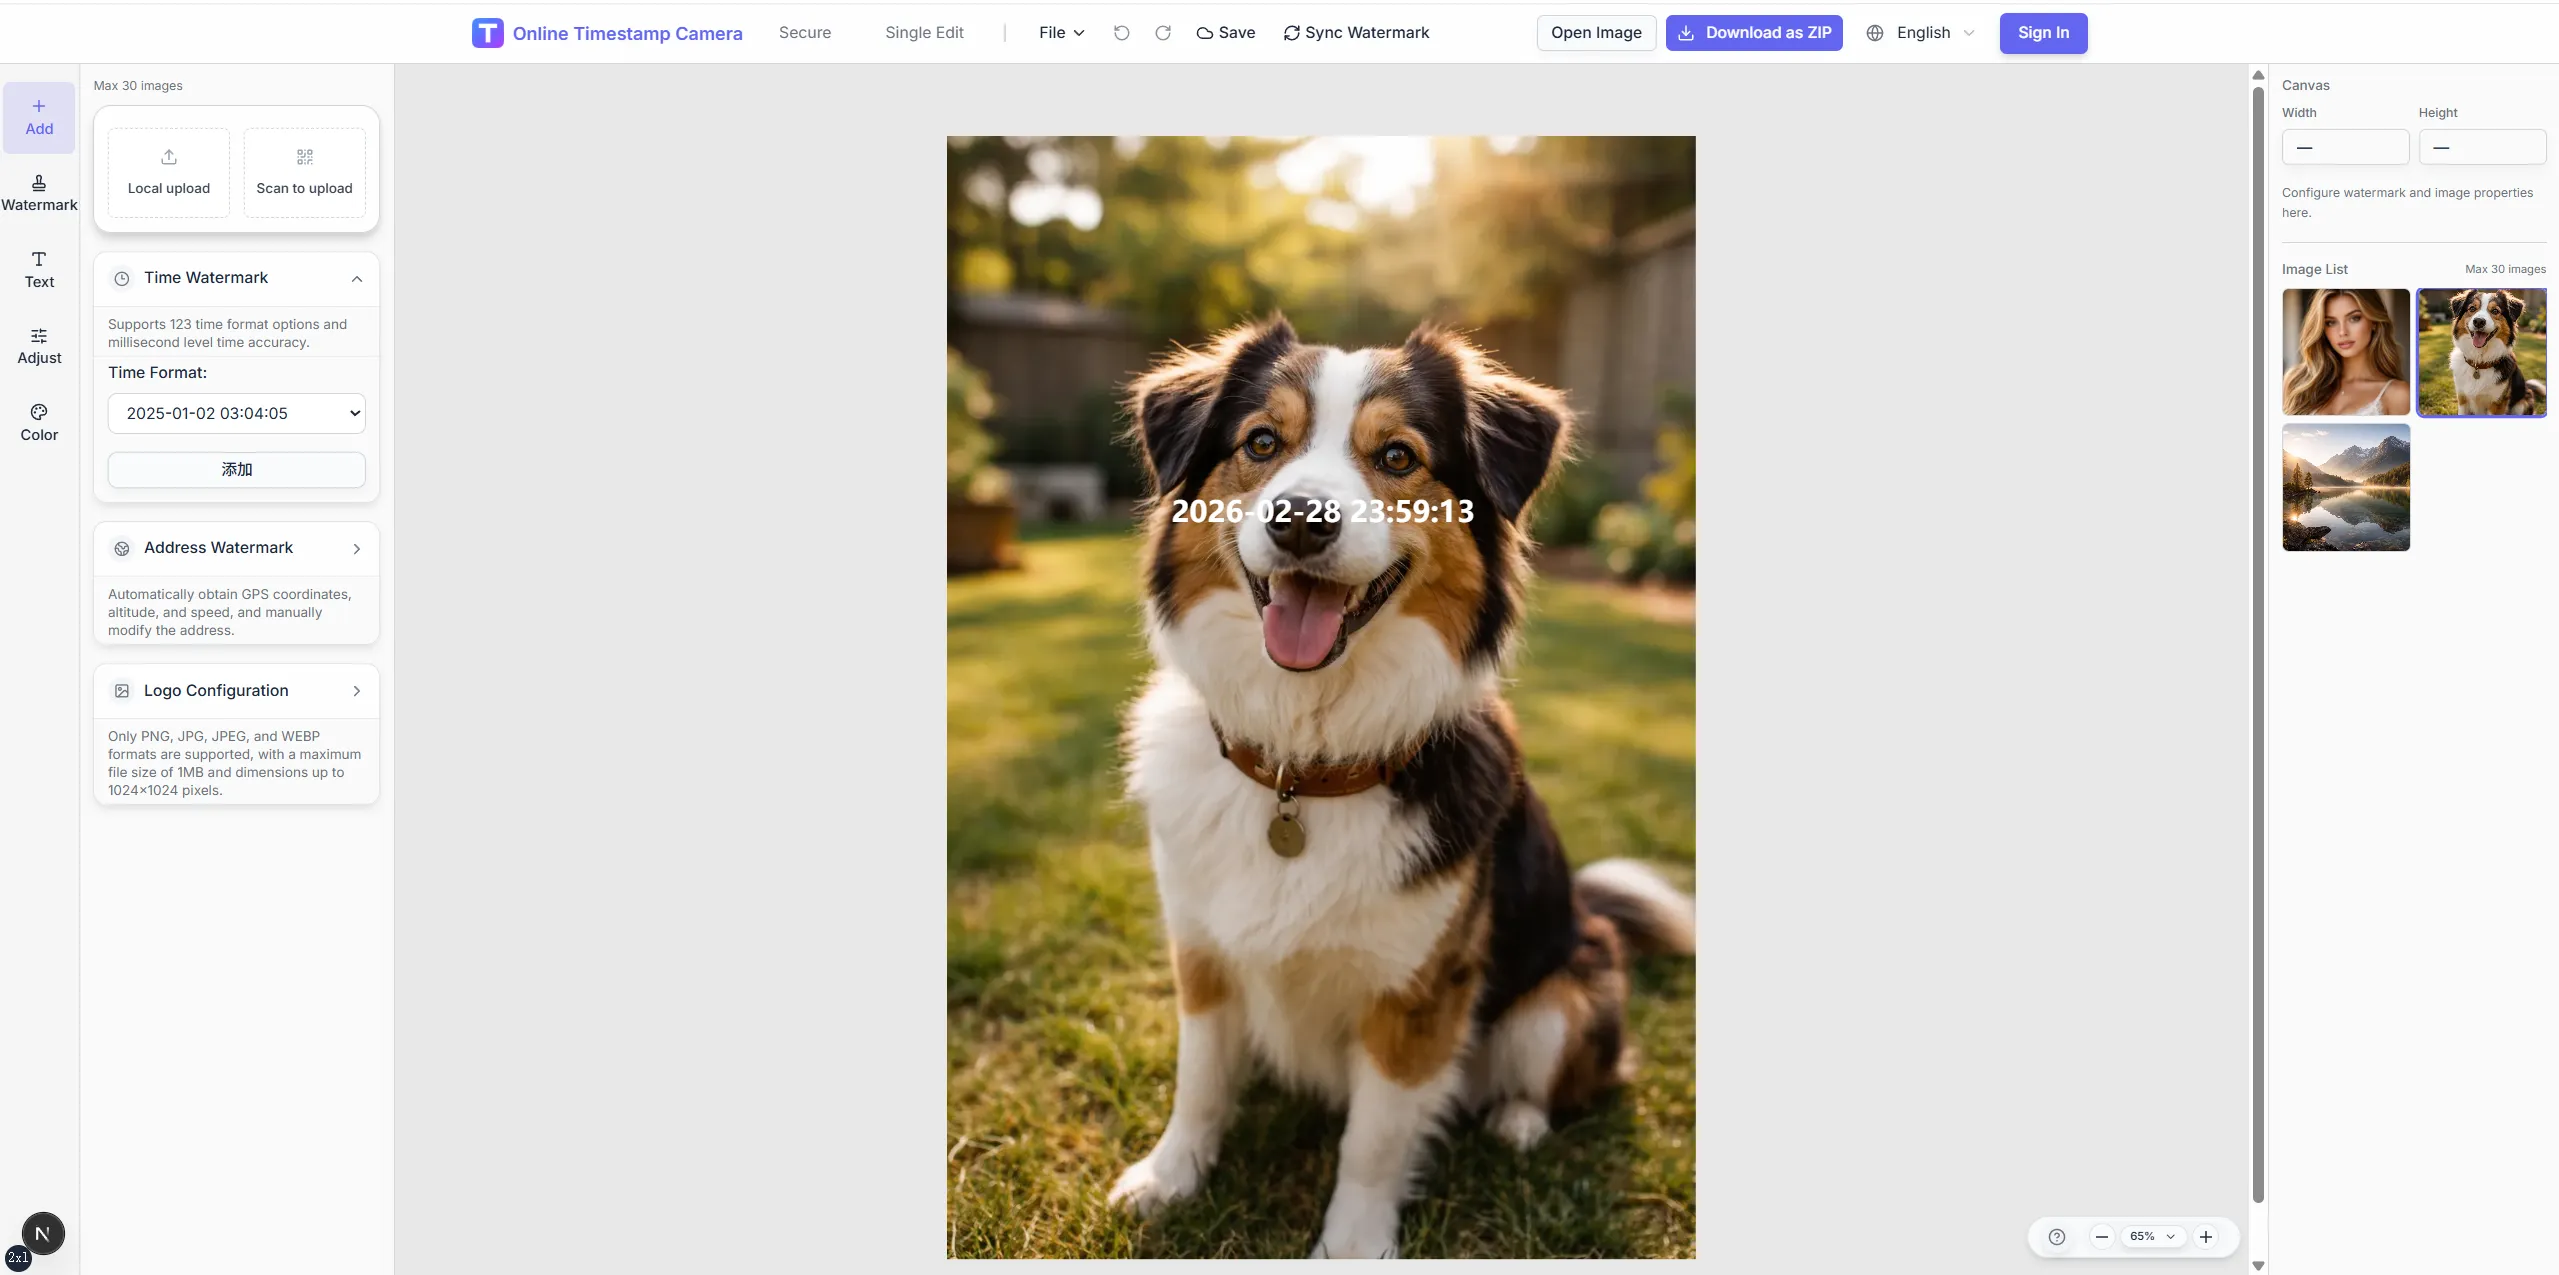
Works well before adding timestamps, QR codes, signatures, or other overlays for a final shareable record.
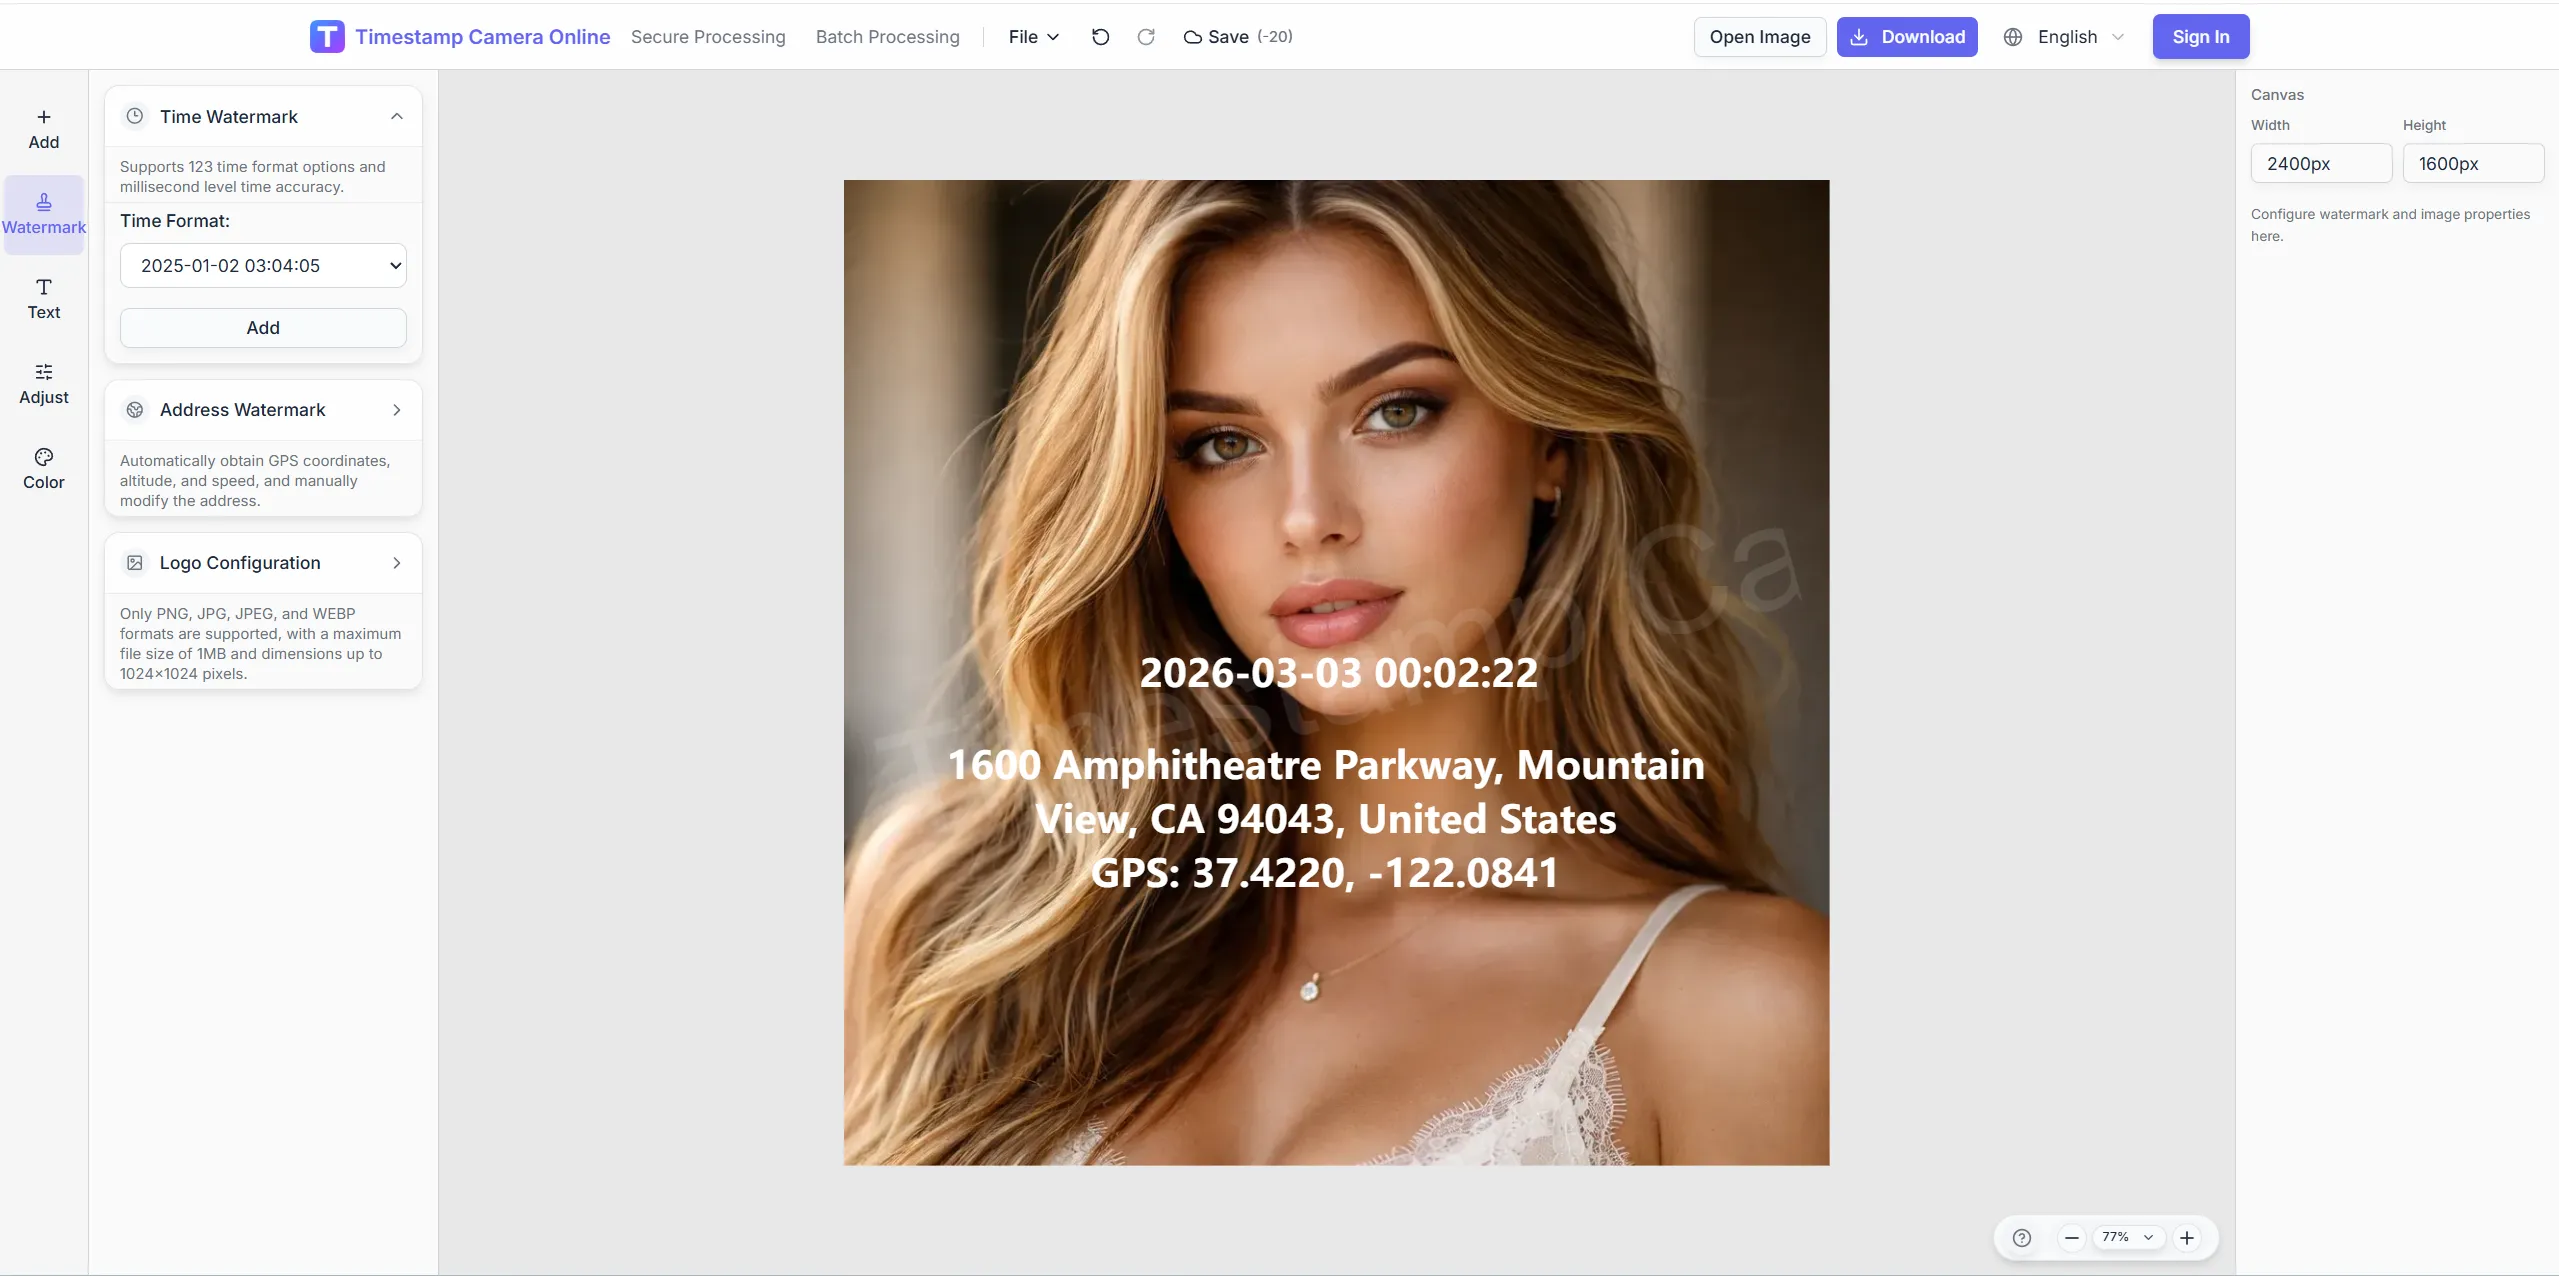
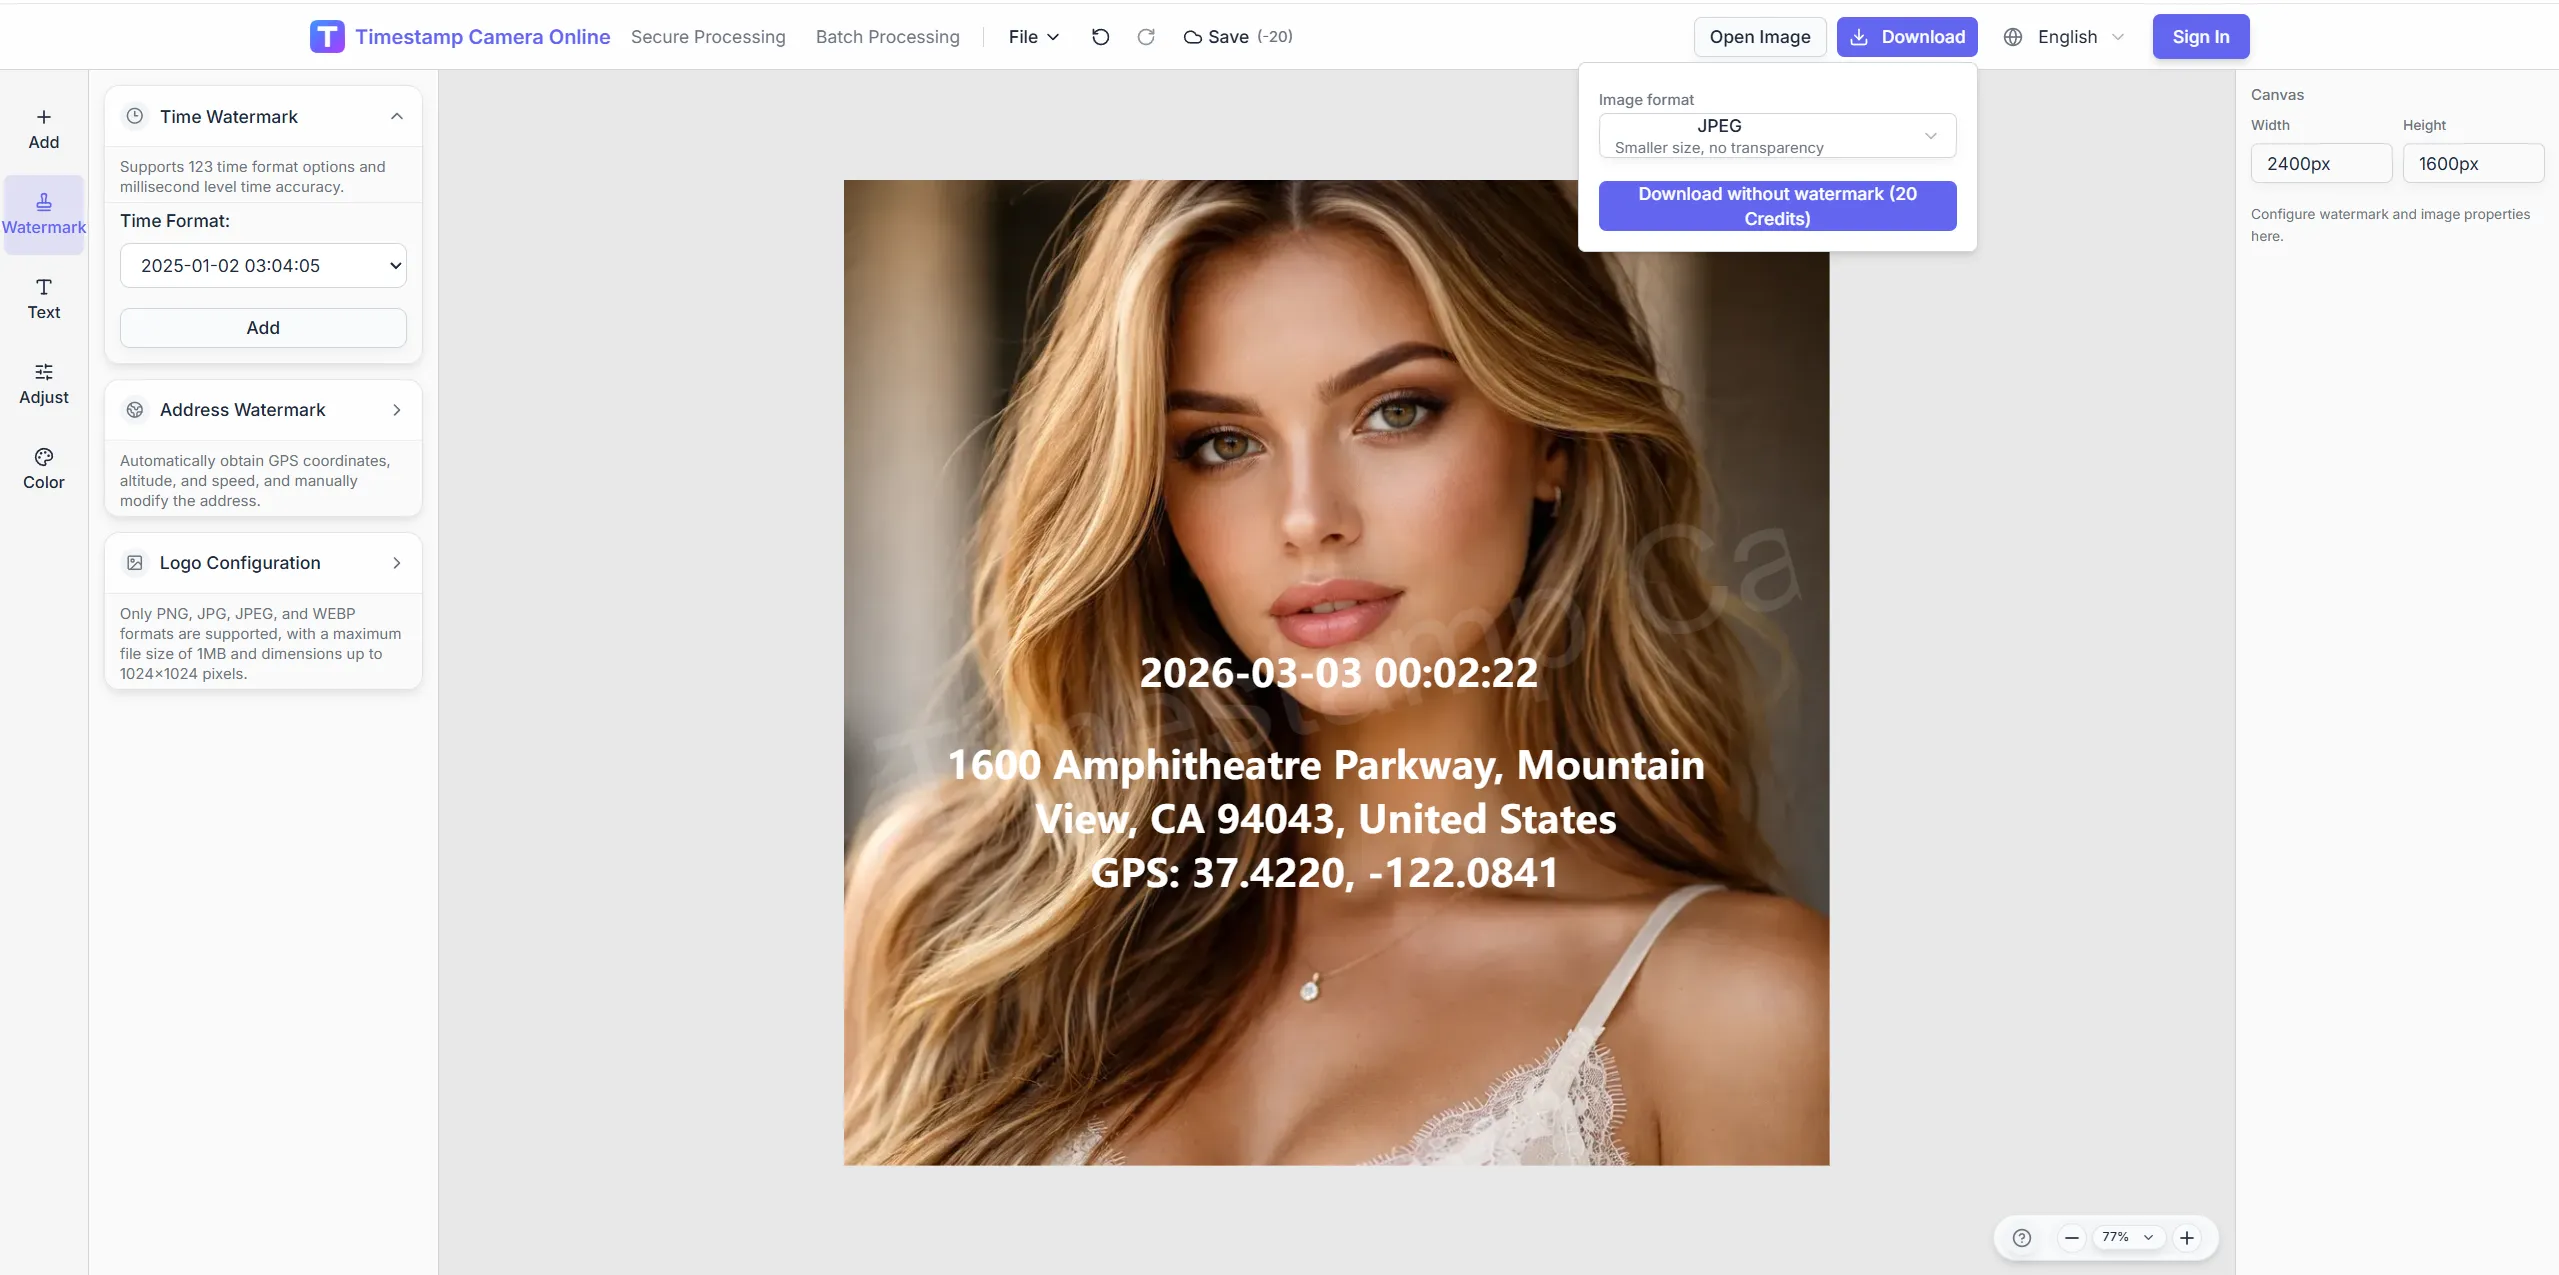
Blur, pixelate, or cover plates, addresses, phone numbers, faces, or badges—then add timestamps or QR on a safer export. Built for claims, compliance, and external sharing.
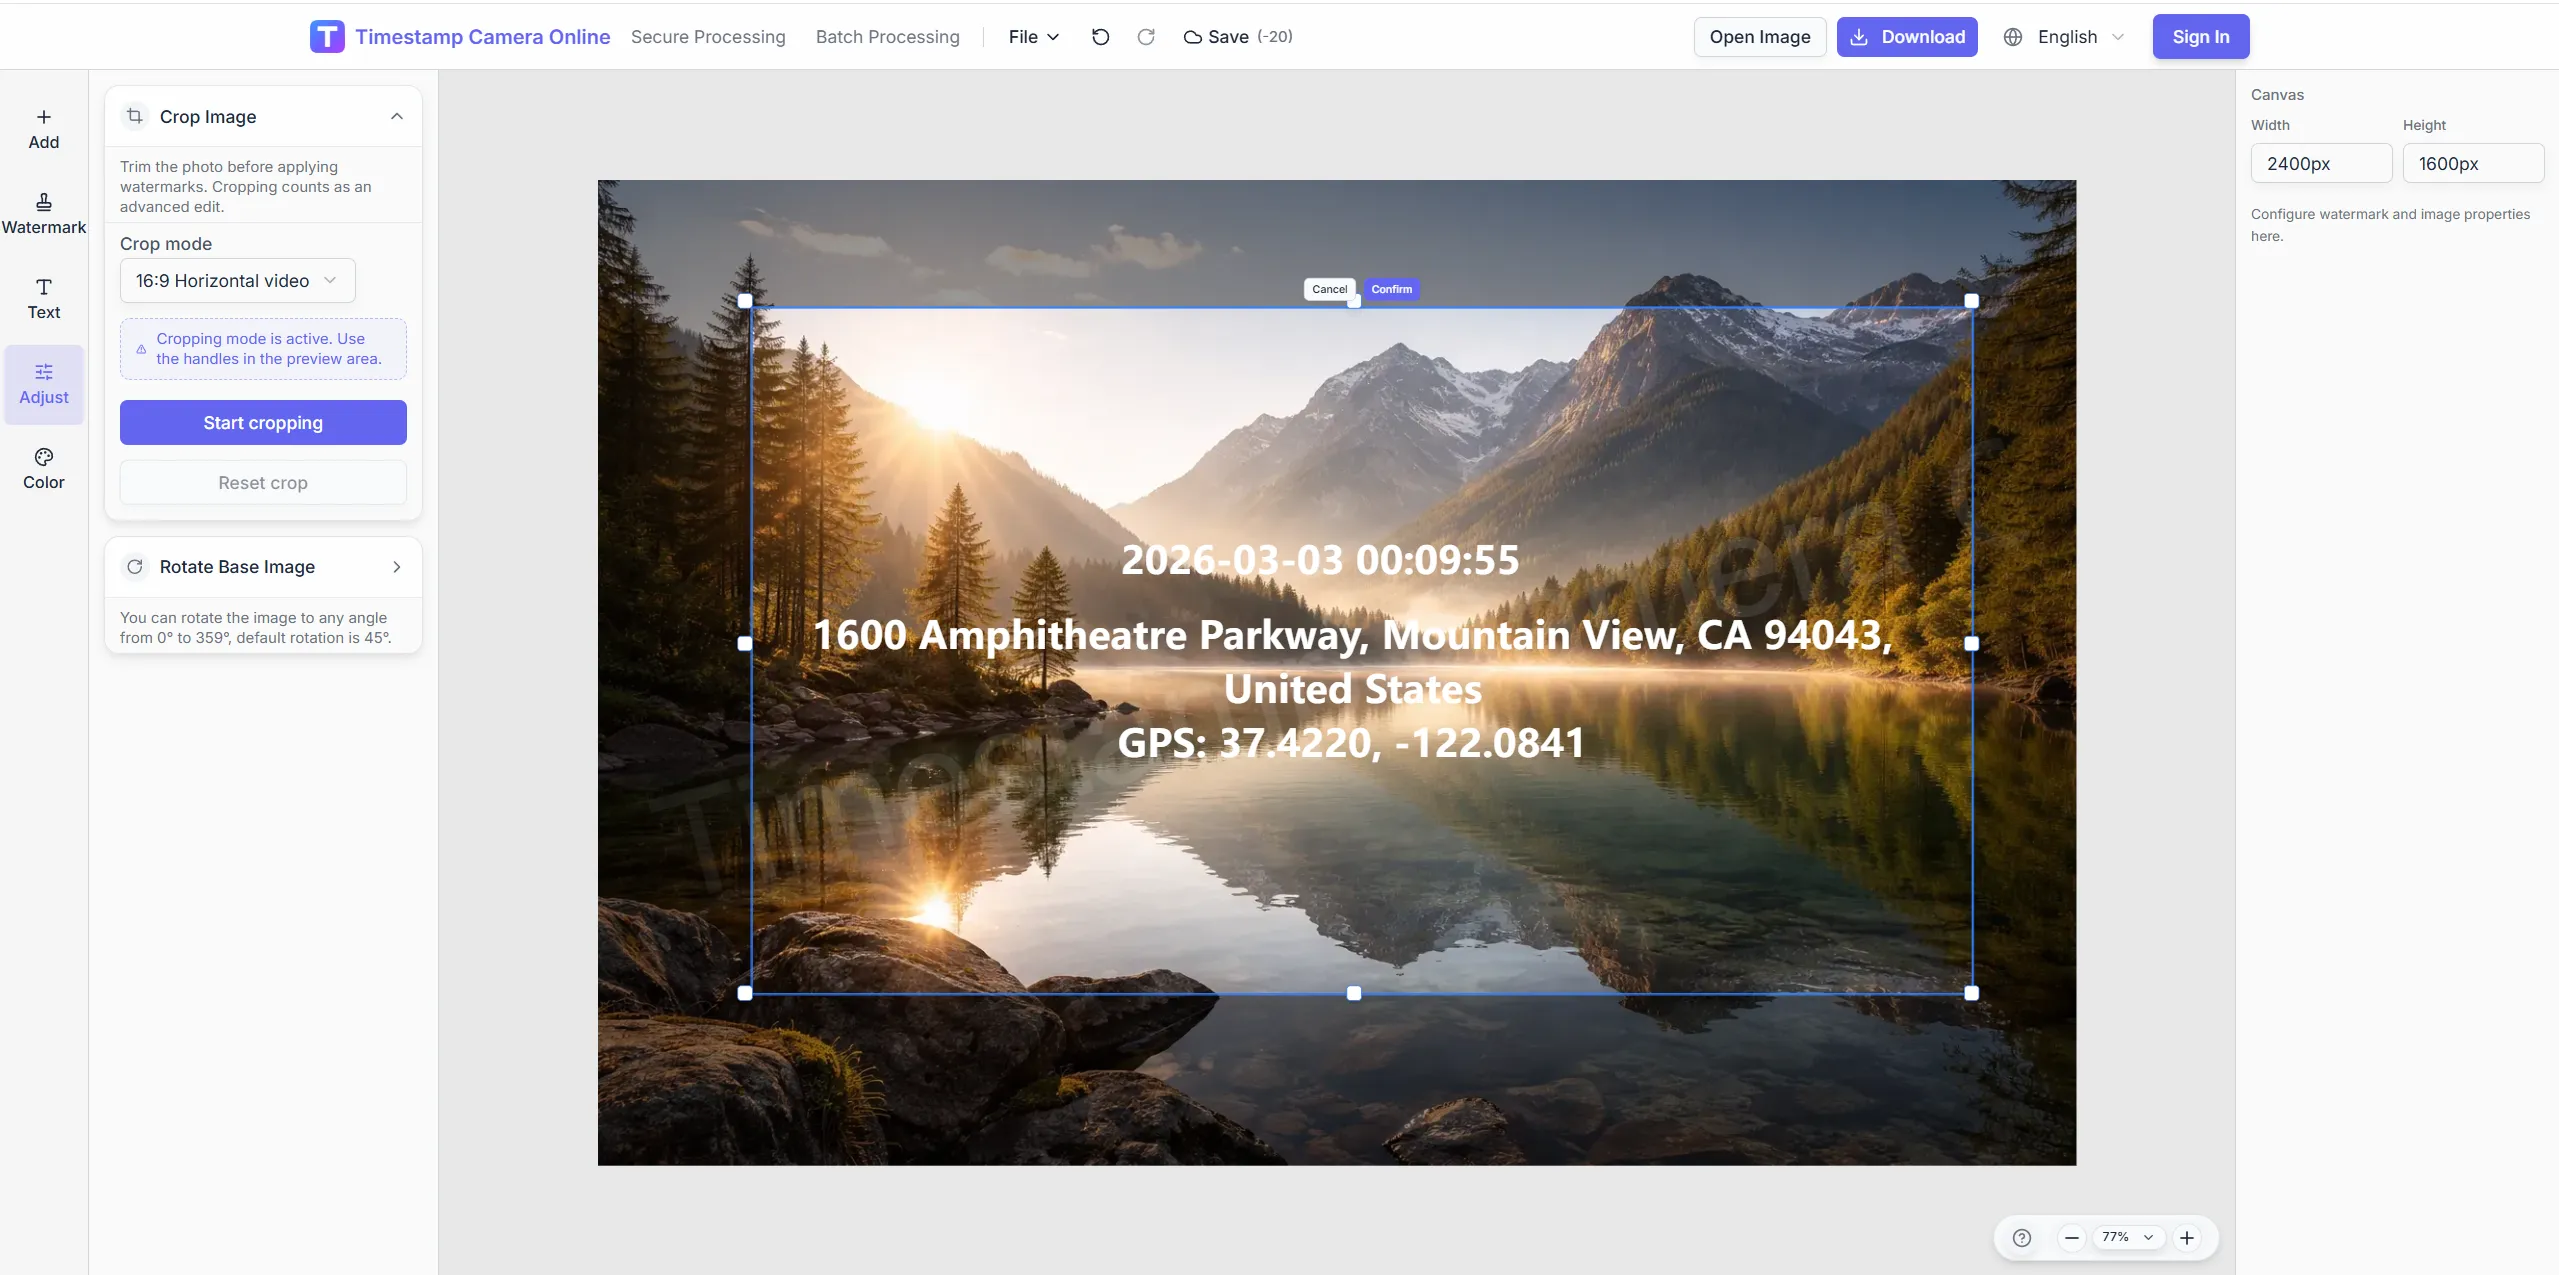
Keep scene context and timestamps while masking private regions.
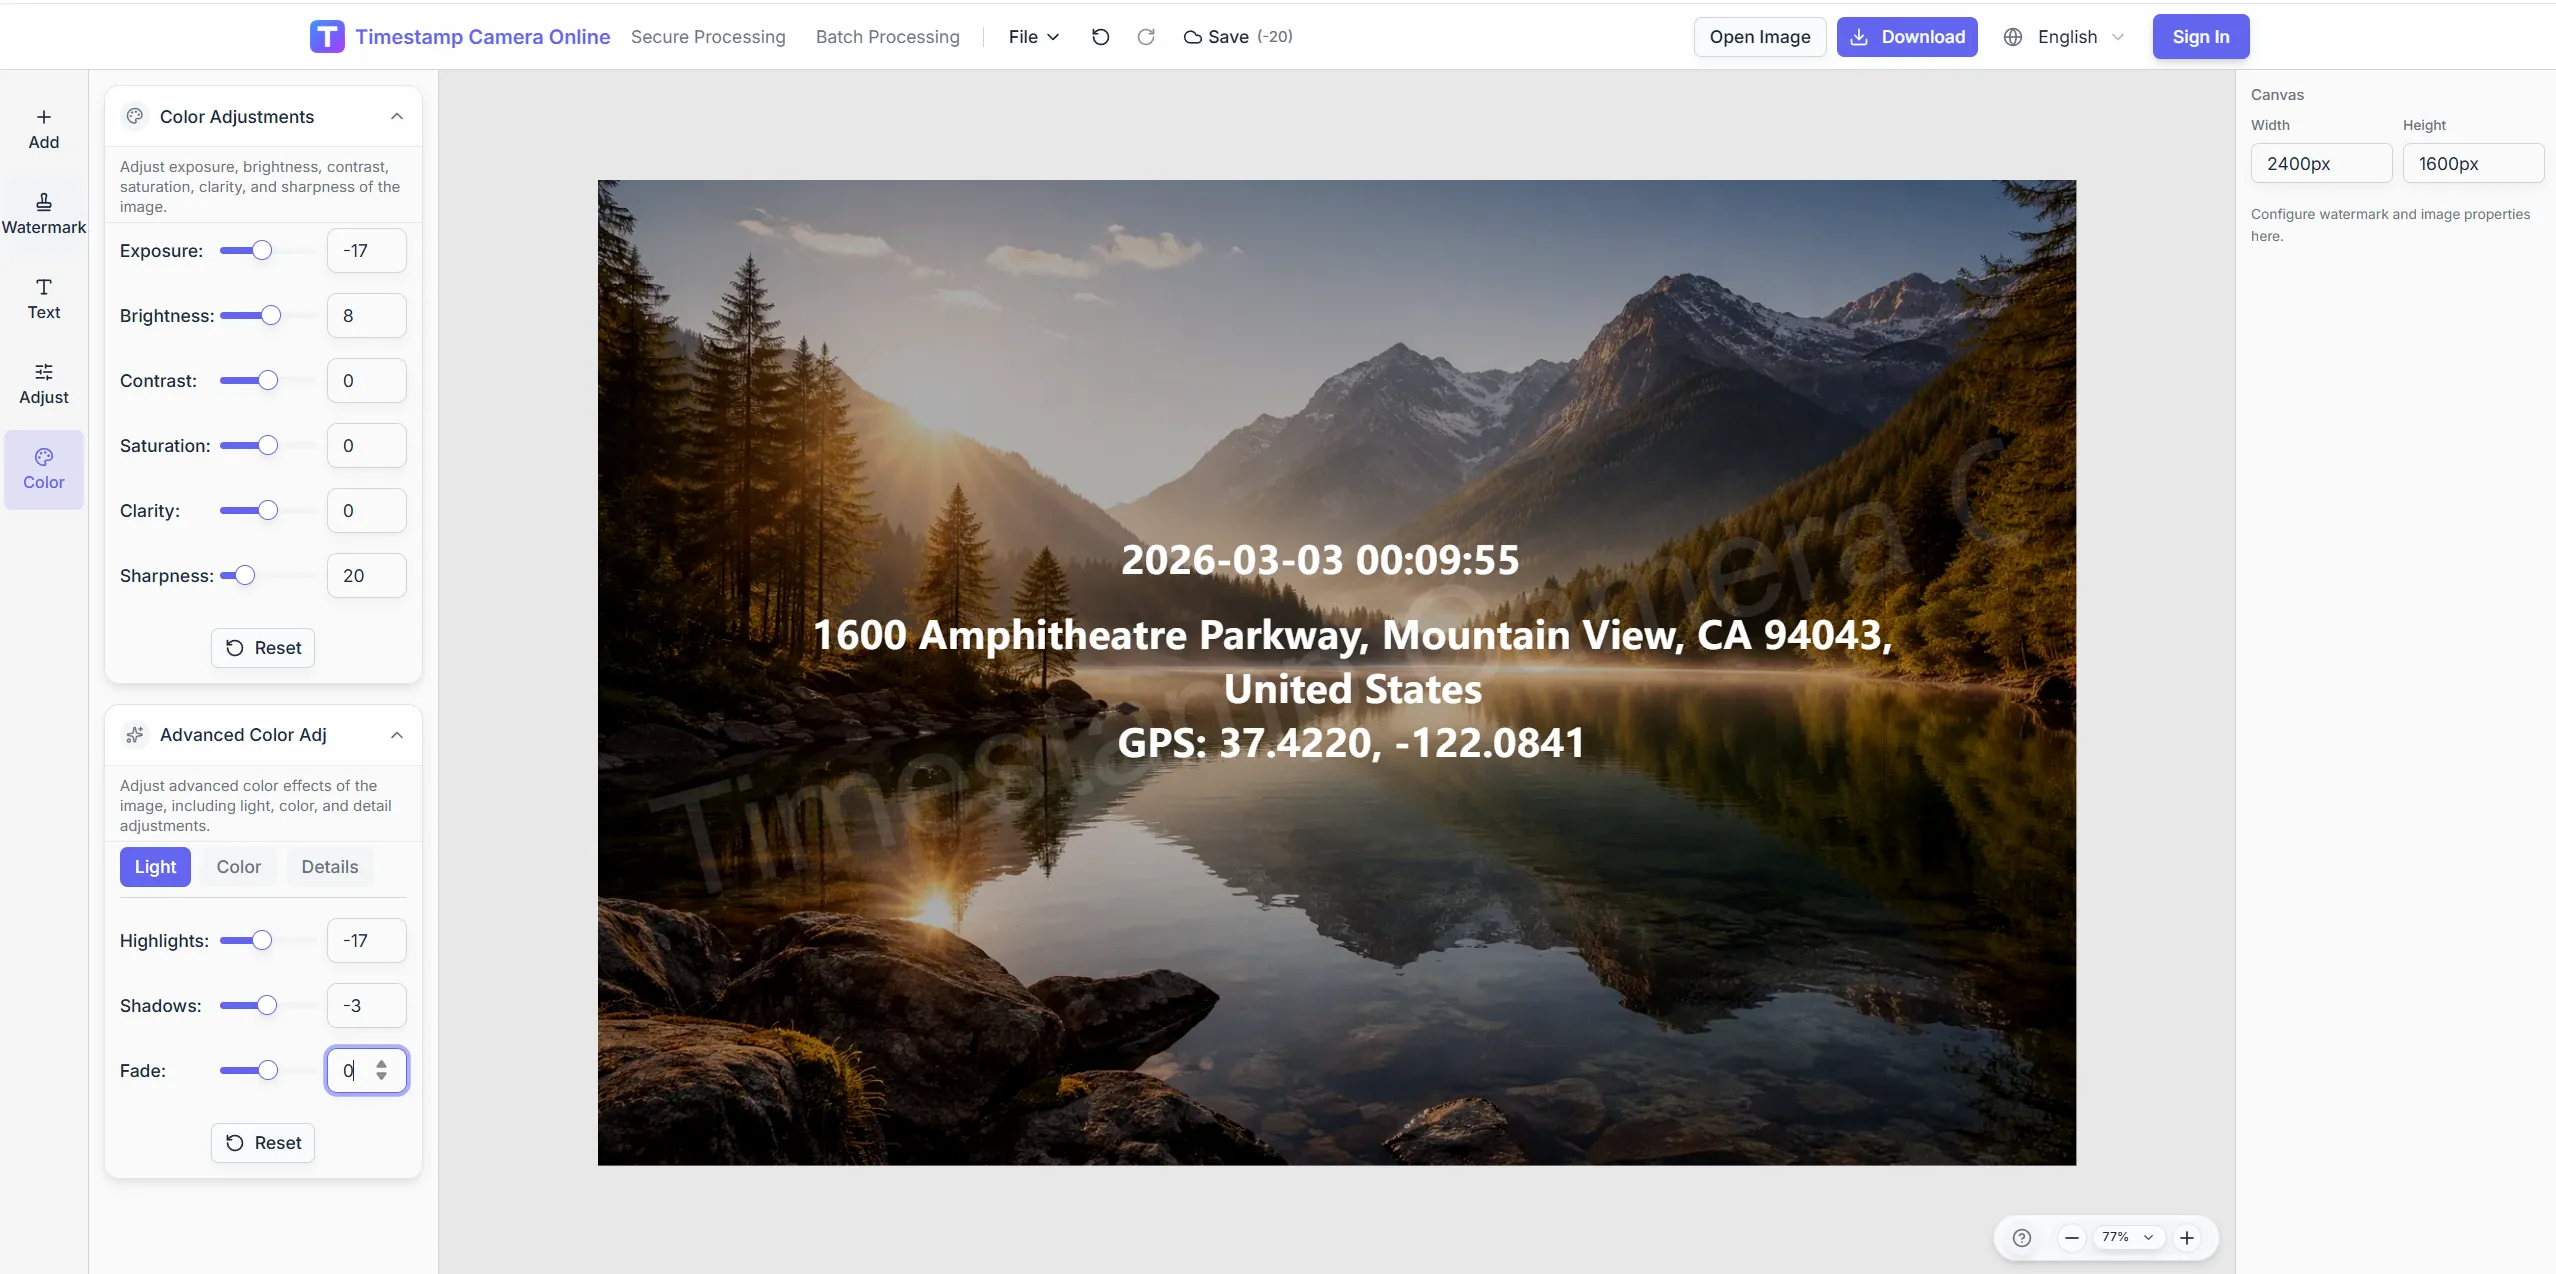
Use mosaic blocks when text must be fully obscured.
Hide sensitive areas first, then layer shareable time and place.
Apply one redaction style across a field photo set.
Redact plates, faces, and IDs in the browser before sharing or submitting.
Originals before claims, compliance, or social sharing.
Draw rectangles or blur zones over PII.
Confirm masks do not leak edge details.
Download redacted images or add time and GPS in the editor.
Explore adjacent workflows teams pair with online photo redaction—same overlay standards, different industries, and concrete field outcomes.
Prepare clearer incident photos with visible time and location details so claim records are easier to review and discuss.
View scenario
Combine time, place, and proof-style marks when audit, claim, or compliance handoffs need stronger trust at a glance.
View scenario
Create standardized photo records with consistent time, place, and summary overlays when internal review or audit trails matter.
View scenario
Use reusable templates for inspections and site progress where time, address, weather, and device context help explain the photo.
View scenario
Use visible time, location, and optional device details to keep check-in photos easier to review across office, retail, and field teams.
View scenario
Add logos, signatures, stamps, and custom overlays when you want a more branded or client-ready export.
View scenario
Works on the same frame as GPS and timestamp layers.
Redaction runs locally; originals are not uploaded.
Claims, compliance releases, and social posts.
Redact first then add location lines, or the reverse.
Tiny text or partial faces may need manual zoom and boxes.
Practitioners using online photo redaction share measurable wins: fewer retakes, faster reviews, and cleaner handoffs to HR, owners, or carriers.
Tampa agents redact plates and bystander faces on claim photos before carrier email upload. Masks stay separate from verification timestamps so adjusters trust both layers. FNOL retake requests fell about half last storm season.
Michael Torres · Agency principal, Tampa FL
Boston compliance masks employee badges on audit exports leaving our firewall. Regulators still see site codes and seal marks clearly. HIPAA photo findings went to zero on the last walkthrough.
Chris Dalton · Healthcare compliance, Boston MA
Chicago retail check-ins blur shopper faces in background while keeping store timestamps visible. HR accepted privacy-safe folders for external labor review. We batch-redact forty locations before Monday payroll.
Kevin Walsh · Retail ops director, Chicago IL
Claims and compliance upstream/downstream.
Blur, pixelate, or cover plates, addresses, phone numbers, faces, or badges—then add timestamps or QR on a safer export. Built for claims, compliance, and external sharing.
Yes. You can place the removal region only over the area that should be hidden, instead of affecting the whole image.
Blur softens the details, pixelate breaks them into blocks, and cover replaces the area with a solid fill. The best choice depends on how visible or how fully hidden the content should be.
Yes. After the sensitive area is hidden, you can continue with timestamps, location lines, QR codes, signatures, or other layers in the same editor.
Yes. Process folders with shared masking logic and follow-up overlay templates.
Plates, faces, badges, IDs, and any rectangular region.
The editor offers blur and solid masks—pick per policy.
Templates can apply the same mask region across many photos.
Redact PII after capture, before carrier portal upload.
Yes—continue in the editor with location lines.
Depends on export settings; redaction changes pixel regions only.
Upload an image, redact sensitive regions, and download the cleaned version.