How to Add Verification Badges to Proof Photos
Some photos only need a readable timestamp. Others need to look more like records that can be reviewed with confidence.
Verification badges help with that second case. They add standardized proof cues to an image so the export feels more deliberate and less like a casual snapshot.
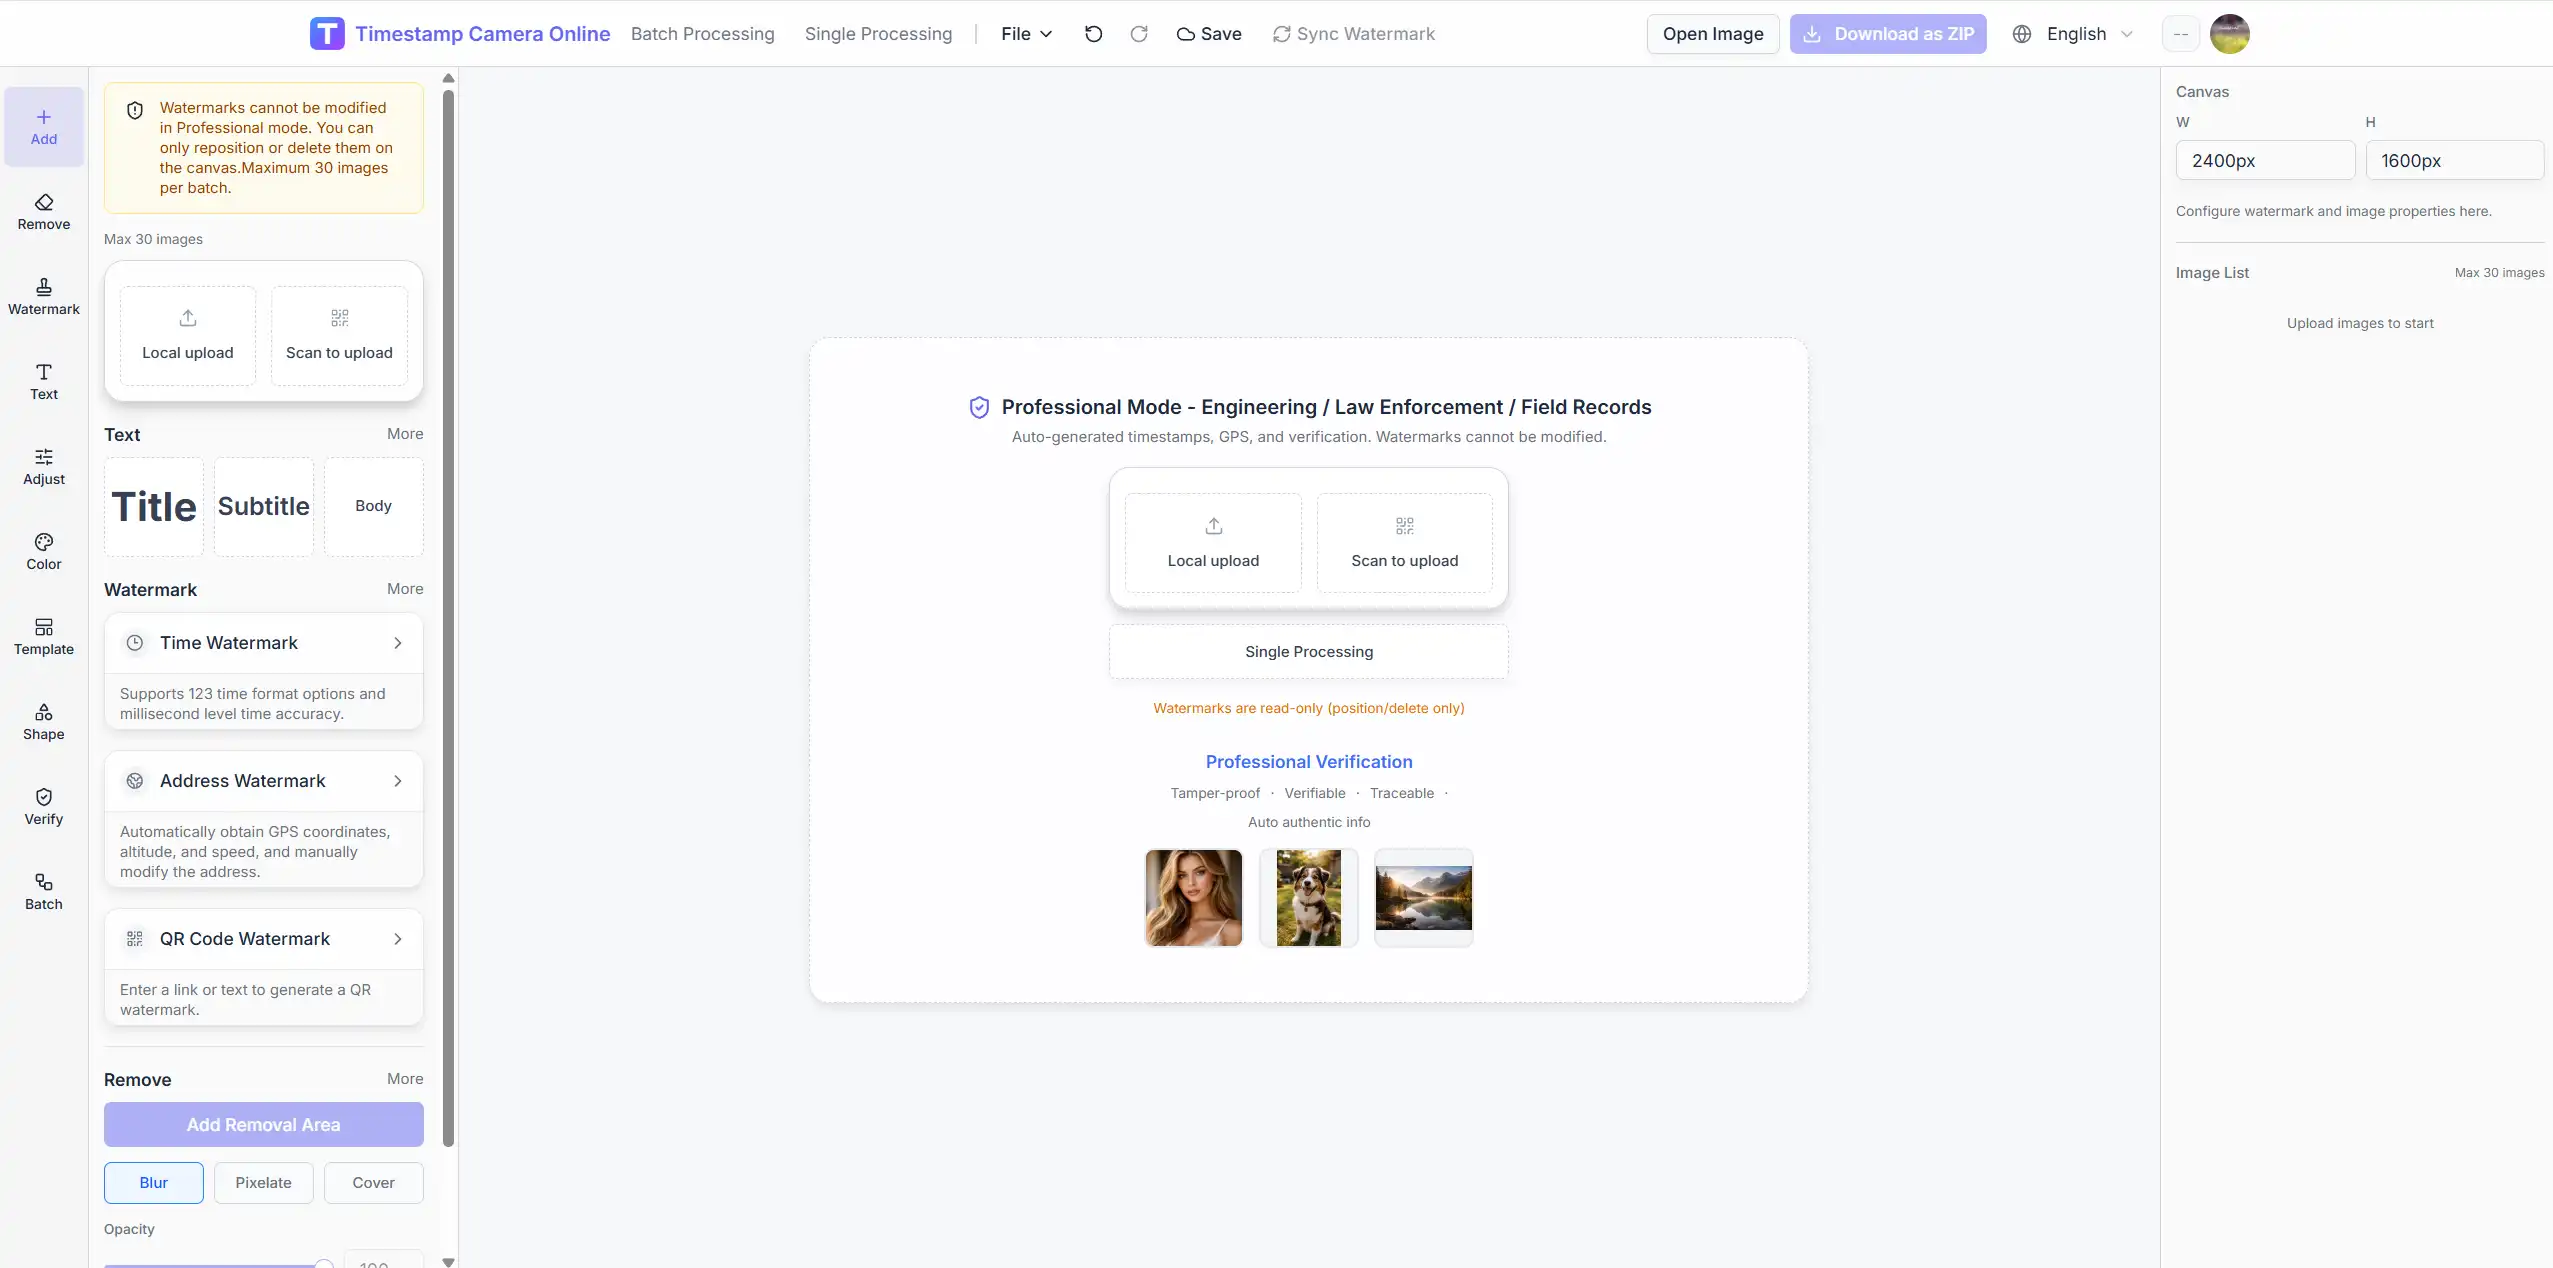
What verification badges are for
The Verify panel is for adding proof-oriented markers such as:
- Hash marker for origin-style identification
- Capture time seal for audit-oriented time presentation
- Device verification for trusted-capture labeling
- Anti-tamper badge for stronger tamper-evident cues
These are not magic legal guarantees. They are layout tools that make proof-style photos easier to recognize and review.
When to use Verify instead of only Watermark
Use the Verify panel when:
- the photo may be reviewed by a supervisor or client later
- the output should look standardized rather than highly custom
- the workflow is closer to audit, patrol, or receipt-style records
- you want anti-tamper language visible on the image itself
Use the regular watermark tools when you only need time, location, or branding.
For a more constrained proof workflow, see the dedicated secure processing mode.
How to add a verification badge
Step 1. Upload the photo
Open the editor and add the image that needs a proof-style export.
Step 2. Open the Verify panel
Select Verify on the left and choose the badge that matches the scenario.
Step 3. Keep the main record block readable
Verification badges work best when time and location remain easy to scan. The badge should reinforce the record, not replace it.
Step 4. Review the export as a reviewer would
Ask whether the image immediately looks like a documentation photo rather than a casual edit.
Need a stricter proof workflow?
Use Secure Processing when the job calls for a more standardized, verification-oriented output path than the flexible editor layout.
Best use cases
Field inspections
A standardized badge can make a photo set feel more consistent across multiple inspectors.
Patrol and compliance photos
Visible proof cues help teams sort formal record images from informal snapshots.
Receipt-style or handoff images
When a photo supports internal traceability, a verification badge can make that purpose clearer.
What to avoid
Adding a badge without a clear workflow reason
Proof markers should match the process, not decorate the image.
Crowding the frame with too many security labels
One clear badge is usually enough.
Expecting the badge alone to prove authenticity
The value is in clearer presentation and process discipline, not a badge by itself.
Related guides
Final takeaway
Verification badges help proof photos look intentional and easier to review. Open Verify, choose the badge that fits the workflow, keep the timestamp block readable, and export once the image supports the level of trust your process actually needs.