How to Add Weather and Device Info to a Photo Watermark
Time tells viewers when a photo was captured. Location tells them where. In some workflows, you also need environment context or capture-source context on the same image.
Weather and device overlays help with that. They are most useful when the photo is part of a field report, inspection archive, or operational record that may be reviewed later without the original capture session.
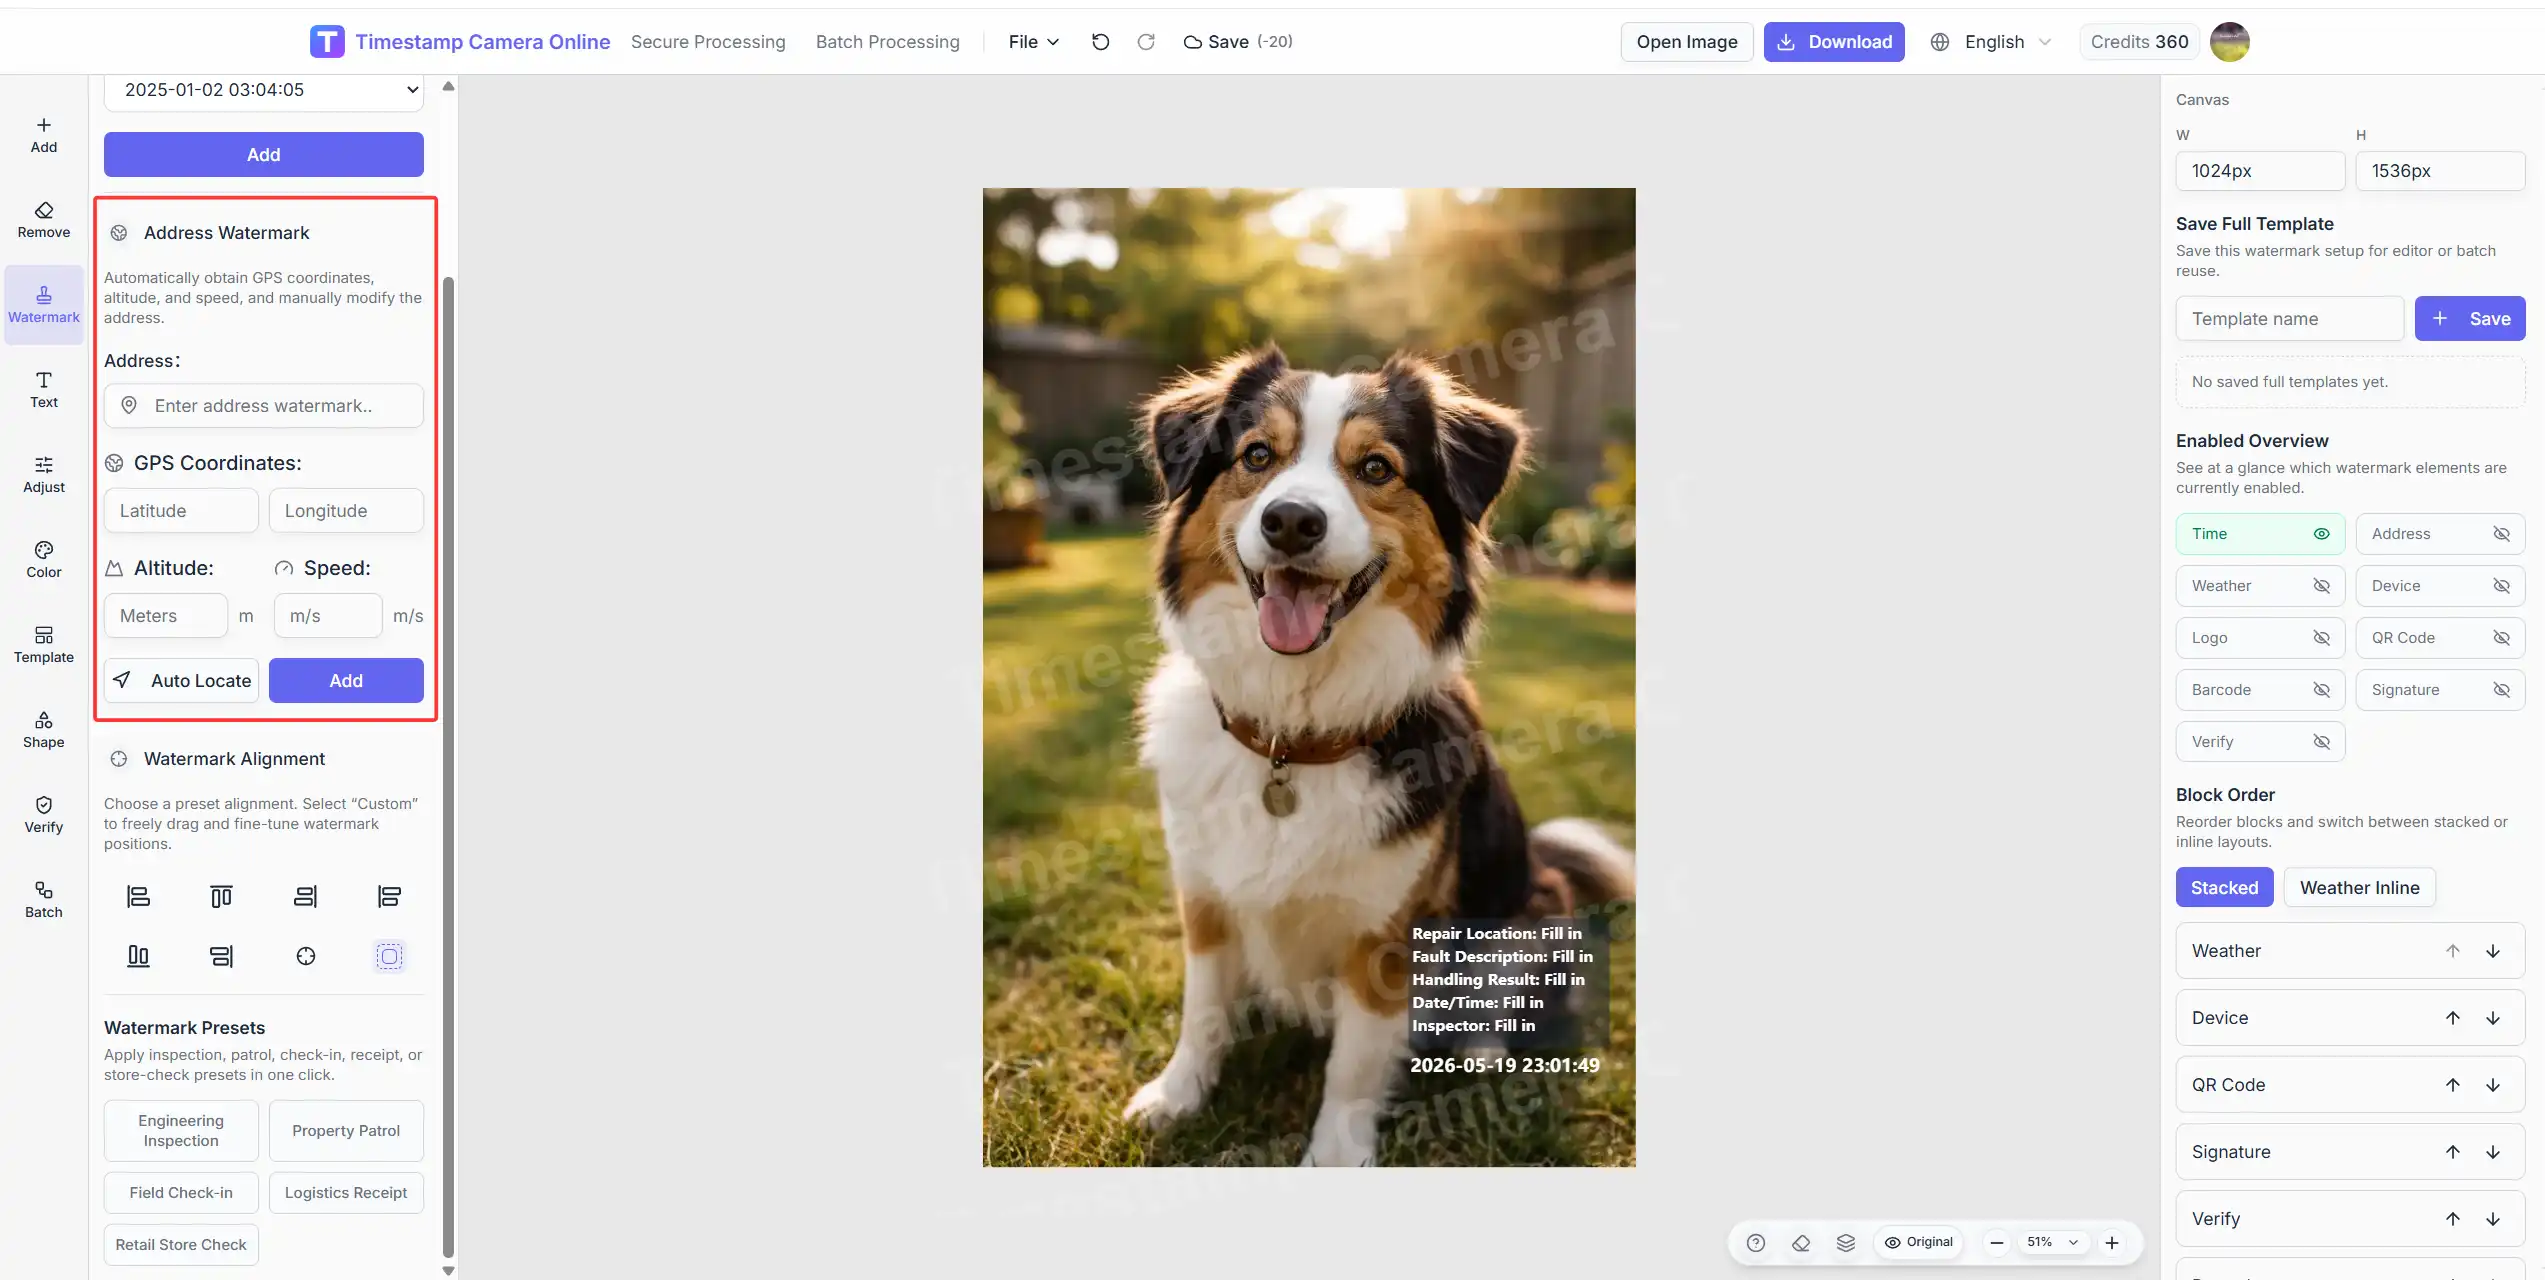
What weather and device blocks actually add
Weather overlay
A weather line can include conditions such as temperature, weather summary, or related environment text depending on your setup. This helps when:
- outdoor inspections depend on conditions
- construction or maintenance records need context beyond the scene itself
- travel or patrol photos benefit from a quick environmental note
Device overlay
A device block can show capture-related details such as device label or camera-oriented metadata in a readable text form. This helps when:
- teams want to distinguish phone captures from other sources
- reports need a consistent device line across many images
- reviewers want more traceability in standardized exports
These blocks are optional. Add them only when the extra line makes the photo easier to interpret later.
Where to enable them in the editor
Open the editor, upload your photo, and select Watermark on the left.
In the primary watermark view you will see time and address first. Select More to open the full list, then configure:
- Weather
- Device
Keep time and location as the main documentation block when possible. Weather and device lines usually work best as supporting details, not the center of the layout.
A practical setup workflow
Step 1. Decide whether the extra line is necessary
Ask one question before adding fields: will a reviewer actually use this information?
If the answer is no, leave it out. Extra lines make small mobile screens harder to read.
Step 2. Build the main proof block first
Set the date, time, and location format before adding secondary lines. The primary block should remain scannable in one glance.
Step 3. Add one supporting line at a time
Start with either weather or device, not both, unless your process truly requires both. Review the preview after each addition.
Step 4. Check readability on mobile
Many field photos are reviewed on phones. If the weather or device line wraps awkwardly or pushes the main timestamp too small, simplify the content.
Need time and location together first?
Start with the dedicated time-and-location workflow if the main job is building a readable proof block before adding weather or device details.
Best use cases
Outdoor inspections
Weather context can help explain visibility, surface condition, or why a site looked a certain way on that day.
Patrol and field reporting
Device lines can make a large set of photos easier to sort when multiple phones or capture tools are in use.
Engineering archives
When photos become part of a long project record, extra context can reduce follow-up questions later.
What to avoid
Turning the photo into a data dump
Not every available field needs to appear on the image. Show only what helps review.
Burying the timestamp
If weather or device text pushes the time line out of view, the export becomes harder to trust.
Using inconsistent formats across a team
Pick one layout style and reuse it across similar report photos.
Related guides
Final takeaway
Weather and device overlays are supporting details. Use them when they make a field photo easier to understand later. Open Watermark → More, add only the lines your workflow needs, and keep the main timestamp block clear and readable.