Secure Timestamp Photo Guide for Proof, Verification, and Field Records
Not every timestamped photo has the same job.
Some photos are casual records. Others are meant to support proof, traceability, or later verification. Once the user expectation shifts from "add a visible watermark" to "make this image more standardized and easier to trust," the workflow changes.
That is where a secure timestamp mode becomes useful.
This guide explains when a secure timestamp workflow makes sense, how it differs from ordinary editing, and why some teams prefer it over a more flexible layout process.
What makes a secure timestamp workflow different
A normal timestamp workflow optimizes for:
- speed
- readability
- customization
A secure timestamp workflow optimizes for:
- consistency
- reduced layout drift
- verification-style presentation
- better trust in field documentation
That difference matters. In a normal editor, users often want freedom. In a secure workflow, they often want constraints that make the output easier to review later.
That difference is reflected in the separate secure workflow.
Best scenarios for secure timestamp photos
The strongest scenarios are:
Engineering and site records
Teams need photos that clearly communicate when and where something was documented.
Field inspections
A more locked-down presentation helps teams keep records consistent across multiple people and visits.
Compliance-style archives
Users in sensitive workflows often prefer an output that looks standardized rather than highly customized.
Internal traceability records
Some teams do not need a courtroom-grade evidence chain. They just need records that are harder to casually improvise and easier to review.

Why limited editability can be a feature
In ordinary editing, users like control. In proof-oriented workflows, too much freedom can weaken trust.
That is why a secure mode can intentionally narrow the workflow:
- presentation follows stronger defaults
- verification-style badges stay visually consistent
- summary blocks are easier to standardize
- users focus on the record instead of redesigning every image
This is a different value proposition from the standard editor.
Need proof-oriented output right now?
Open Secure Processing when consistency, verification-style presentation, and field-record structure matter more than freeform editing.
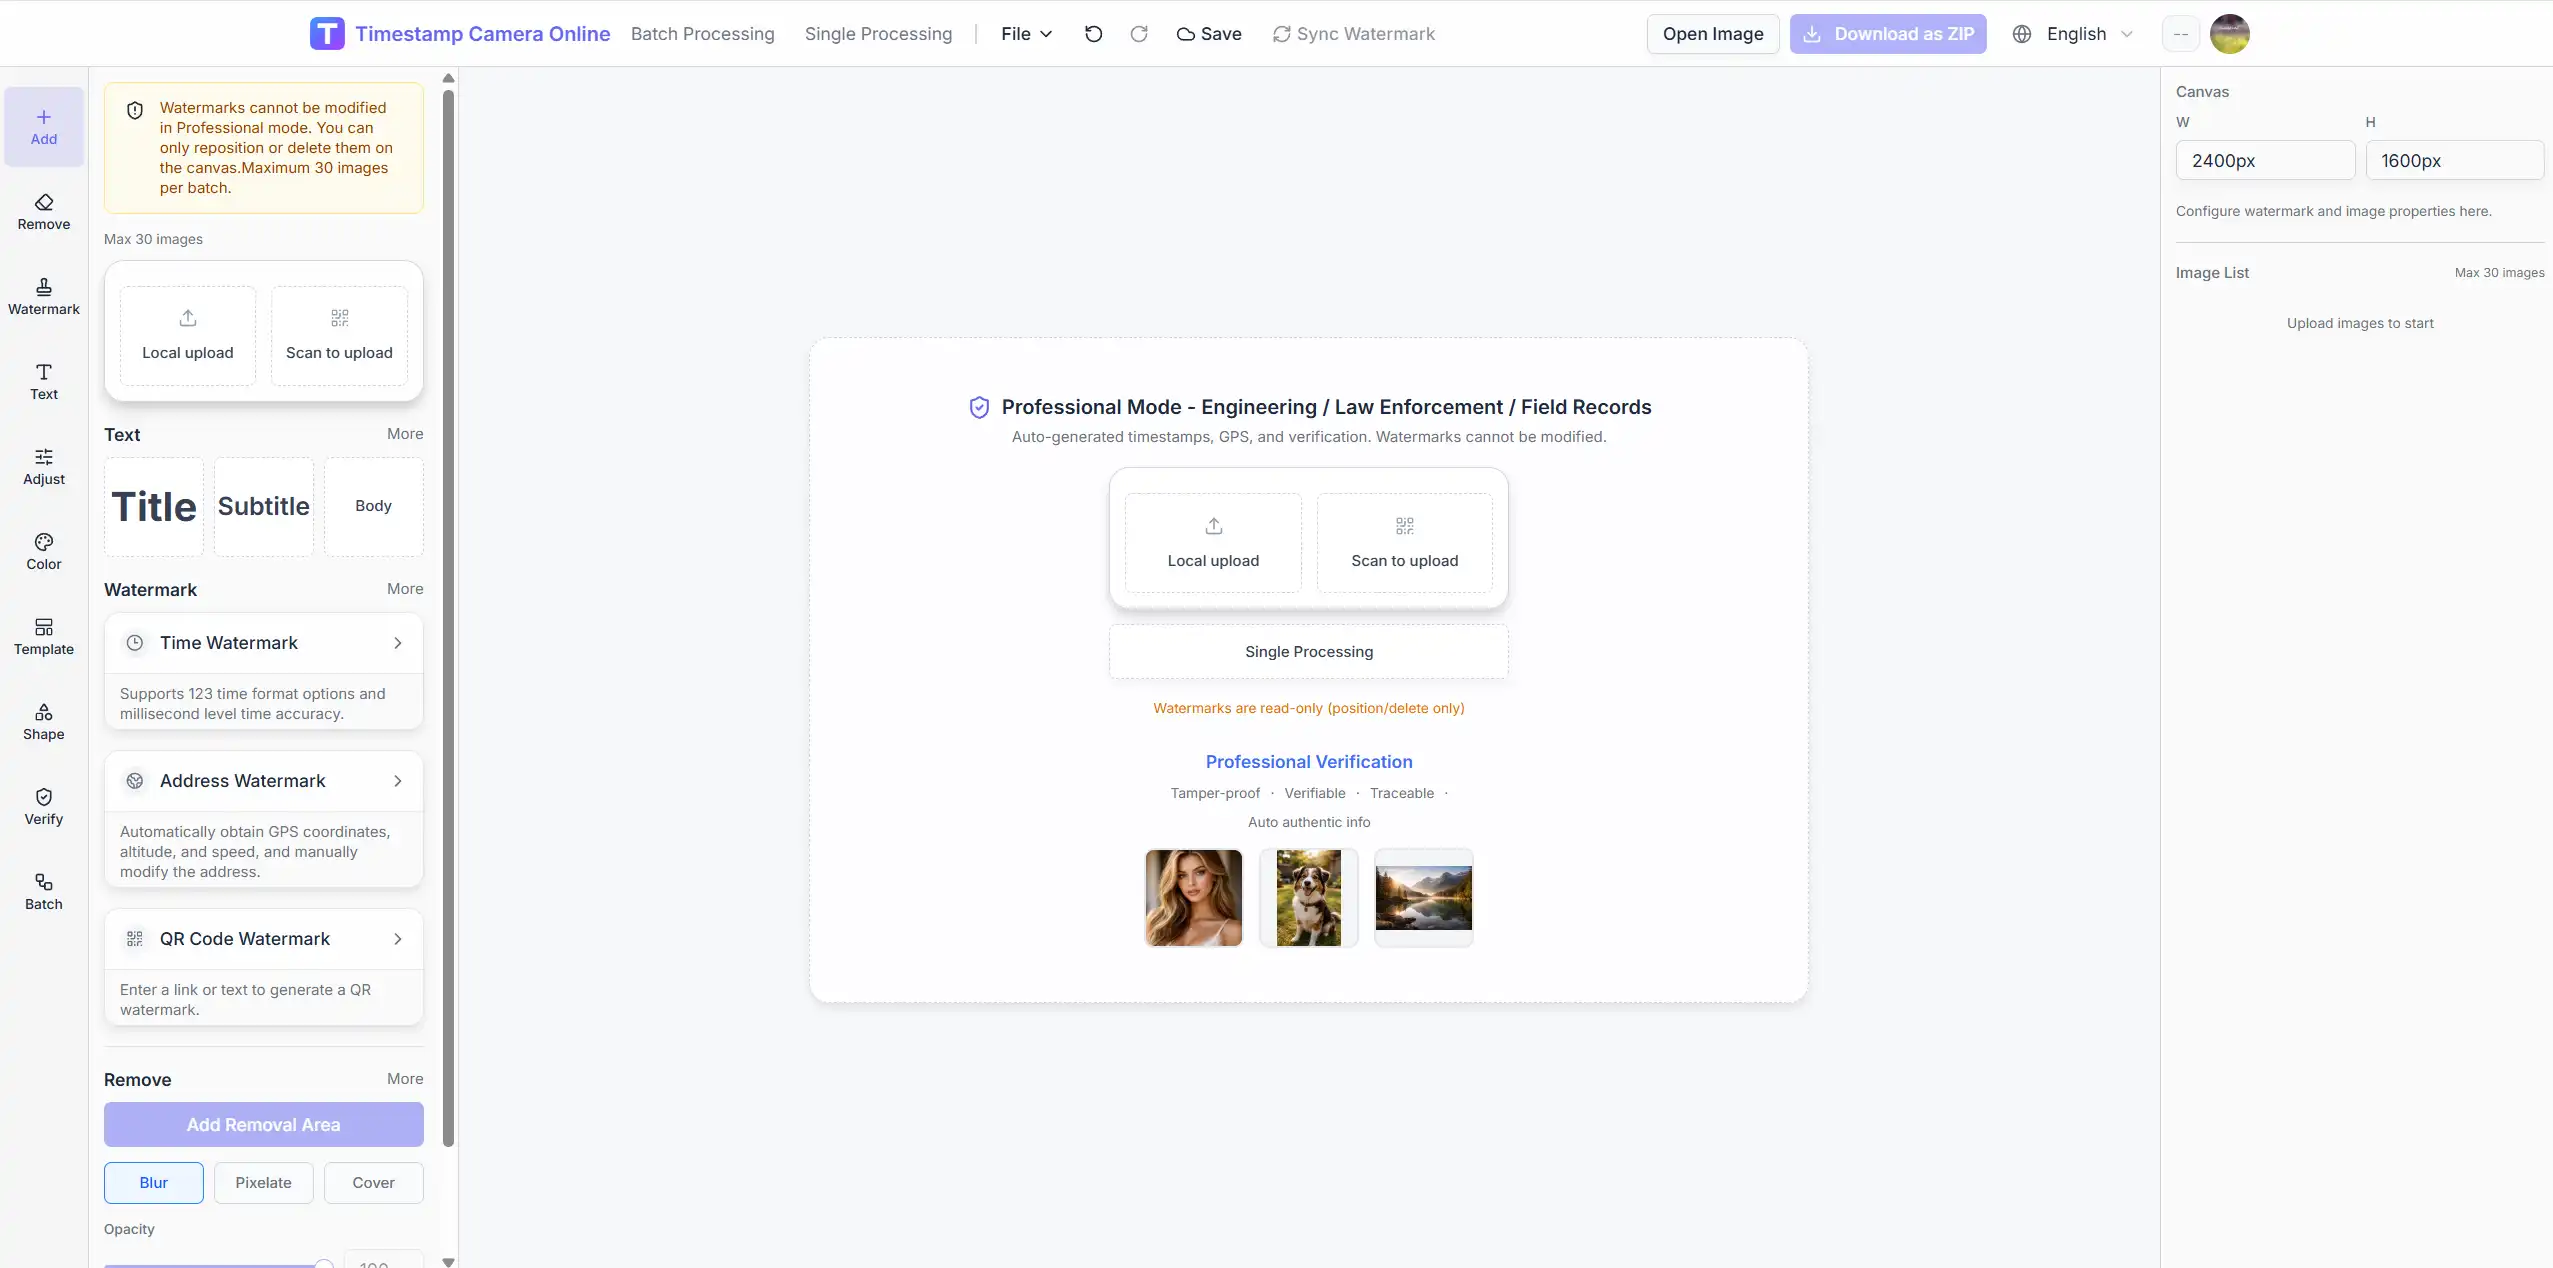
What secure mode can include in practice
A secure-looking output does not have to be visually complicated. In many cases it simply combines:
- timestamp
- location information
- summary text
- signature or seal-style elements
- verification-style badge labels
Examples of verification-style badges may include:
- hash-style visual badges
- time-seal labels
- device-proof labels
- tamper-warning style markers
The value here is mainly presentation and consistency, not a promise that the image has become a formal legal certificate by itself.

How to think about trust in timestamp photos
A secure-looking timestamp image does not magically solve every legal or compliance problem. But it can improve the reliability of a documentation process when used properly.
The real value usually comes from combining:
- consistent formatting
- stable capture process
- time information
- location information
- repeatable team standards
If one photo uses a playful layout and the next uses a proof-style block, the archive feels weaker. Standardization helps.
A practical secure workflow
Step 1. Use secure mode for proof-oriented tasks
If the image is meant for engineering records, inspection evidence, or field reporting, start from secure instead of the normal editor.
Step 2. Keep the output standardized
A secure output should usually preserve:
- one layout style
- one information hierarchy
- one positioning pattern
The point is to reduce ambiguity, not increase decoration.
Step 3. Capture time and location clearly
If the workflow supports it, include:
- timestamp
- location
- verification-style details
Only include what helps the image make sense later.
Step 4. Avoid over-customization
When the goal is trust, customization should not dominate. A clean, stable format is more useful than a highly personalized one.
Secure mode vs normal timestamp editing
| Workflow | Best for | Main benefit |
|---|---|---|
| /editor | everyday editing and customization | flexibility |
| /timestamp-online | broad browser timestamp usage | ease of entry |
| /add-timestamp-and-location-to-photo-online | time + place proof photos | combined information |
| /secure | proof-oriented records | consistency and stronger standardized presentation |
Each route solves a different problem, so separating them keeps the product easier to understand.
Need time and location, but not the full secure workflow?
Use the time-and-location page if your main need is combined proof information without shifting fully into secure mode.
Common mistakes with proof-style photos
Mistake 1. Treating secure mode like a creative editor
If the job is proof or traceability, the output should feel standardized.
Mistake 2. Adding too much information
Proof-oriented does not mean overloaded. The image still needs to be readable.
Mistake 3. Switching between secure and casual styles in one archive
Mixed styles reduce the sense of consistency.
Mistake 4. Assuming secure-looking equals legally sufficient
The image format supports better documentation, but process and context still matter.
Related paths
- secure for standardized proof-style output
- add timestamp and location to photo online for time-plus-place overlays without the full secure flow
- editor for flexible manual editing
Final takeaway
Secure timestamp photos are not just "normal timestamp photos with more text." They serve a different documentation purpose.
When users care about traceability, consistency, and verification-style presentation, the dedicated secure workflow is usually the better fit.