How to Crop and Rotate a Photo Before Adding a Watermark
A timestamp overlay only looks professional when the base image is framed correctly. If the photo is sideways, too wide, or full of empty space, the final export will feel accidental even when the time format itself is correct.
The Adjust panel exists for that cleanup step. Use it before you finalize watermark placement.
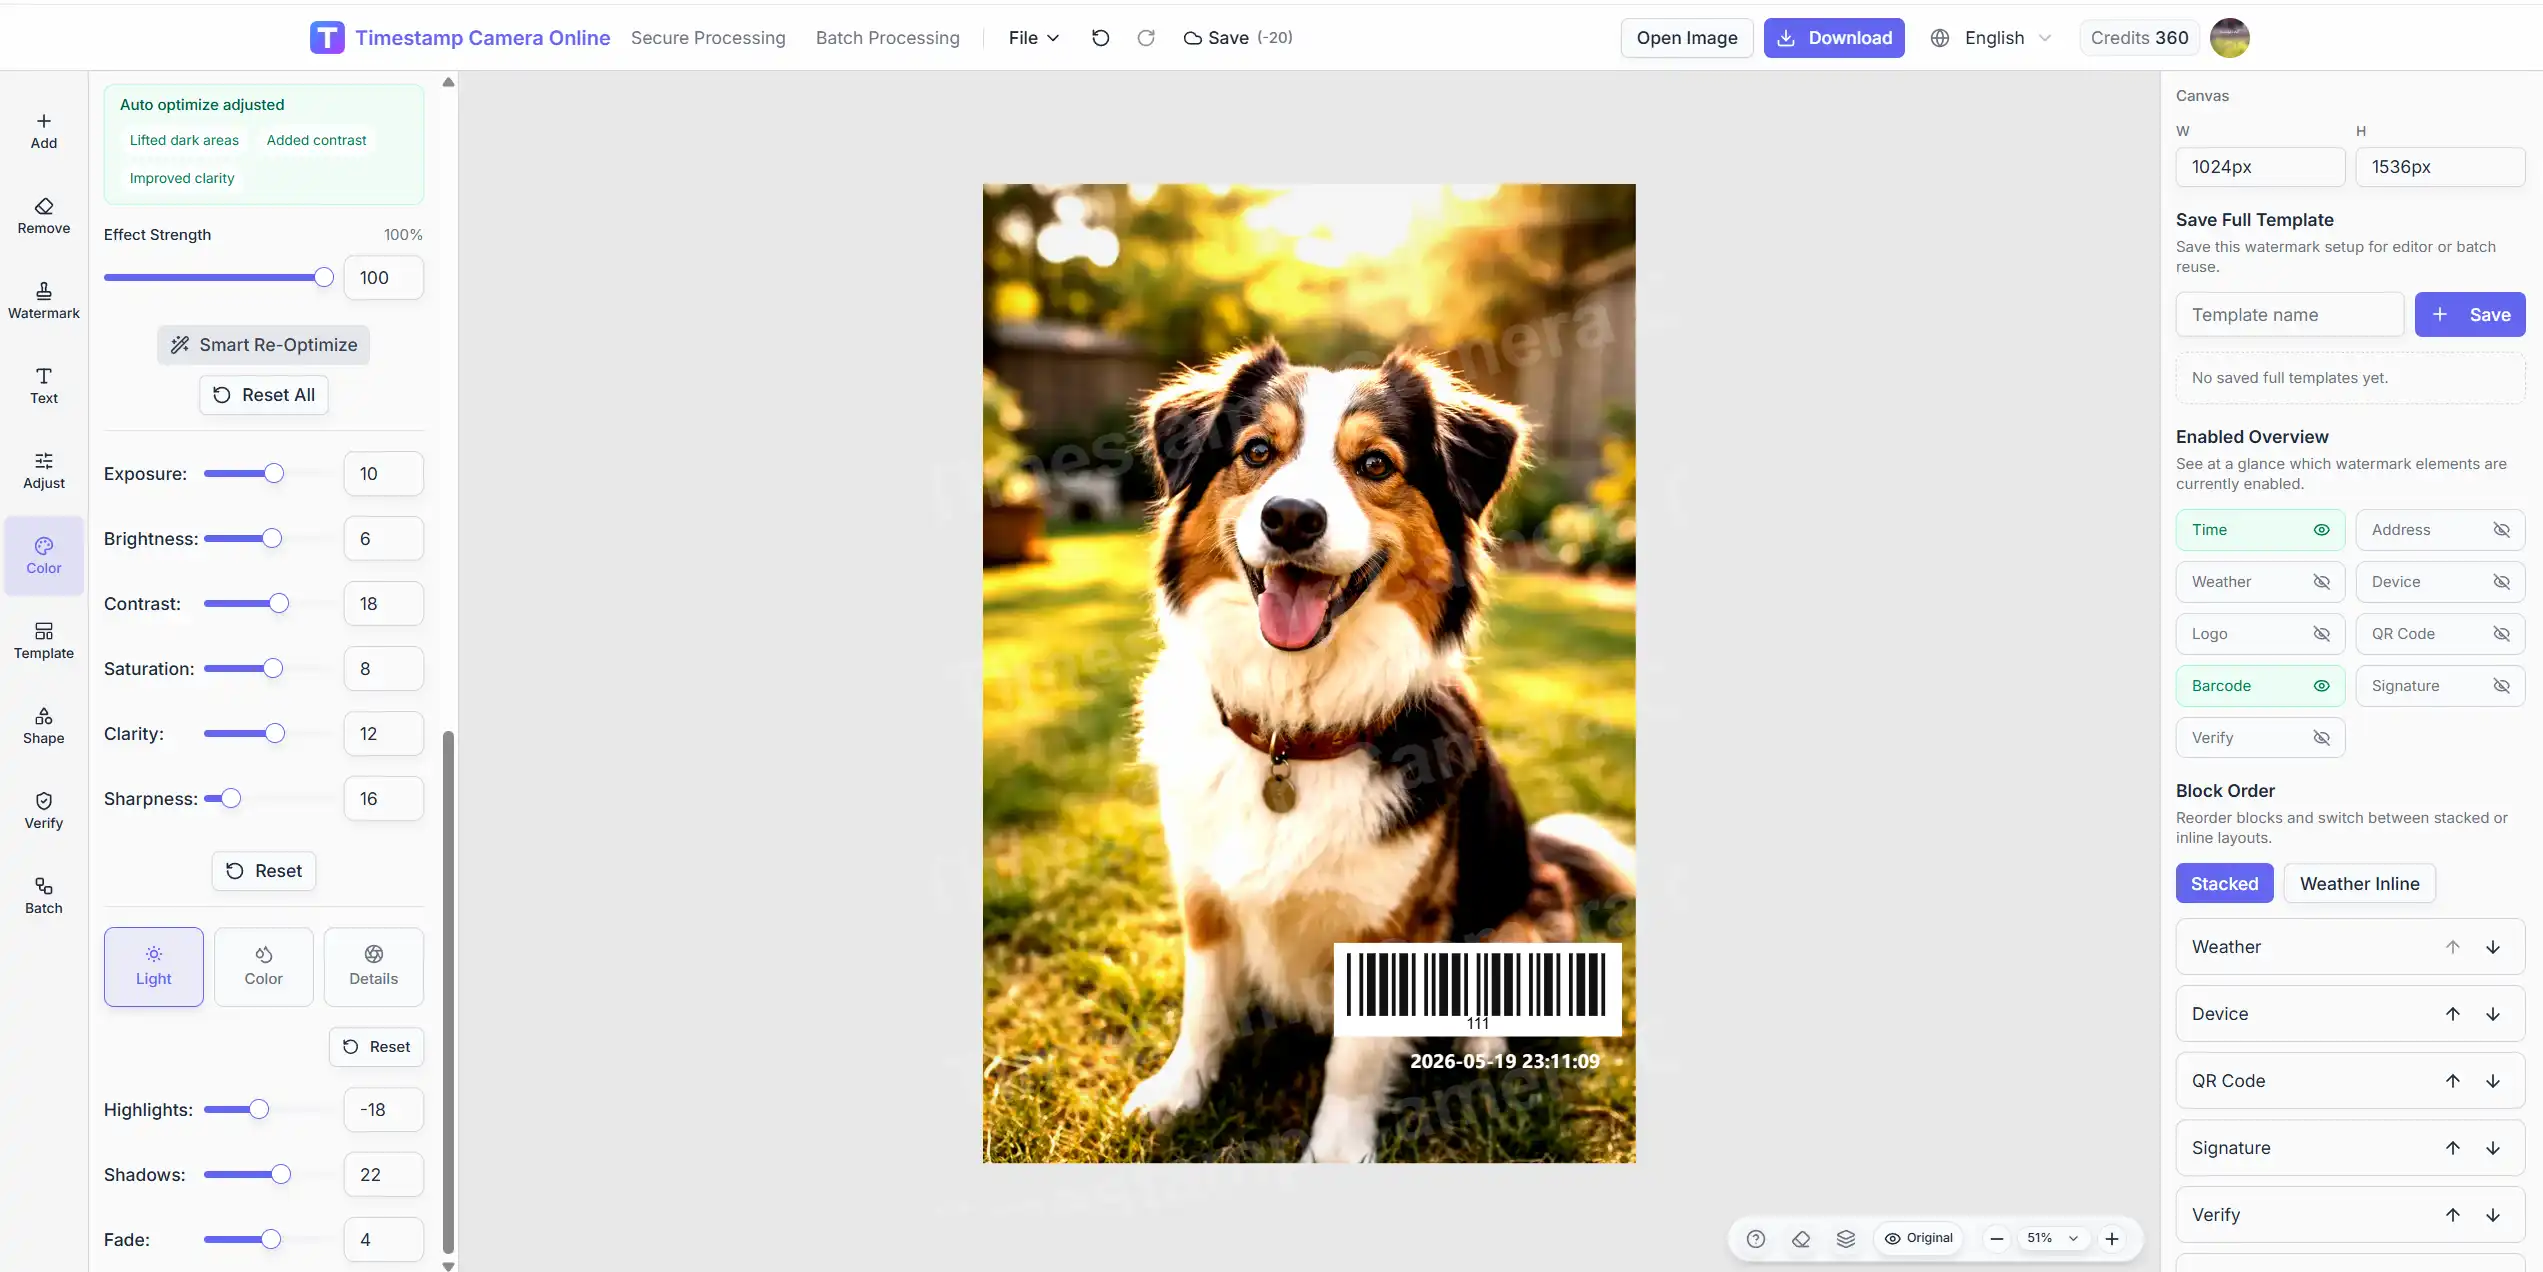
Why adjust comes before export
Documentation photos often arrive from phones, messaging apps, or field uploads. That means you may need to:
- straighten a sideways capture
- crop out irrelevant edges
- match a report-friendly aspect ratio
- reset a bad framing decision before overlays are placed
Doing this after the watermark is added usually wastes time. Framing first keeps the timestamp block stable.
What you can do in the Adjust panel
Open the editor, upload your image, then select Adjust on the left.
The panel includes:
Crop
- free crop for irregular images
- preset aspect ratios for common report formats
- custom ratio when your team uses a fixed frame
Rotate and flip
- rotate by angle
- flip horizontally or vertically when needed
- choose whether the canvas expands automatically after rotation
Adjust presets
- save a framing or adjustment setup you reuse often
- apply a saved preset to similar photos
Recommended workflow
Step 1. Fix orientation first
If the photo is sideways or upside down, rotate before cropping. This prevents you from cropping the wrong dimensions.
Step 2. Crop to the subject
Remove empty sky, pavement, or unrelated background when the photo is for a report, inspection, or proof record.
Step 3. Place the watermark block
Once the frame is stable, move to Watermark or Text and position the documentation overlay in a consistent corner or footer area.
Step 4. Save a preset if the team repeats the same format
If your group uses one report ratio or one adjustment style often, save it as an adjust preset for the next photo.
Need crop and timestamp in one session?
Open the full editor to crop, rotate, add the timestamp, and export without switching tools.
Best practices
Keep one house ratio for report photos
Teams review faster when all photos in one batch share the same framing logic.
Do not crop out the evidence
Crop for clarity, not for convenience. Removing the subject area defeats the purpose of the photo.
Recheck watermark position after rotation
A corner that worked before rotation may need to move afterward.
Common mistakes
Adding the timestamp first and cropping later
This often forces you to reposition every overlay manually.
Using extreme crops on proof photos
If the image becomes too tight, reviewers lose context.
Ignoring mobile review
A crop that looks fine on desktop may remove important context on a phone screen.
Related guides
Final takeaway
Good documentation starts with a clean frame. Use Adjust to rotate and crop first, then add your timestamp or proof block on the final composition.