How to Edit Timestamp on a Photo Online Without Reinstalling Anything
Many users do not need a generic timestamp app. They already have a photo and want to change the visible date or time shown on that photo. That is a different task from adding a first timestamp from scratch, and it deserves a clearer workflow.
This guide explains how to edit timestamp text online using a browser-based editor, when to keep the original layout, when to cover the old visible stamp, and when to rebuild the full timestamp block for a cleaner result.

When users usually need to edit a timestamp
In practice, timestamp editing requests usually fall into one of these categories:
- The visible date or time on the photo is wrong.
- The format is too long, too short, or hard to read.
- The original timestamp overlaps the subject.
- The user needs to replace a casual timestamp with a more formal proof-style layout.
- A team wants a consistent output format across all documentation photos.
These are editing problems, not just watermark problems. That is why it helps to keep both a focused correction path and the full editor available.
Visible timestamp vs metadata timestamp
Before editing anything, it helps to separate two ideas:
1. Visible timestamp
This is the text that appears directly on the photo, such as:
2026-05-12 14:32:08
This is what most users mean when they search for edit timestamp online.
2. File metadata
This is hidden data stored inside the image file, such as EXIF information. Changing the visible overlay does not automatically rewrite every metadata field, and in many business workflows the visible proof layer is the real requirement.
If your workflow is about field reports, inspections, or communication records, the visible timestamp is usually what stakeholders actually review.
Step-by-step workflow to edit a timestamp online
Use this workflow when you already have a photo and want to change what the timestamp looks like.
Step 1. Upload the source image
Open the timestamp editor and upload the image that needs correction. If the image already contains a visible time block, first decide whether you are:
- updating the existing area with a new overlay
- moving the timestamp to a cleaner position
- rebuilding the whole timestamp block with a new format
Step 2. Decide whether the old visible stamp should stay
This is the part many users skip.
If the old timestamp is still acceptable and only the wording needs a change, you may be able to keep the same general placement. But if the old stamp is ugly, blurry, misaligned, or already baked into the wrong corner, trying to "edit around it" often leads to a worse result.
In those cases, treat the old timestamp as something to clean up first.
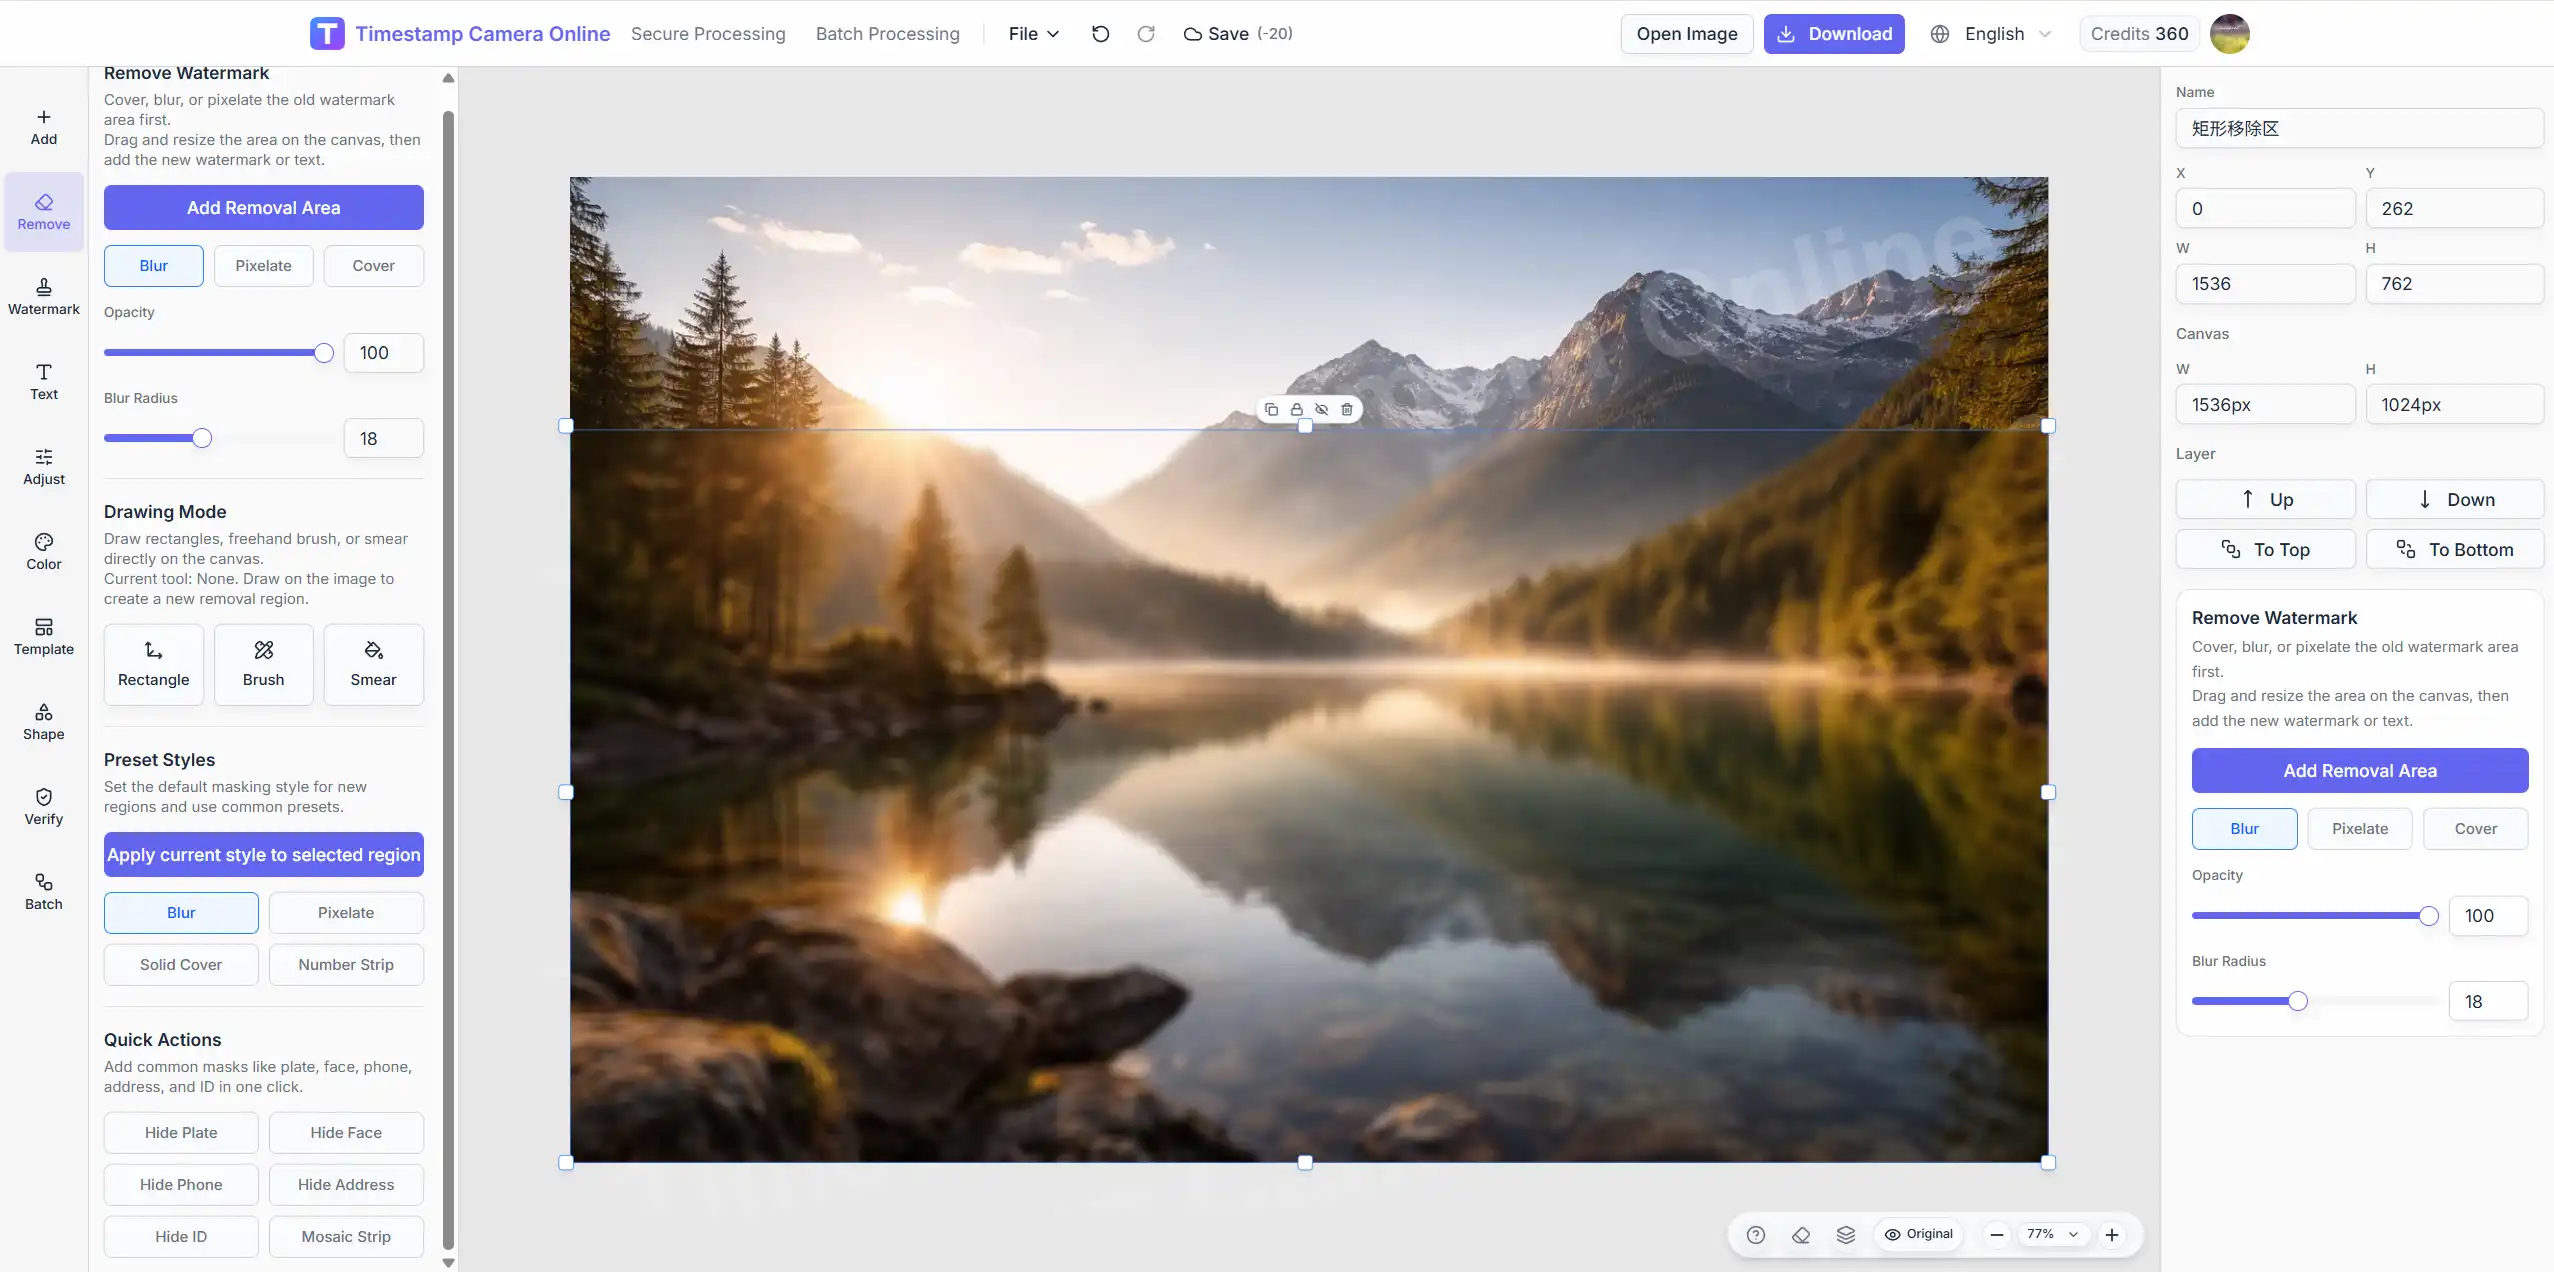
Step 3. Cover, blur, or mask the old timestamp area
If the original visible timestamp is printed on the photo itself, the cleanest workflow is often:
- cover, blur, or pixelate the old timestamp area
- reposition the new timestamp where it reads clearly
- export a cleaner final image
This is especially useful when:
- the old stamp has low contrast
- the old text is the wrong format
- the original corner now overlaps an important subject
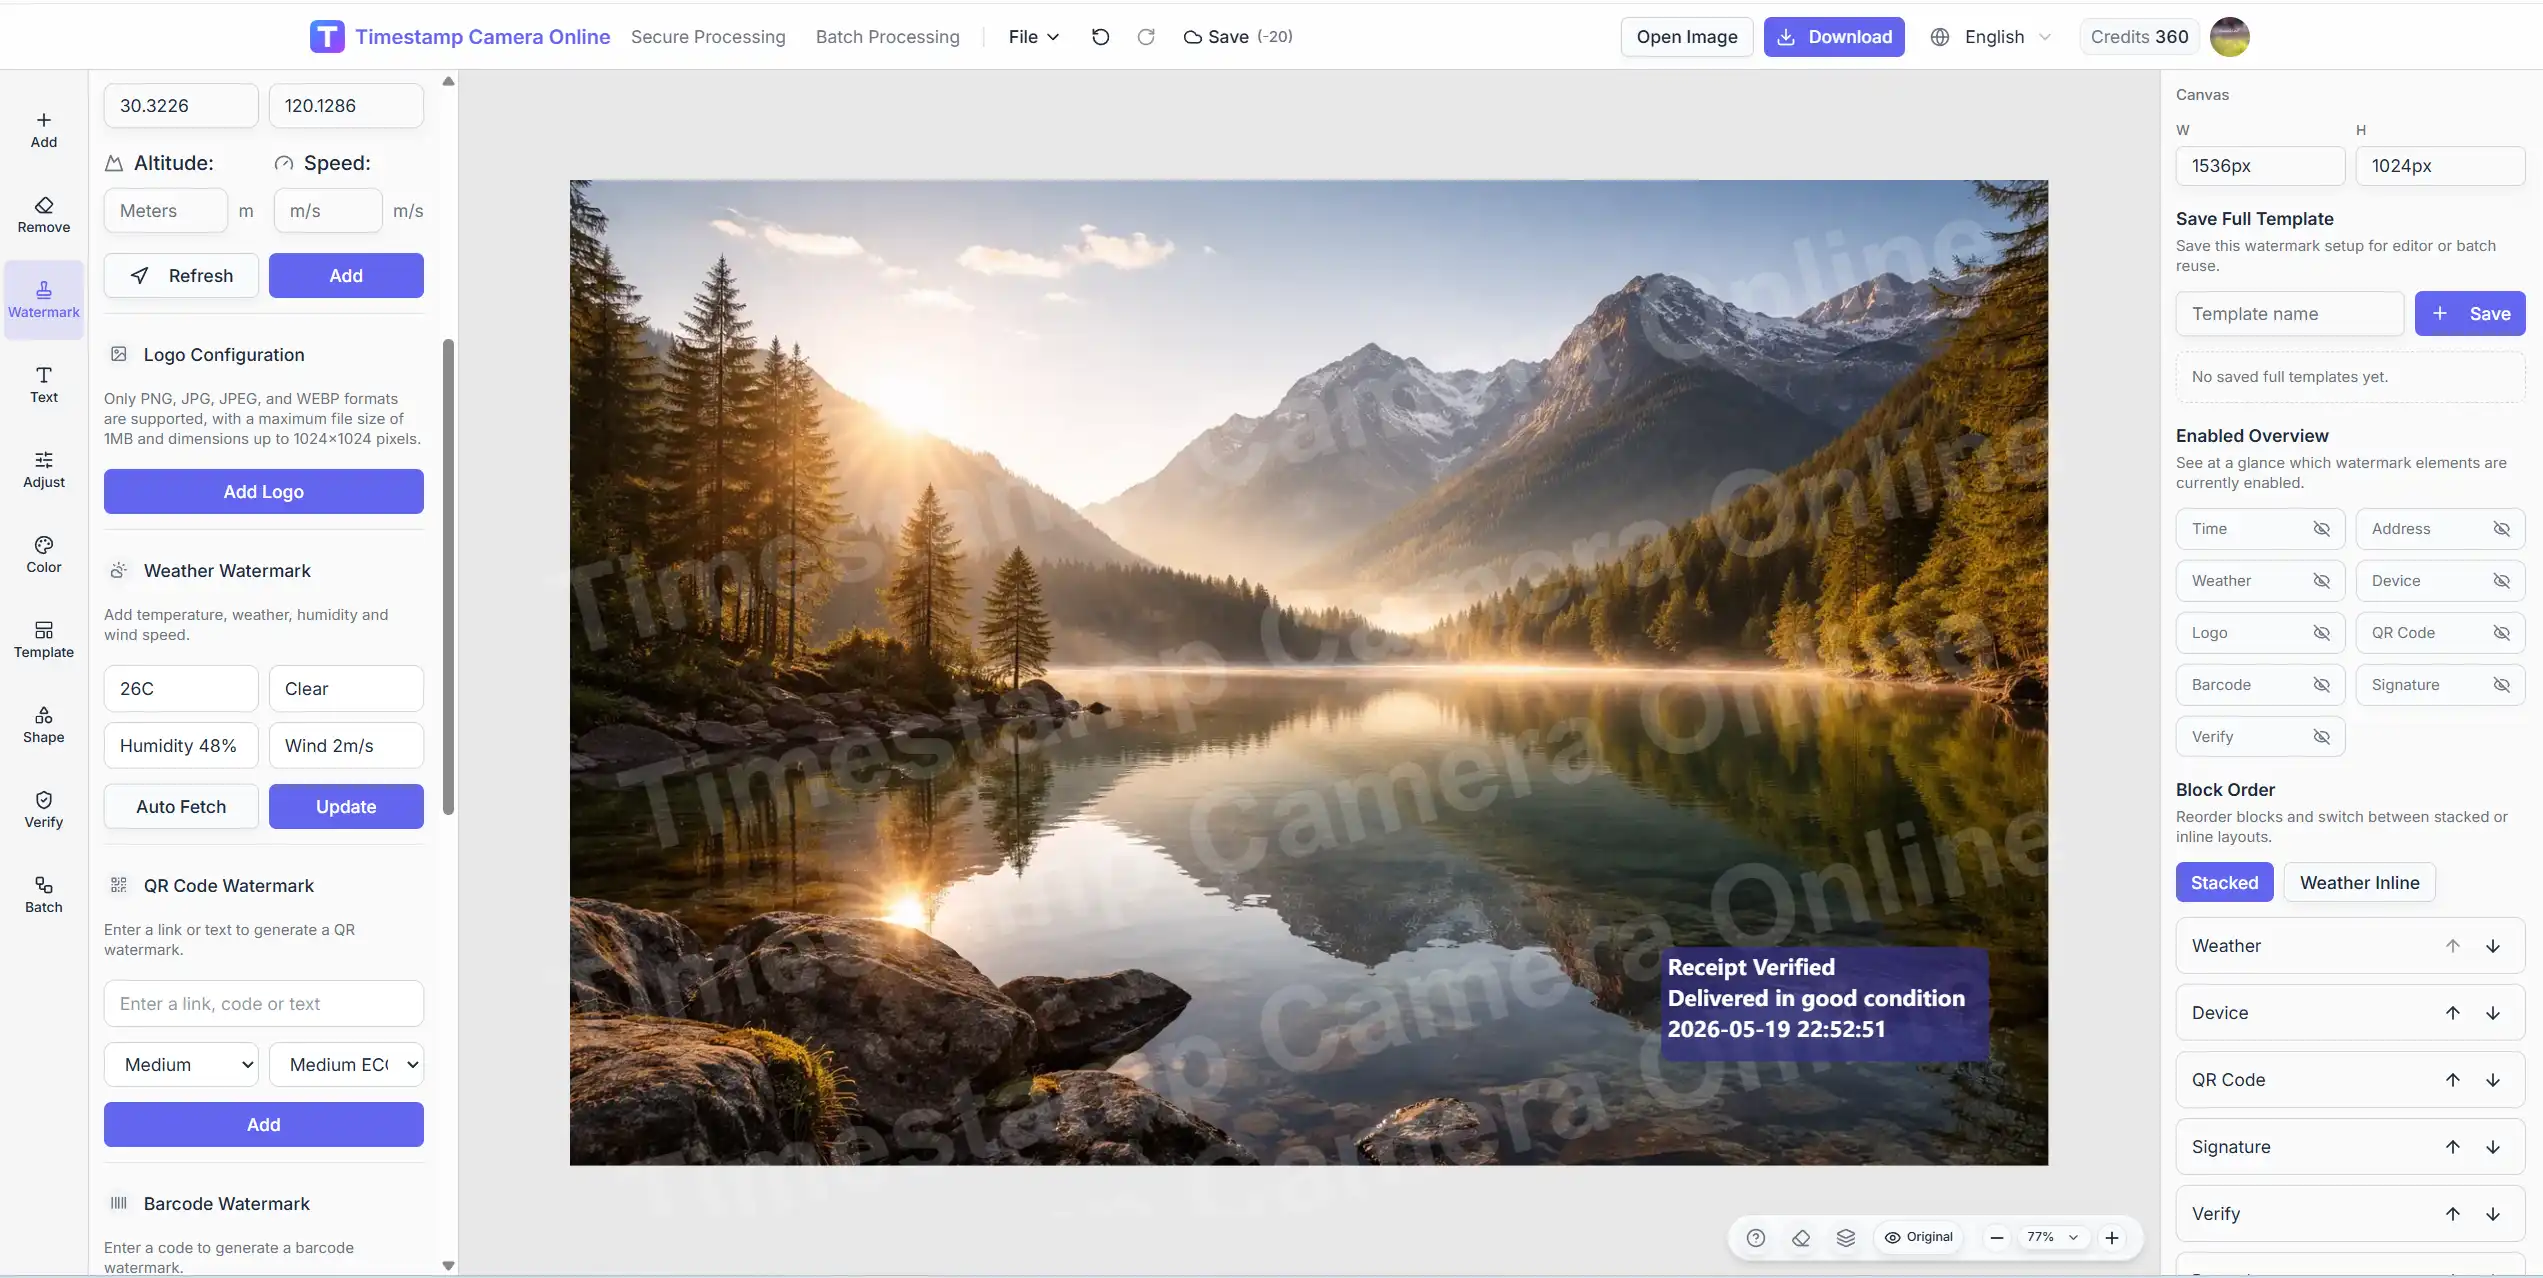
- the photo also needs location, signature, or proof-style summary text
If the old timestamp blocks a face, object, or defect area, move it. Editing is not just about the text value. It is also about presentation quality.
Step 4. Choose the new date and time format
Different scenarios need different formats:
| Scenario | Recommended format | Why |
|---|---|---|
| General proof photos | YYYY-MM-DD HH:mm:ss | Clear and widely understood |
| Internal work logs | YYYY/MM/DD HH:mm | Short and efficient |
| High-precision records | YYYY-MM-DD HH:mm:ss.SSS | Useful when exact sequence matters |
| International teams | ISO-like layout | Easier across regions |
If you are documenting attendance, delivery, inspection, or project progress, avoid decorative formats that reduce readability.
Need the shortest path to correction?
Open the dedicated edit timestamp page if your task is specifically changing visible date and time on an existing photo.
Step 5. Reposition the visible timestamp
The best timestamp is readable without competing with the subject. In most documentation-style images:
- bottom-left works well for reports
- bottom-right works well for mobile capture screenshots
- top corners are useful when the bottom area contains important objects
Step 6. Adjust style for proof, not decoration
For most real workflows, use:
- strong contrast
- medium font size
- stable edge spacing
- simple typography
- a background or shadow if the image is visually busy
Avoid making the timestamp too transparent. If someone needs to zoom in to read it, the export is not doing its job.
Step 7. Export and check the final result
Before downloading, review three things:
- Is the time value correct?
- Is the format consistent with your process?
- Is the timestamp readable on both desktop and mobile?
That final check matters more than users expect. A lot of timestamp edits fail not because the value is wrong, but because the result is hard to review later.
When to rebuild instead of lightly editing
Sometimes small edits are not enough. Rebuild the timestamp block when:
- the existing overlay is blurry
- the old layout uses too many lines
- the timestamp color disappears into the background
- the photo now needs time plus other proof elements
If you need to add location as well, use the more specific workflow in add timestamp and location to photo online.
Need full control over the layout?
Use the full editor if you need to reposition, restyle, cover the old stamp, and rebuild the timestamp block instead of making a small correction.
Best practices for readability
When users export timestamped photos for teams, clients, or compliance workflows, consistency matters.
Keep one standard format
Do not switch formats every day. Pick one house style and reuse it.
Leave enough padding
Timestamps that sit too close to image edges look accidental and are harder to review.
Match output to audience
- Internal project logs can be compact.
- External proof photos should be explicit.
- Legal or claim-related photos should favor full date and full time.
Common mistakes when editing timestamps
Mistake 1. Treating timestamp edits like graphic design
This is usually a documentation task, not a poster. Clean and readable beats stylish.
Mistake 2. Keeping the wrong position
Users often update the time text but keep a poor placement. If it overlaps important content, move it.
Mistake 3. Refusing to clean up the old stamp
If the original visible stamp is bad, forcing the new one into the same area usually looks worse than masking the old area and rebuilding the layout.
Mistake 4. Using inconsistent export rules
If one photo uses 2026/05/12 and another uses 12-05-2026, your archive becomes harder to scan.
Mistake 5. Ignoring the mobile review case
A timestamp that looks fine on a large screen may fail on a phone.
Related paths
If you want to continue from here, the most useful next steps are:
- Timestamp online: for adding a visible date and time quickly
- Edit timestamp online: for correcting an existing visible timestamp
- Editor: for deeper layout, cleanup, and formatting control
Final takeaway
Editing a timestamp online is not just changing numbers. It is about creating a final image that is accurate, readable, and appropriate for the real workflow behind the photo.
If the user intent is correction, the best path is:
- Upload the photo
- Decide whether the old visible stamp stays
- Cover or rebuild if needed
- Replace and reposition the visible time
- Export a clean final image
That is why it helps to keep both a quick correction path and a full editing workspace available when different users need different levels of control.