How to Use Text Templates for Timestamp Documentation Photos
Not every documentation photo needs a custom-written block from scratch. Many field workflows repeat the same information structure: project name, site label, inspection note, handoff summary, or status line.
The Text panel helps you insert those blocks faster and keep them more consistent across photos.
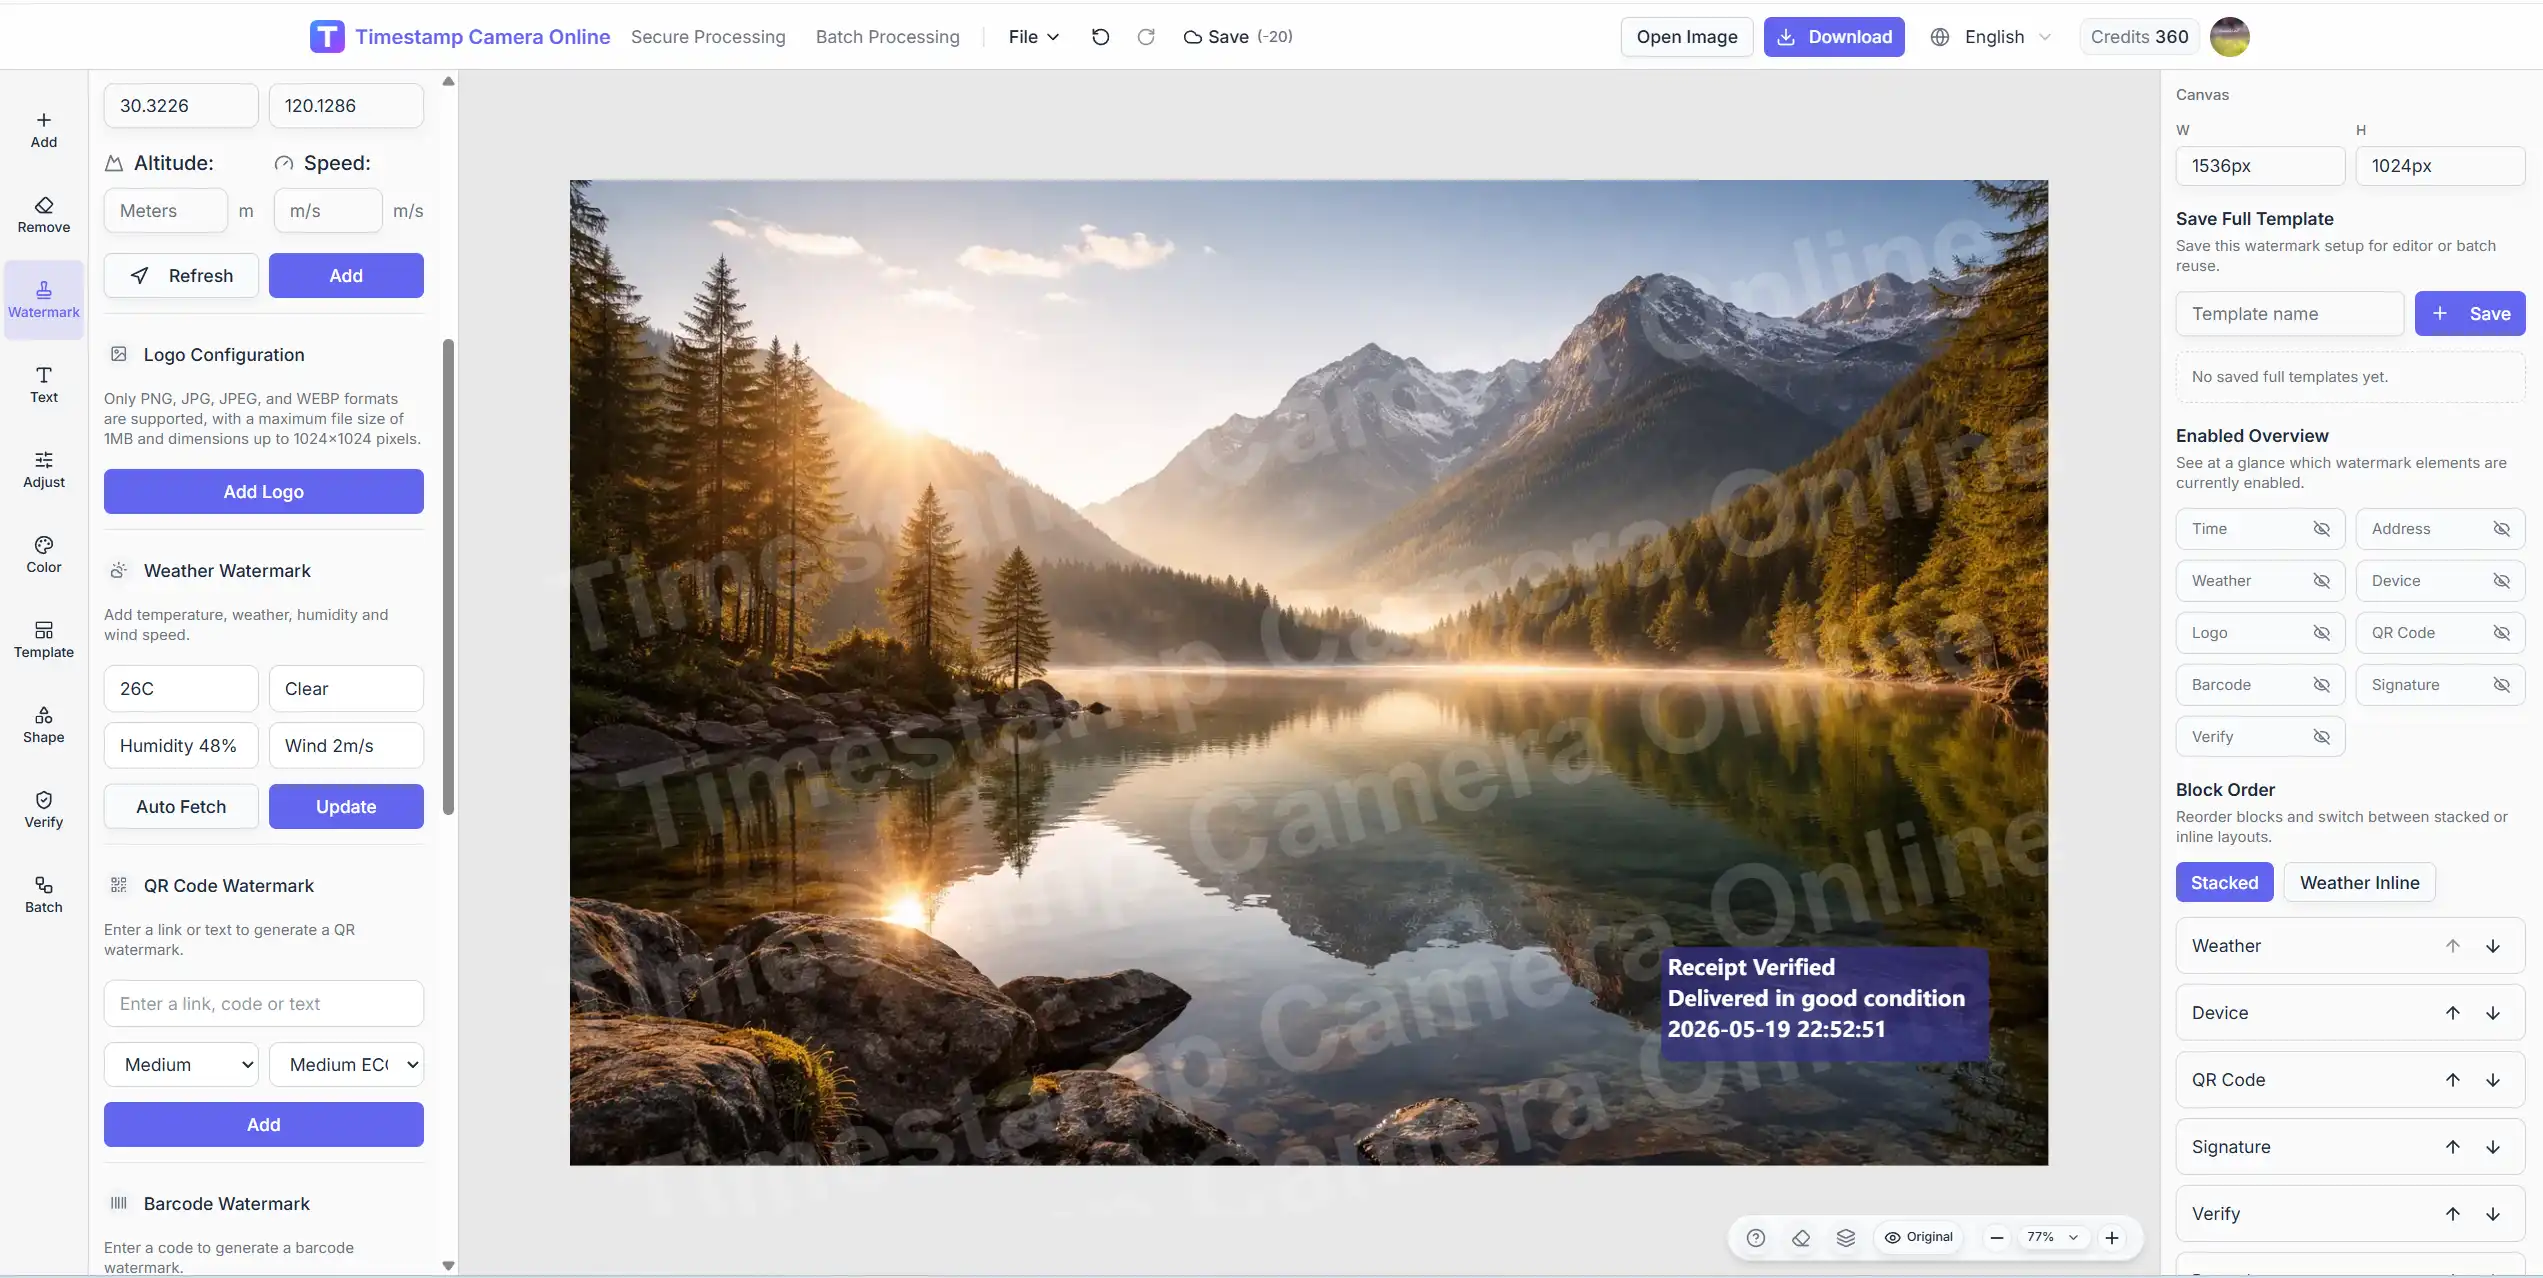
What the Text panel is for
The Text module is more than a single text box. It supports:
- title, subtitle, and body fields
- ready-made templates for common industries
- favorites and recent templates
- custom saved templates
- variable inserts that pull context from the current setup
This is useful when the photo needs a readable summary block in addition to time and location.
Where to start
Open the editor, upload your image, then select Text on the left.
The primary view gives you quick entry fields and a template shortcut list. Select More when you want the full template browser and custom template tools.
Practical ways to use templates
Engineering and site records
Use templates for project name, inspection status, defect note, or rectification summary.
Property and patrol workflows
Templates can speed up visit notes, area labels, and issue descriptions.
Logistics and delivery proof
Short handoff lines, route notes, or package condition summaries fit well here.
Retail and display checks
Use repeatable text blocks for shelf review, display compliance, or campaign checks.
A better text workflow
Step 1. Choose the information hierarchy first
Decide what belongs in:
- title
- subtitle
- body
A strong layout usually keeps the most important line short.
Step 2. Insert a template instead of retyping
Pick a template that matches the scenario, then edit only the fields that change from photo to photo.
Step 3. Save custom templates your team repeats
If your group uses the same note structure every day, save it once and reuse it.
Step 4. Use variable inserts when the text should reflect live context
Variable templates are helpful when the block should include dynamic values from the current editing session rather than static placeholder text.
Step 5. Fine-tune on the right panel
Templates are a fast start, not the final design. Adjust font, placement, and size after insertion if the preview needs it.
Need text plus timestamp on one image?
Combine the Text panel with Watermark blocks to build a complete documentation layout in one export.
Best practices
Keep the first line scannable
Reviewers should understand the photo category in one glance.
Do not overload the image with paragraphs
A documentation photo is not a report page. Use short blocks.
Standardize template choice across a team
Shared favorites reduce formatting drift.
Common mistakes
Inserting a template and never editing the fields
Placeholder text in a final export looks unprofessional.
Putting long body text over the subject
Move text blocks to open areas or use a footer-style layout.
Creating too many nearly identical custom templates
A smaller set of well-designed templates is easier to maintain.
Related guides
Final takeaway
Text templates save time when the structure repeats but the details change. Open Text, insert the closest template, edit the fields that matter, and export once the summary block supports the photo instead of crowding it.