How to Add a Logo, Signature, or Seal to a Photo Watermark
Some photos need more than time and location. They also need to show who produced the image, which team owns the record, or who approved the field result.
That is where logo, signature, and seal-style overlays help. They turn a plain timestamp photo into a more complete documentation export.
When these overlays are worth adding
Logo and signature layers are most useful when:
- a field team needs branded report photos
- an inspector must show approval or responsibility
- a contractor wants ownership visible on exported images
- a creator wants author labeling on shared visuals
- a company standard requires logo placement on proof photos
They are not required for every photo. Use them when the audience needs to know source or approval at a glance.
Where to find the controls
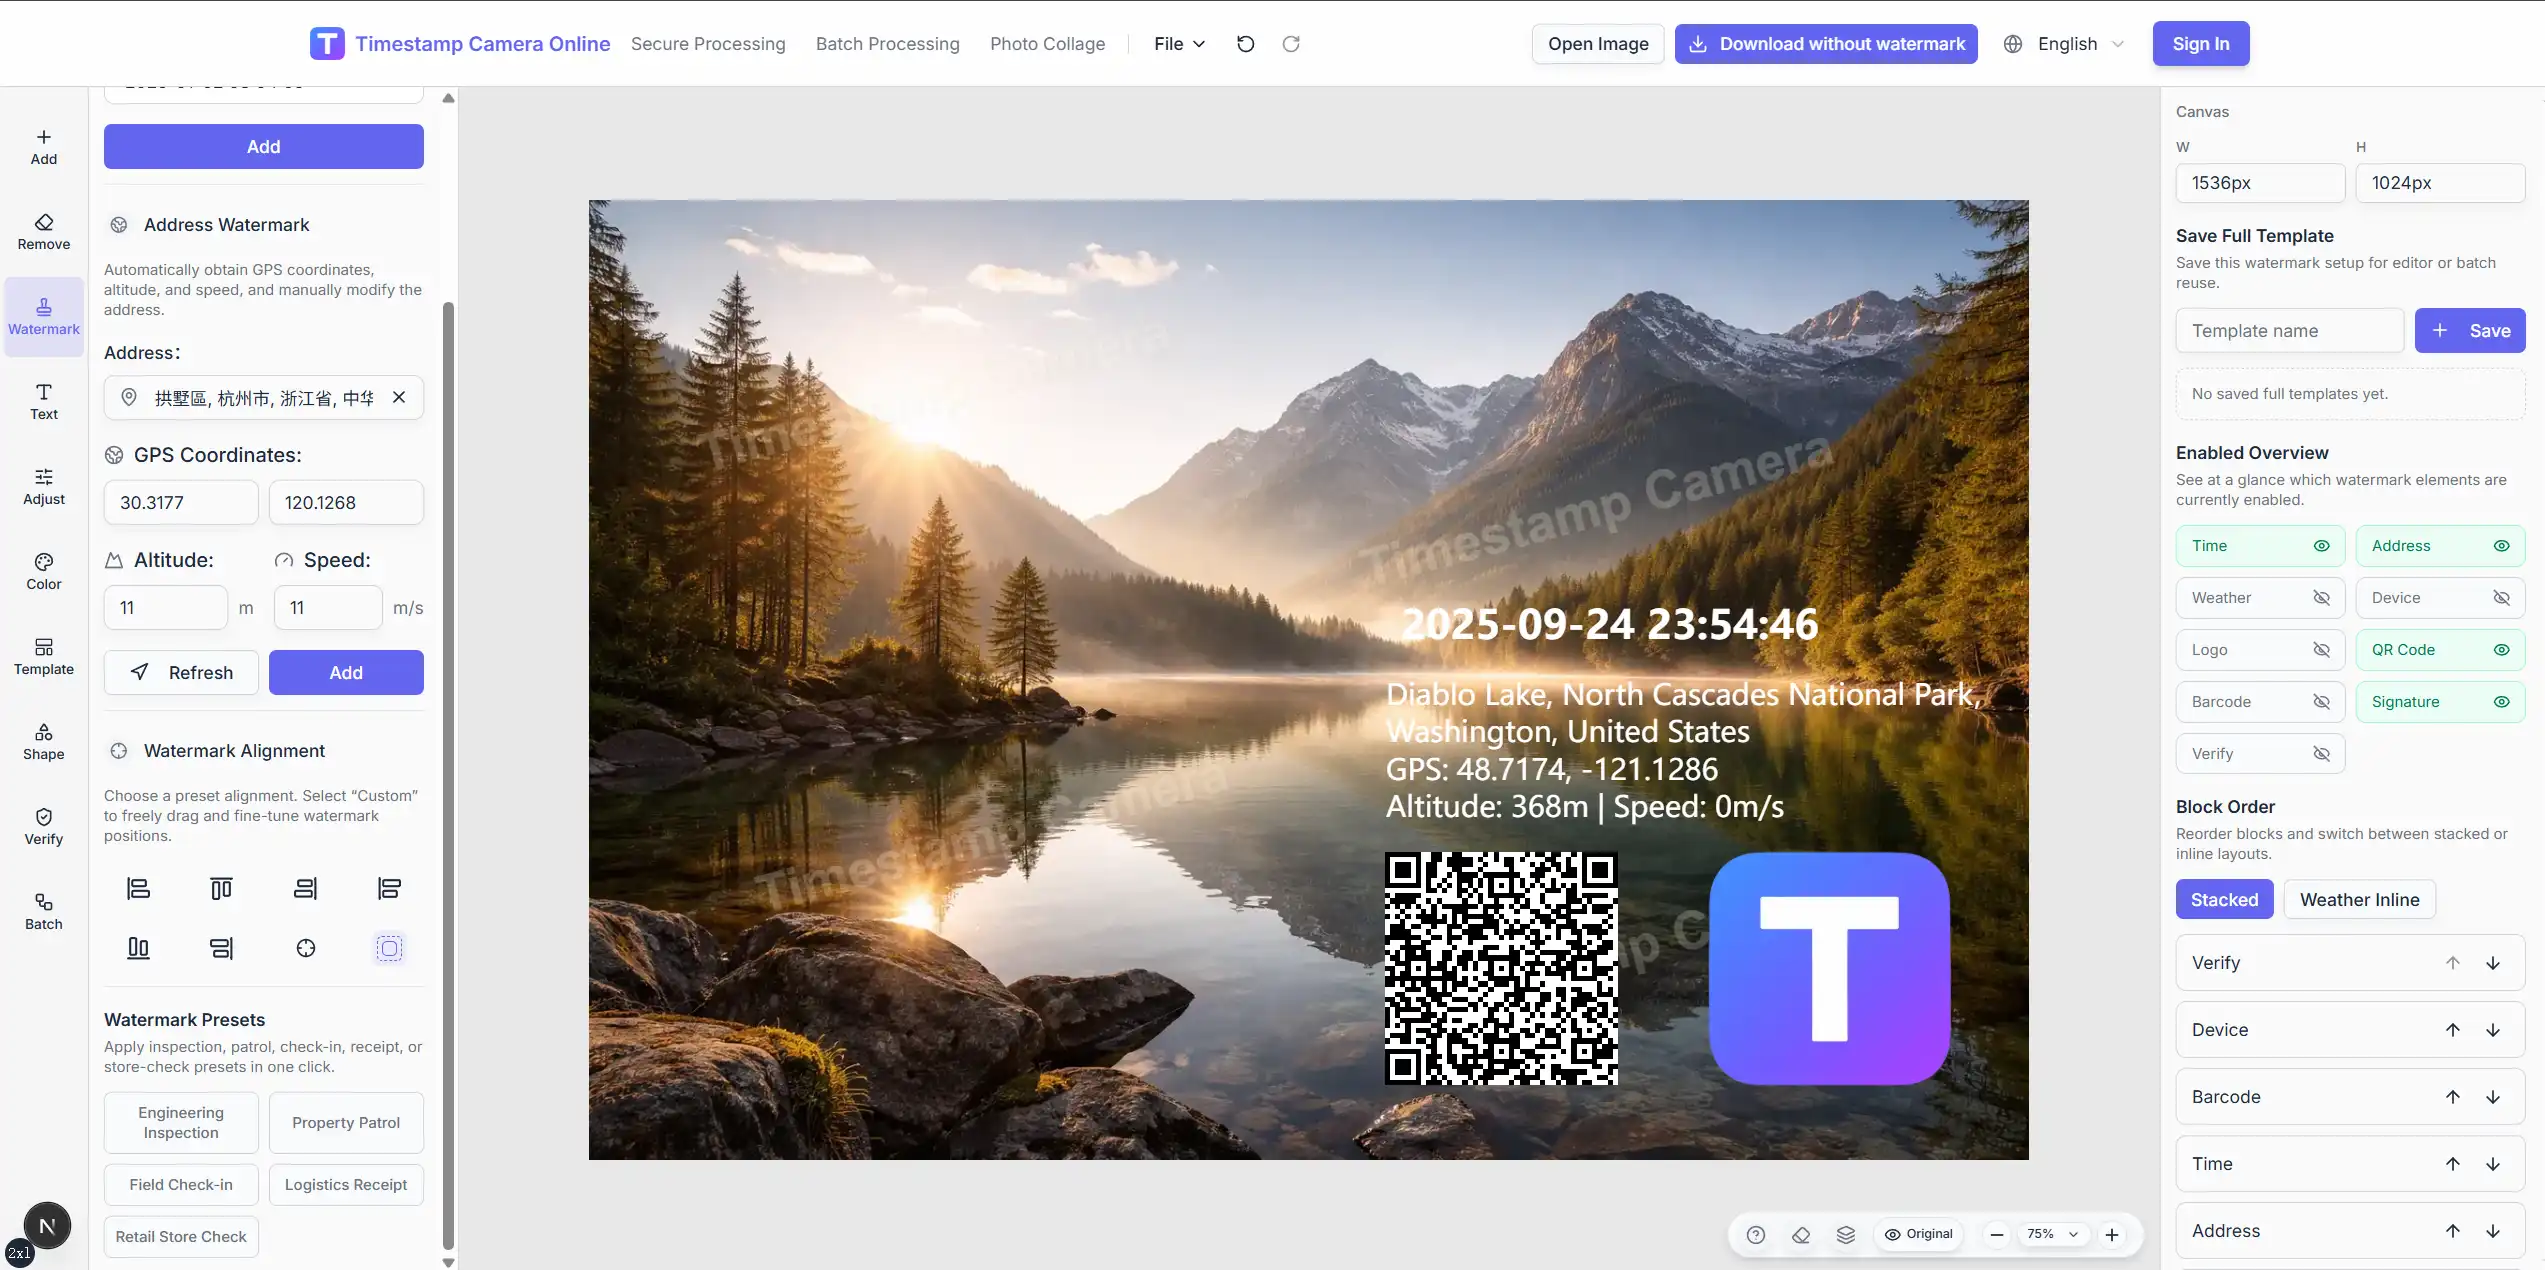
Open the editor, upload your image, then select Watermark on the left.
The primary watermark view shows time, address, and alignment first. Select More to open the full watermark list, including:
- Logo
- Signature
These sit alongside weather, QR code, barcode, and device blocks in the extended watermark panel.
Adding a logo
Choose a clean source file
Use a PNG with a transparent background when possible. Simple logos read better at small sizes than busy artwork with thin lines.
Set size before fine-tuning position
Start with a modest width so the logo supports the photo instead of dominating it. Documentation photos usually work best when the logo stays in a corner or footer area.
Keep contrast practical
If the logo disappears on bright sky, pavement, or white walls, add a subtle background, shadow, or move it to a calmer area of the image.
Adding a signature or seal-style mark
The signature block supports handwritten-style marks and seal-style presets. This is useful for:
- supervisor approval
- inspector sign-off
- team identity on recurring reports
- author marks on creative or branded exports
After upload, adjust cleanup and contrast controls if the mark needs to look clearer on the photo background.
Signature vs seal-style output
A handwritten signature works well for personal approval or author labeling. A seal-style mark is often better when the photo should look more formal, such as inspection archives or standardized field records.
Placement tips that keep exports readable
For most work photos:
- keep logos in a corner away from the main subject
- place signatures near the documentation block, not across the center of the scene
- avoid stacking logo, signature, and timestamp in three different corners unless the layout truly needs it
A cleaner hierarchy is usually: subject first, documentation block second, brand or approval mark third.
Need logo and timestamp in one export?
Open the full editor to combine time, location, logo, and signature layers, then adjust each layer from the properties panel.
Common mistakes
Making the logo too large
A logo should identify the source, not compete with the photo subject.
Using a low-contrast signature
If the mark is hard to read on mobile, the export fails its documentation job even if the signature file itself looks fine.
Placing brand marks over critical evidence
Keep arrows, defects, delivery items, and faces unobstructed.
Related guides
- QR code on photo: when the image should link to a record page
- Secure timestamp photo guide: when you need a more standardized proof-style output
- Complete timestamp camera guide: for the full editor capability map
Final takeaway
Logo and signature layers are not decorative extras. They help viewers understand who created or approved the photo. Upload the image, open Watermark → More, add the mark, keep it readable, and export once the layout supports the real workflow behind the image.