How to Add a Barcode to a Photo Online
QR codes are common on modern documentation photos, but barcodes still matter in many operational workflows. Asset tags, warehouse labels, shipment IDs, and legacy systems often expect a barcode rather than a square code.
If your photo needs to carry a scannable ID in a linear format, a barcode overlay is the right choice.
When a barcode is better than a QR code
Use a barcode on a photo when:
- your internal system already prints or scans linear codes
- the record ID is numeric or alphanumeric in a barcode-friendly format
- warehouse or inventory staff expect a traditional label style
- the photo must match an existing asset tag workflow
Use a QR code instead when the image should open a URL, checklist, or richer mobile landing page.
Common use cases
Asset and equipment records
A photo of installed equipment can include a barcode tied to the asset ID.
Warehouse and inventory checks
Shelf or stock photos can carry the same barcode used on the physical label.
Delivery and handoff proof
Shipment or package photos can include a barcode linked to the internal record number.
Manufacturing or QA records
Batch photos can carry a product or lot identifier for later lookup.
How to add a barcode in the editor
Step 1. Upload the photo
Open the editor and add the image that needs the label.
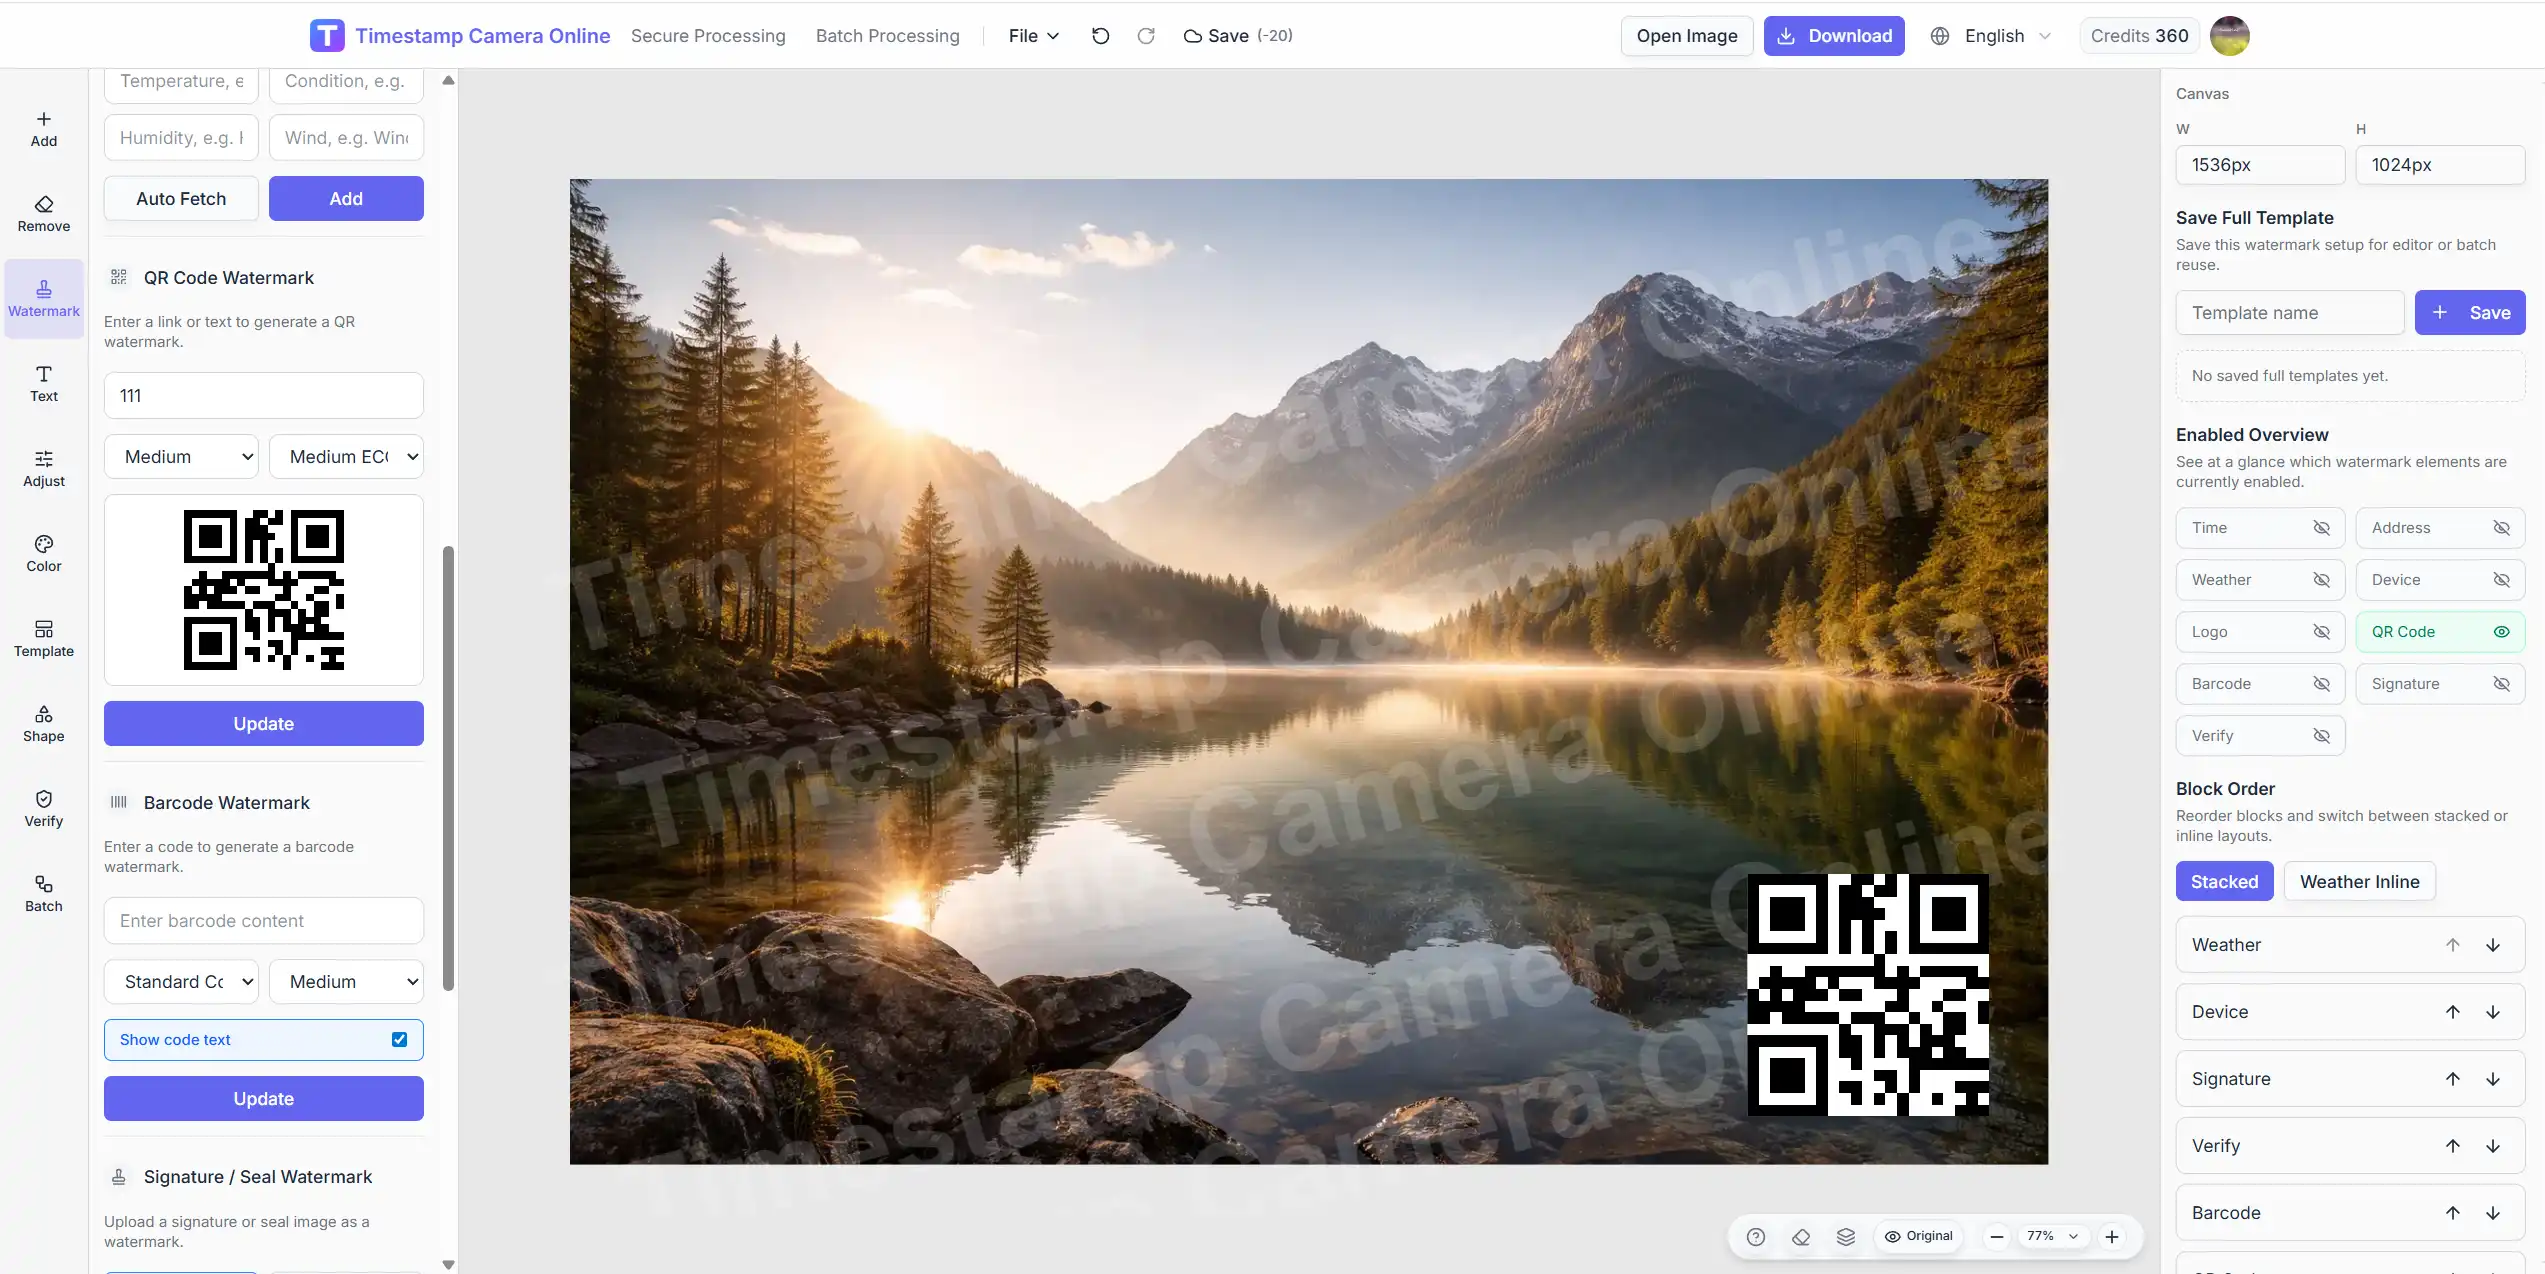
Step 2. Open the watermark panel
Select Watermark on the left, then choose More to open the full watermark list.
Step 3. Configure the barcode block
In the Barcode section, enter the value your workflow requires. Adjust format, size, and label visibility based on how the code will be scanned or reviewed.
Step 4. Position it away from the main subject
Barcodes need quiet space around them. Place the code in a footer area or side region where it will not compete with the scene.
Step 5. Export and test the scan
Before sharing the image, scan the exported result on the device your team actually uses. A barcode that looks fine on desktop preview can still fail if it is too small or low contrast.
Need barcode plus timestamp on one image?
Use the full editor to combine time, location, barcode, and other proof layers in one export.
Layout tips
- keep the barcode wide enough for reliable scanning
- leave margin around the code
- avoid placing it over textured or busy backgrounds when possible
- use the label line only if it helps reviewers, not just for decoration
Common mistakes
Treating the photo barcode like a tiny printed sticker
If the code is too small in the export, scanning becomes unreliable.
Mixing barcode and timestamp without hierarchy
The timestamp block should still be easy to read. The barcode should support the record, not dominate the layout.
Using the wrong code type for your system
Confirm the barcode format your scanner or backend expects before export.
Related guides
Final takeaway
A barcode on a photo helps connect the image to an existing operational ID. Open Watermark → More, configure the barcode block, place it in a scannable area, and export once both the visual record and the code work for your team.