How to Hide Sensitive Information in Photos Online
Not every photo should be shared exactly as captured.
Sometimes the goal is to keep the useful parts of the image while hiding what should not remain visible, such as license plates, phone numbers, addresses, ID strips, or other private details.
This is where browser-based cleanup tools matter.
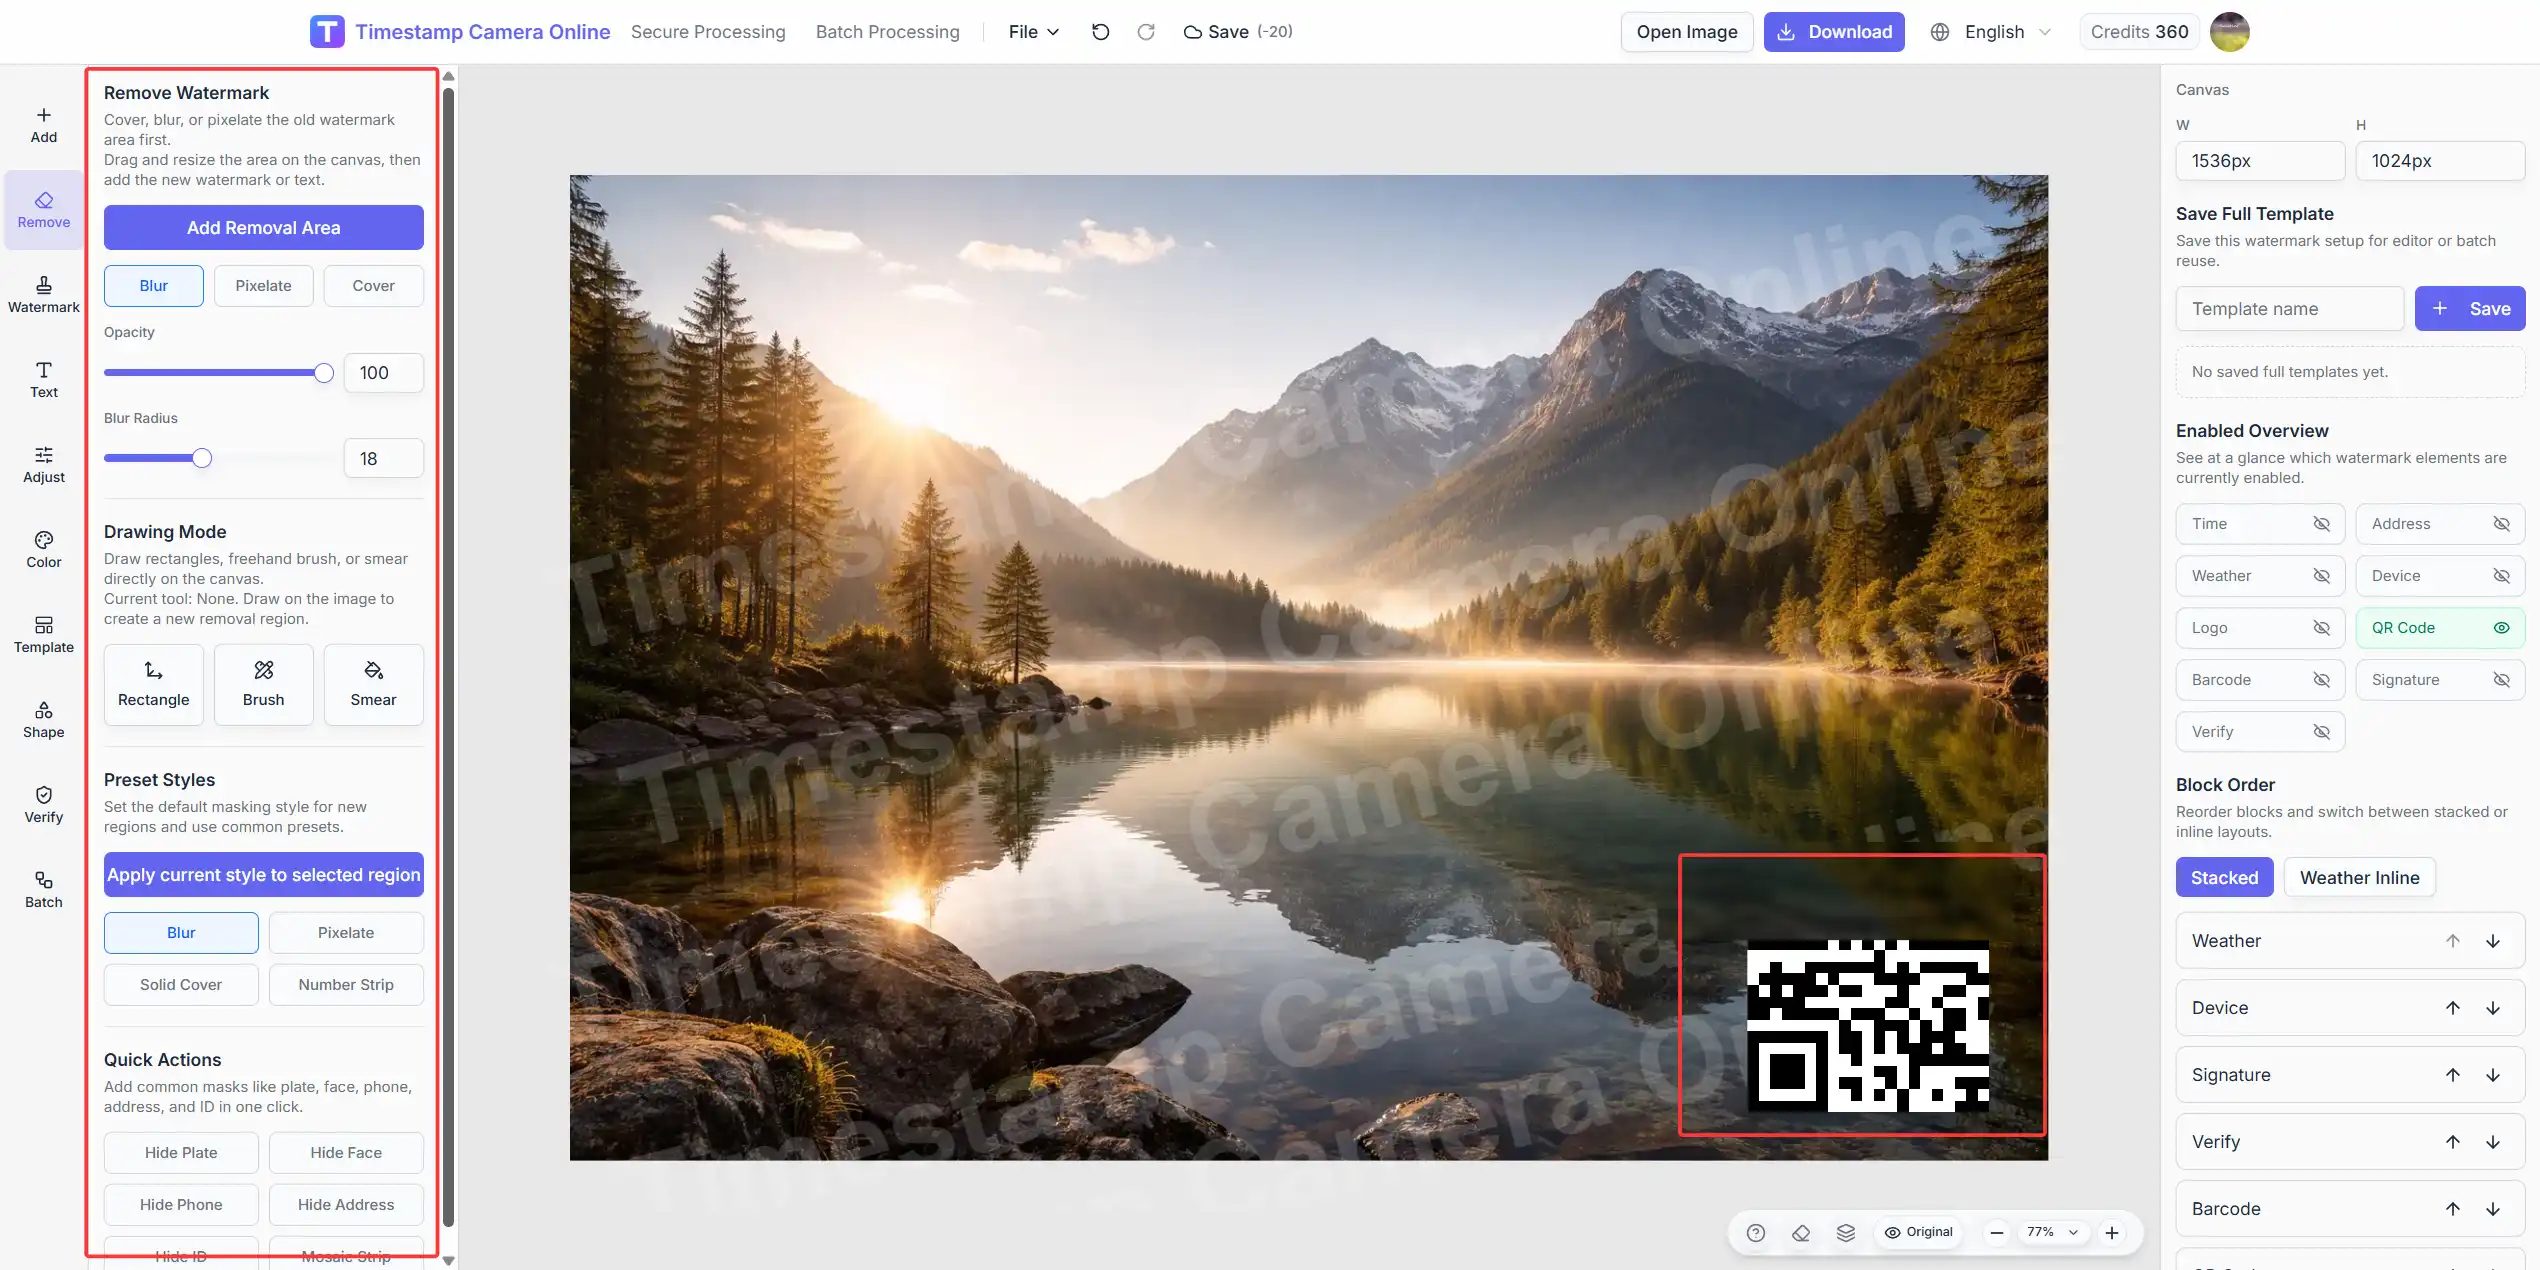
Why sensitive-info cleanup belongs in the same workflow
Users often treat cleanup as a separate task from timestamping or proof overlays. In practice, the best workflow is usually to do both in one place.
That way you can:
- hide sensitive details
- add the timestamp
- place the location block
- export one finished image
This is cleaner than bouncing between multiple tools.
Common things users hide
The most common targets are:
- license plates
- phone numbers
- street addresses
- ID strips
- card-like labels
- small labels with personal details
Some workflows also hide old visible timestamps before placing a new one.
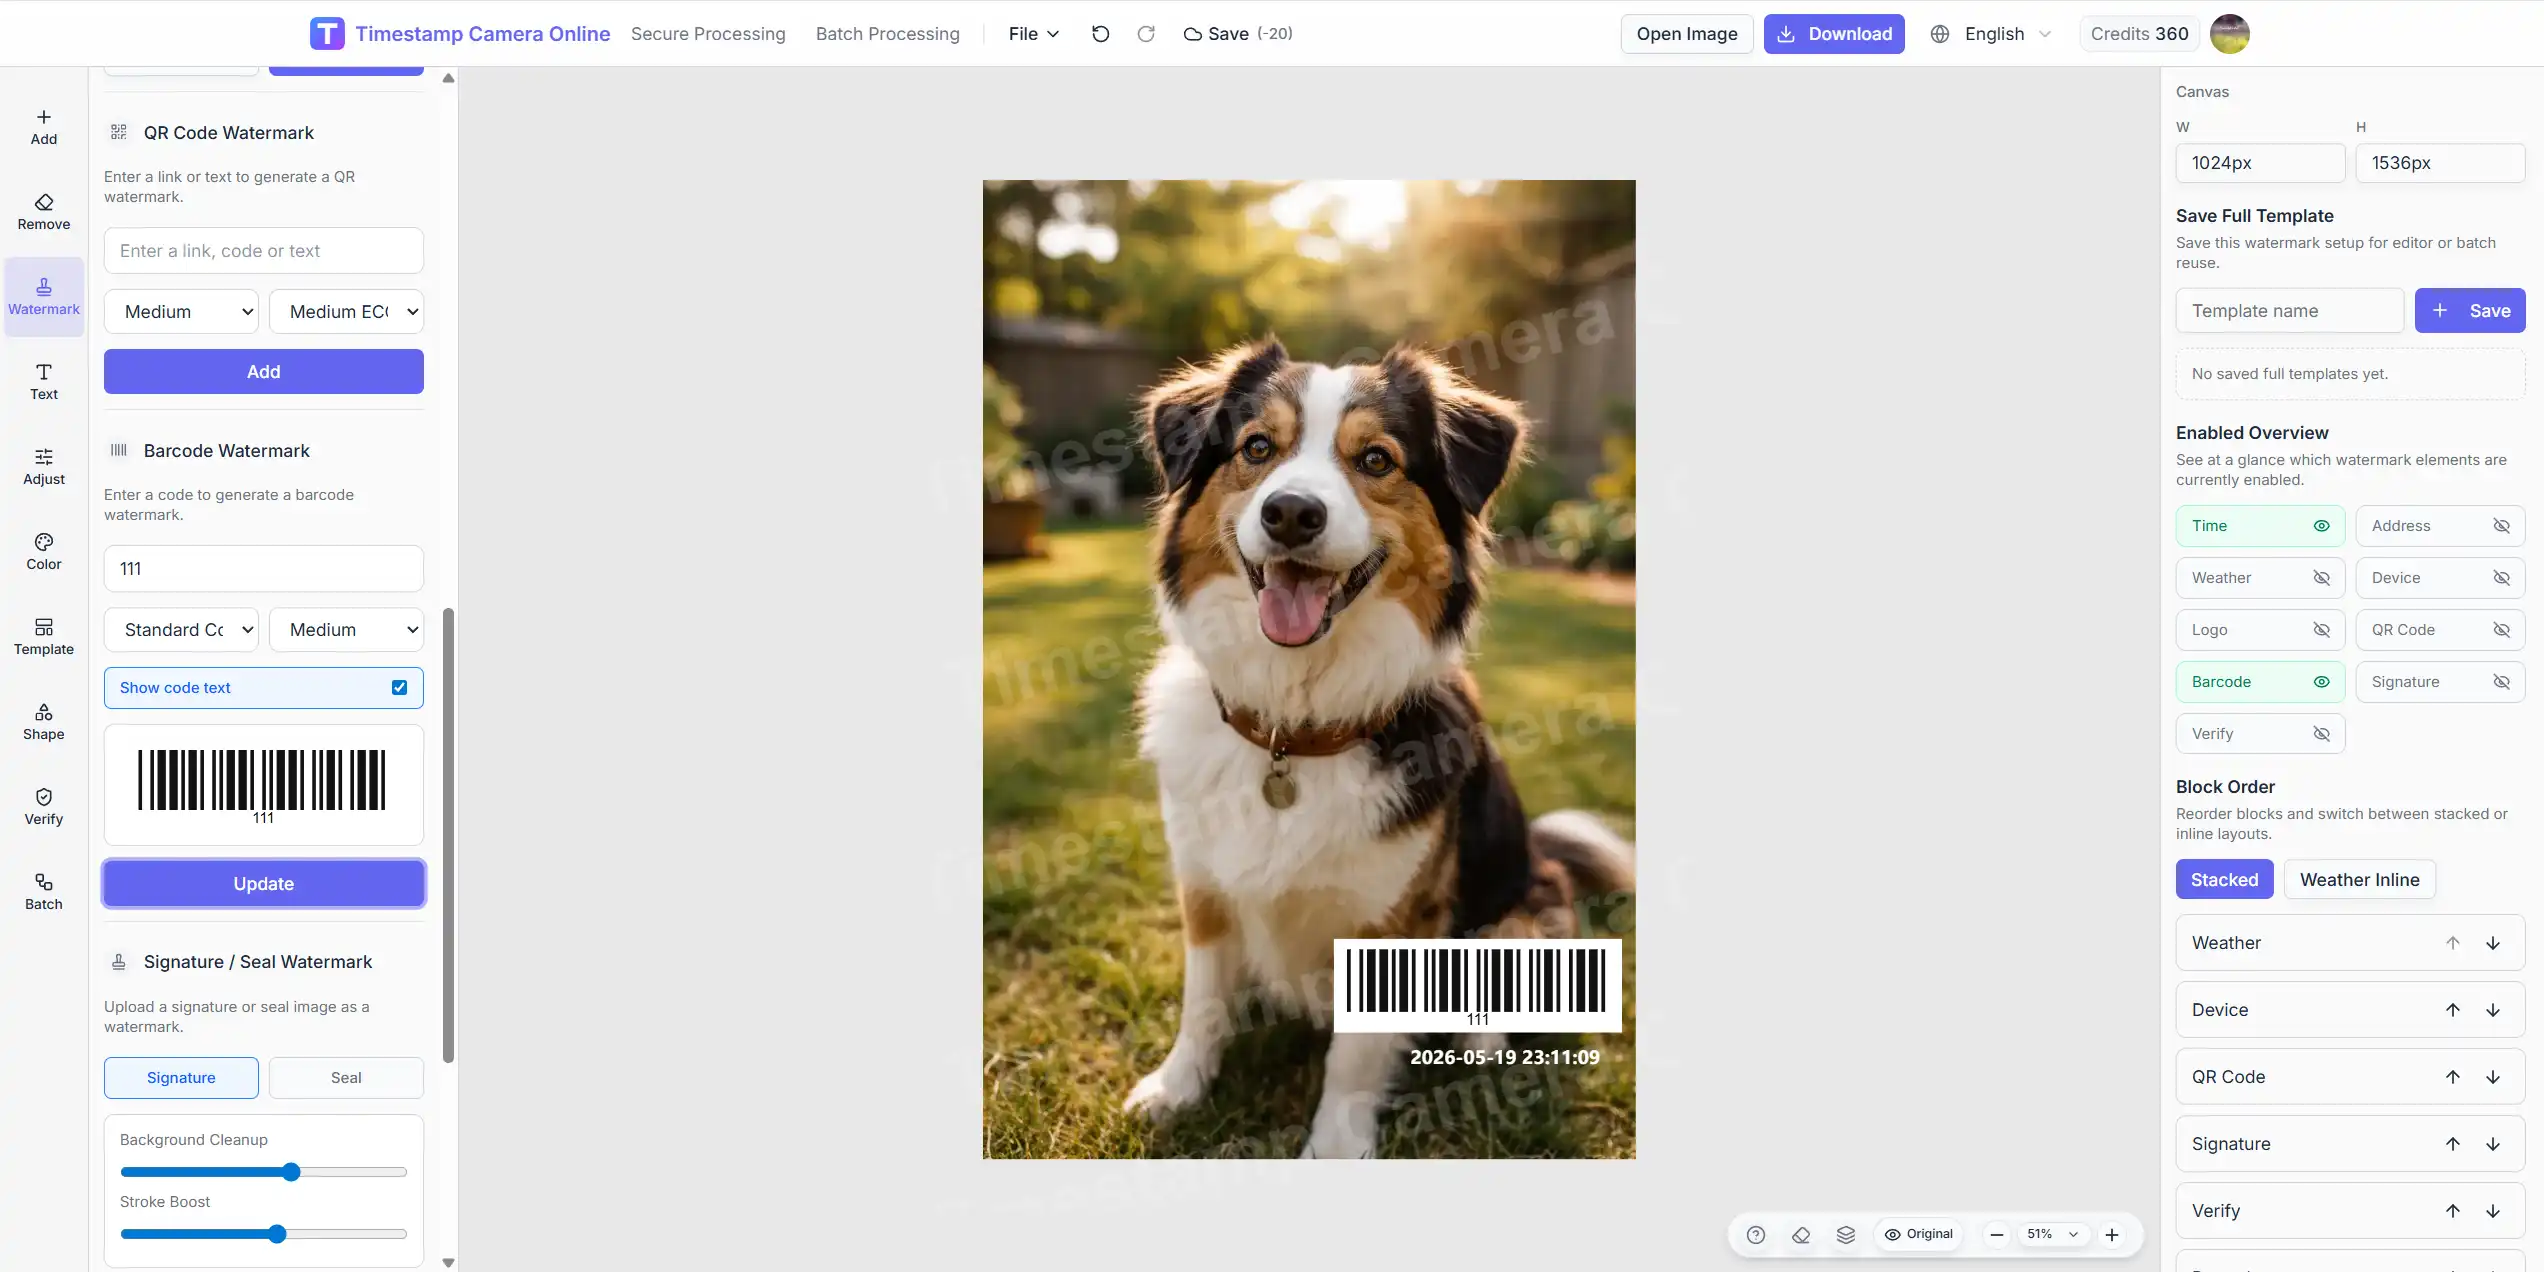
Three common cleanup styles
Cover
Use a solid block when you want the most direct and obvious masking result.
Blur
Use blur when you want to soften the detail while keeping the image visually natural.
Pixelate
Use pixelation when you want stronger masking but still want the area to read clearly as intentionally hidden.
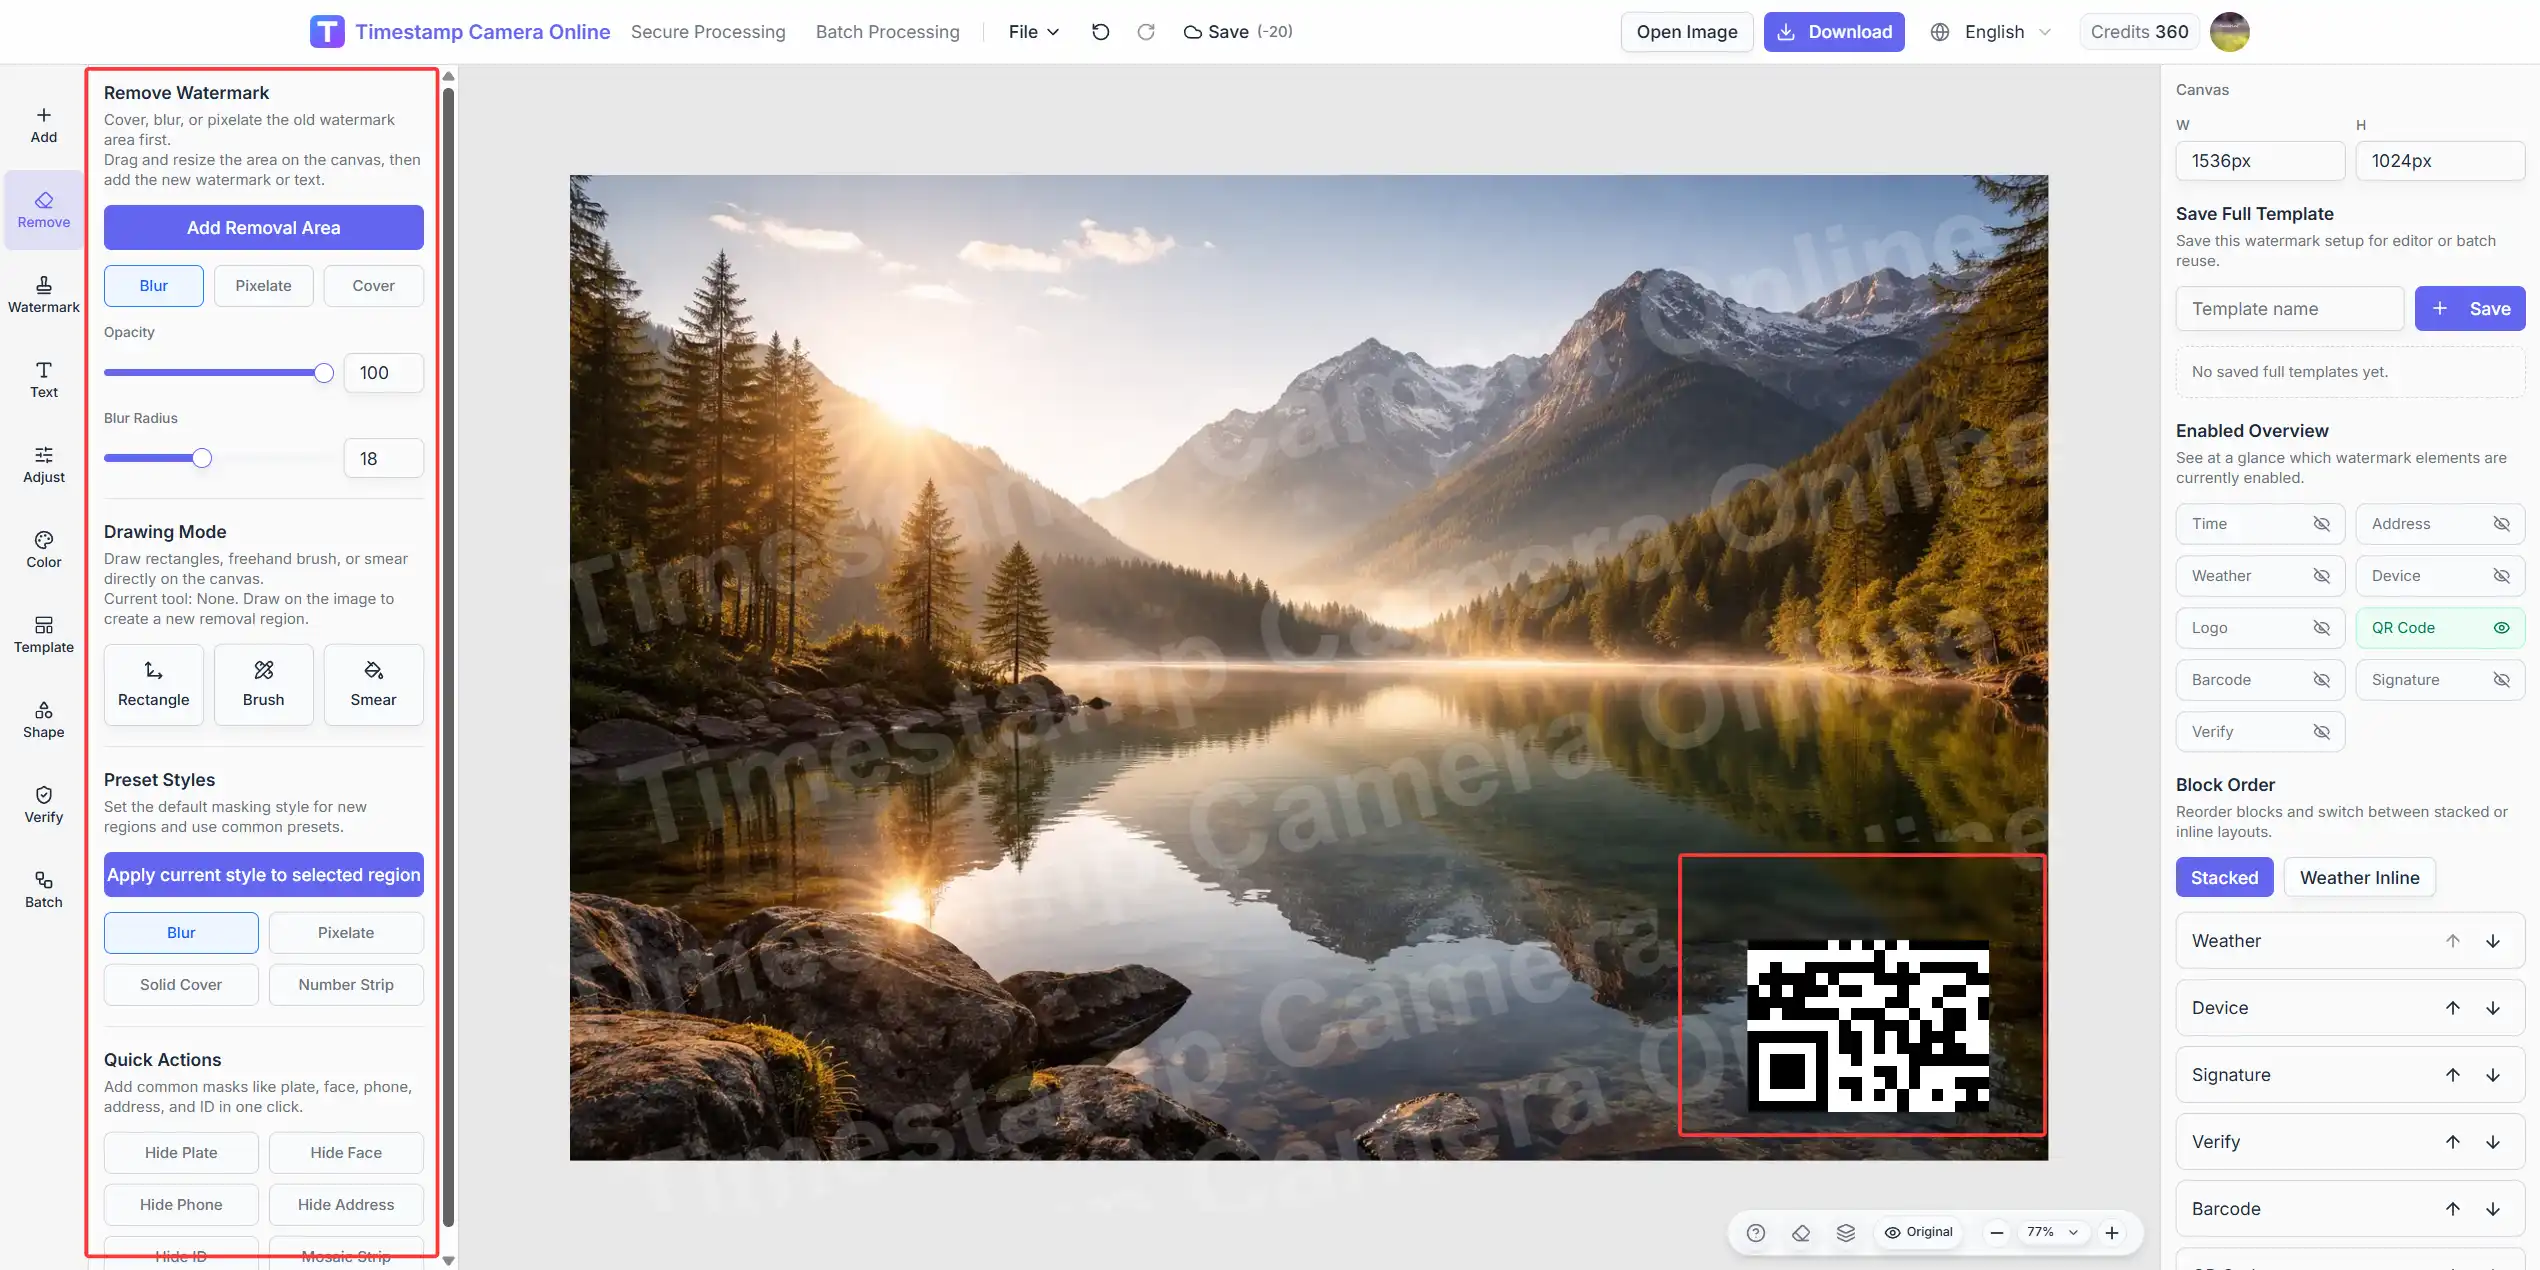
A practical workflow
Step 1. Upload the source image
Open the editor and upload the photo.
Step 2. Identify what should be hidden
Mark only the details that actually need masking. Over-redacting weakens the image and makes it harder to review later.
Step 3. Pick the right cleanup style
As a quick rule:
- cover for IDs or strong privacy needs
- blur for plates and softer masking
- pixelate for obvious redaction that still feels lighter than a solid block
Step 4. Place the cleanup regions carefully
The hidden region should fully cover the sensitive detail without spilling too far into unrelated content.
Step 5. Add any remaining visible overlays
After cleanup, you can still add:
- timestamp
- location
- signature
- logo
- proof-style summary text
Need redaction and timestamp in one pass?
Use the full editor when you want to hide sensitive information first and then export the final timestamped image from the same workspace.
Step 6. Export and inspect the final result
Before sharing the image, confirm:
- the sensitive detail is actually unreadable
- the cleanup region does not hide important evidence
- the rest of the overlay still looks intentional
Best practices
Review at the final export size
Something that looks hidden at full-screen may still be legible in the exported file.
Keep the masking proportional
A giant redaction block can make the image look careless. A tiny one can miss part of the sensitive detail.
Do the cleanup before final styling
It is easier to place the time or location overlay once the privacy-sensitive areas are already handled.
Common mistakes
Mistake 1. Using a weak blur on highly sensitive data
If the detail can still be read, it is not hidden.
Mistake 2. Hiding too much
Over-redaction can remove the meaning of the image.
Mistake 3. Forgetting old timestamps
Sometimes the sensitive detail is not a phone number or address. It is an old visible timestamp that should be covered before the new one is added.
Related paths
- Editor for cleanup plus overlays
- Edit timestamp online when the old visible stamp is the thing you need to replace
- Batch watermark when many images need similar cleanup rules
Final takeaway
Hiding sensitive information in photos online is not only a privacy step. It is part of producing a shareable final record.
The best workflow is usually:
- upload the image
- hide the sensitive detail
- add the timestamp or proof layers
- export one clean final version