How to Add Timestamp and Location to a Photo Online
Adding a timestamp is one thing. Adding timestamp plus location changes the meaning of the photo.
Once a photo shows both when and where it was captured, it becomes much more useful for inspection records, project progress logs, travel documentation, delivery proof, and many other workflows.
This guide focuses on that combined use case and explains how to add both elements online without making the result crowded or hard to review.
Why time plus location is a different workflow
A basic timestamp answers:
- When was this image recorded?
A time-and-location photo answers:
- When was it recorded?
- Where was it recorded?
That second question is why the layout must be handled more carefully. Once you add location, the overlay becomes more informative, but also heavier. If the design is not controlled, the export becomes cluttered.
If you want to start this kind of workflow right away, go to add timestamp and location to photo online.
The strongest real-world scenarios
The most relevant scenarios are:
Inspection and field visits
Teams can show when the photo was taken and where the issue or checkpoint was documented.
Construction progress records
Project managers often need both the time and the site reference on the image itself.
Delivery or service proof
A location line can make photo records more useful for operational review.
Travel logging
Some users want a more documentary style for personal memory records, especially when combining time and place.

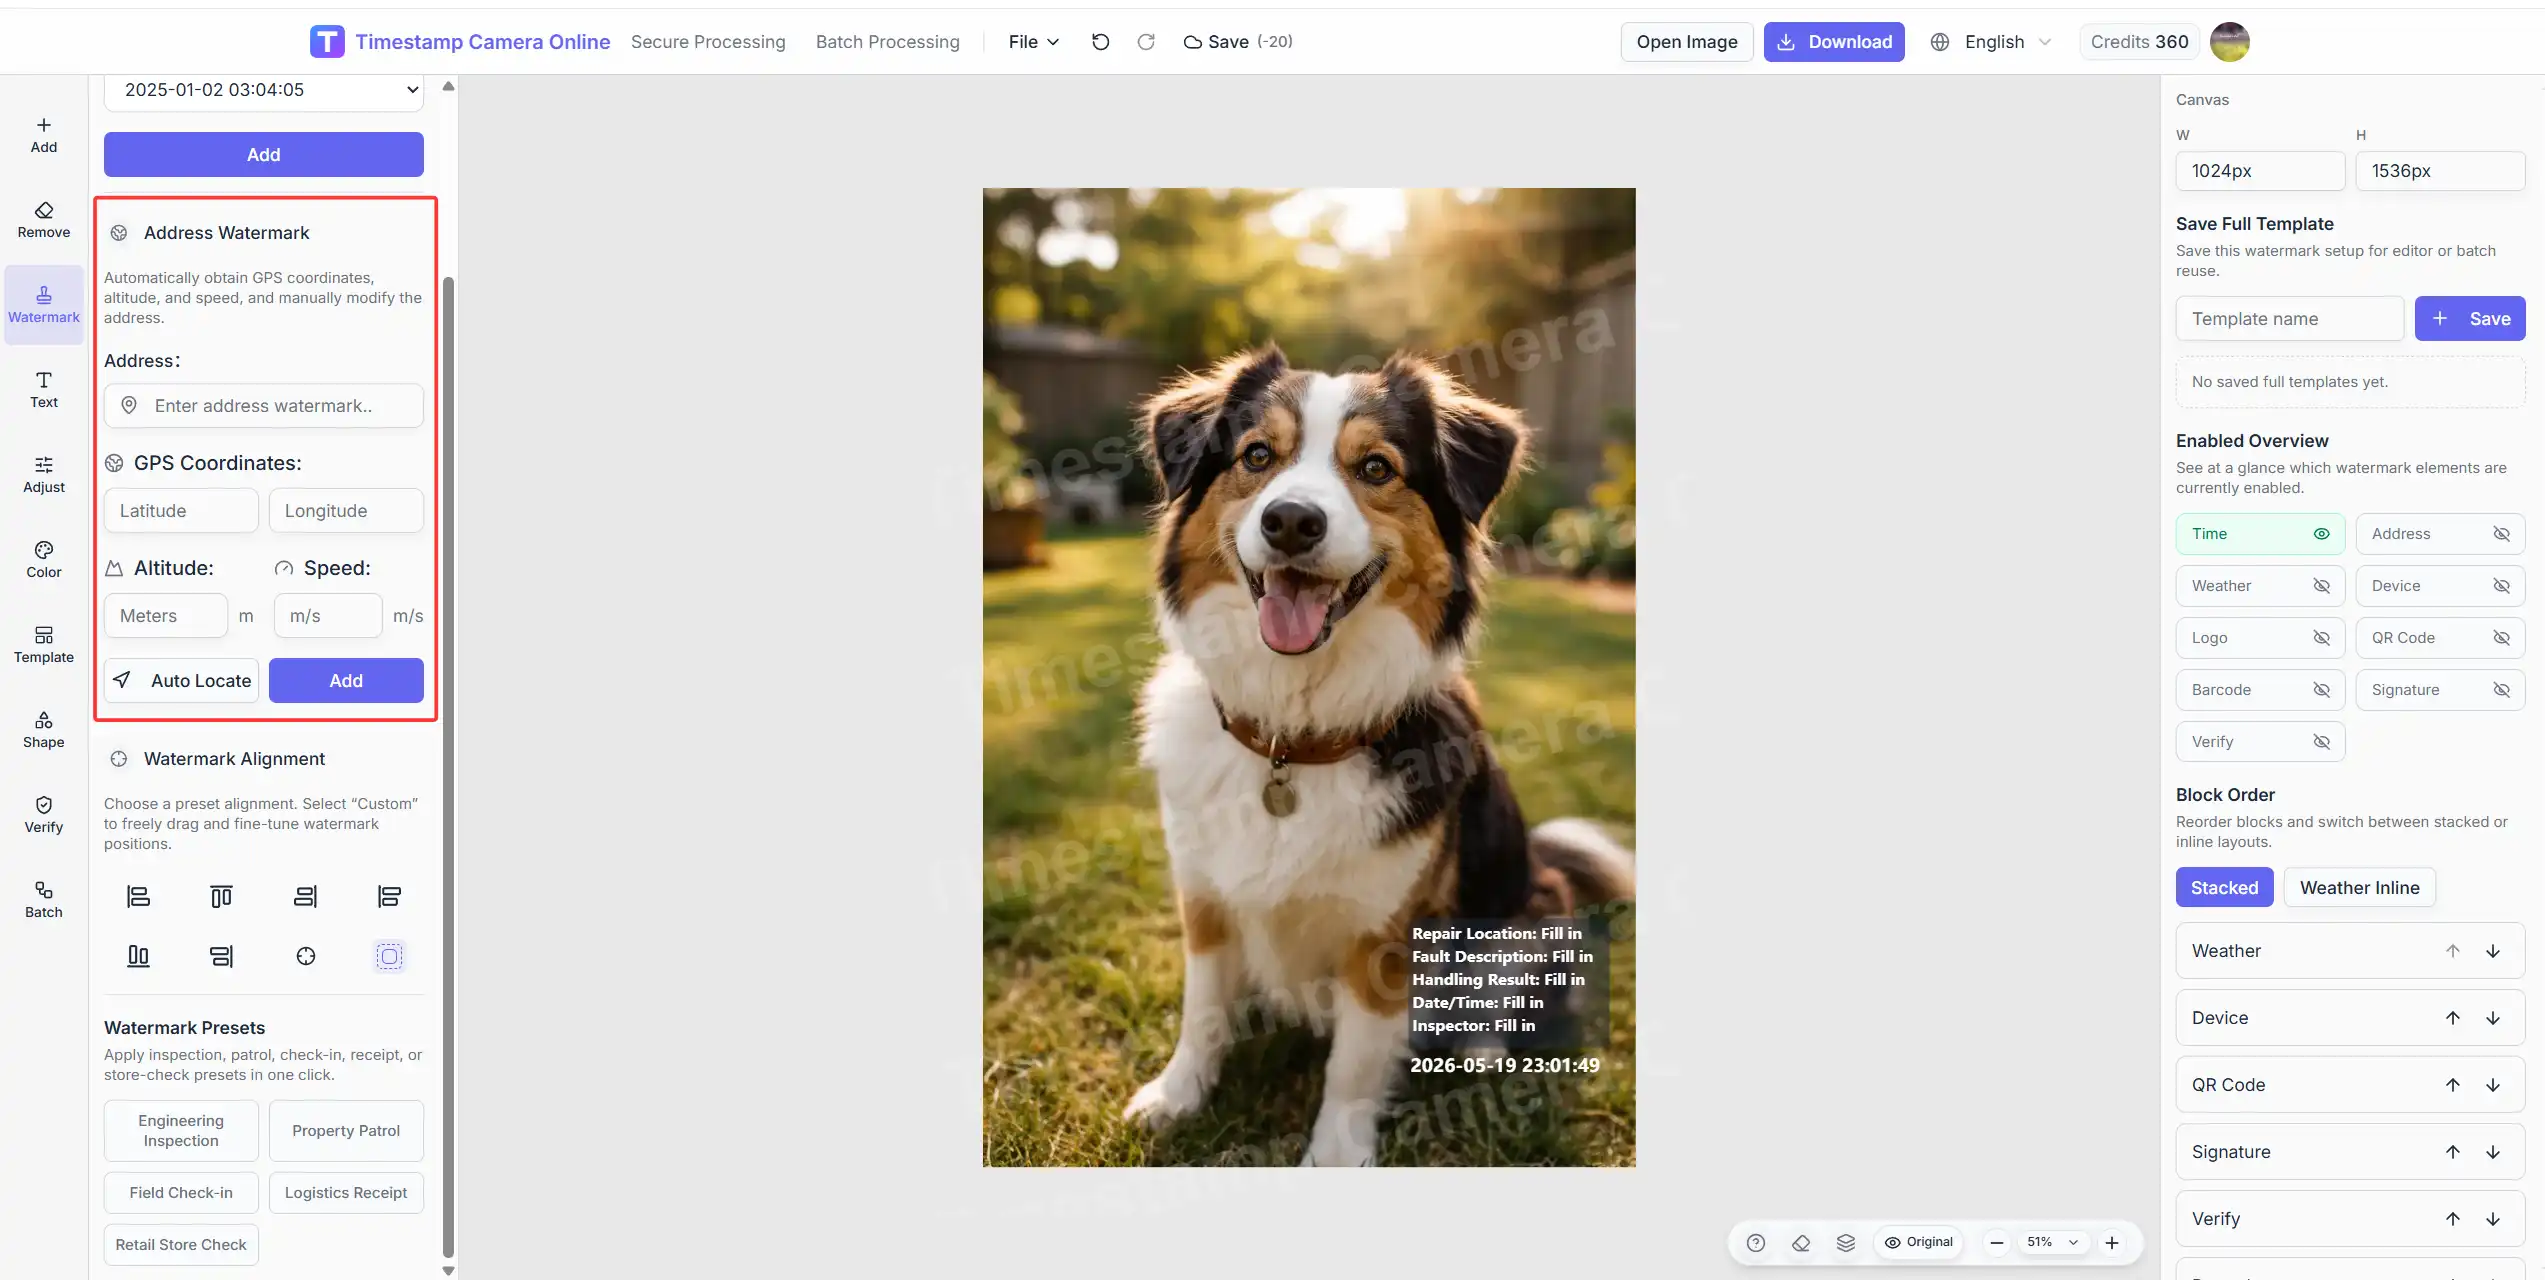
What should appear in the location block
Not every image needs full raw coordinate detail. In many cases, one of these is enough:
- a readable address line
- a place name
- latitude and longitude
- time plus address plus optional extra detail
If your UI exposes altitude or speed values, those can be useful in niche cases, but they should not be forced into every export.
Good rule
Include only the location detail that helps the photo make sense later.
Bad rule
Add every available field just because the tool can.
Need the exact workflow for time plus location?
If your main task is exporting proof-style photos with both timestamp and location information, start from this focused workflow.
A practical workflow for time and location overlays
Step 1. Upload the image
Start from the editor or from the time and location workflow.
Step 2. Decide what kind of location evidence is needed
Ask which one of these is actually useful:
- address-only
- GPS coordinates
- address plus coordinates
- address plus a short project or site label
- address plus coordinates plus optional altitude or speed
Different workflows need different levels of detail.
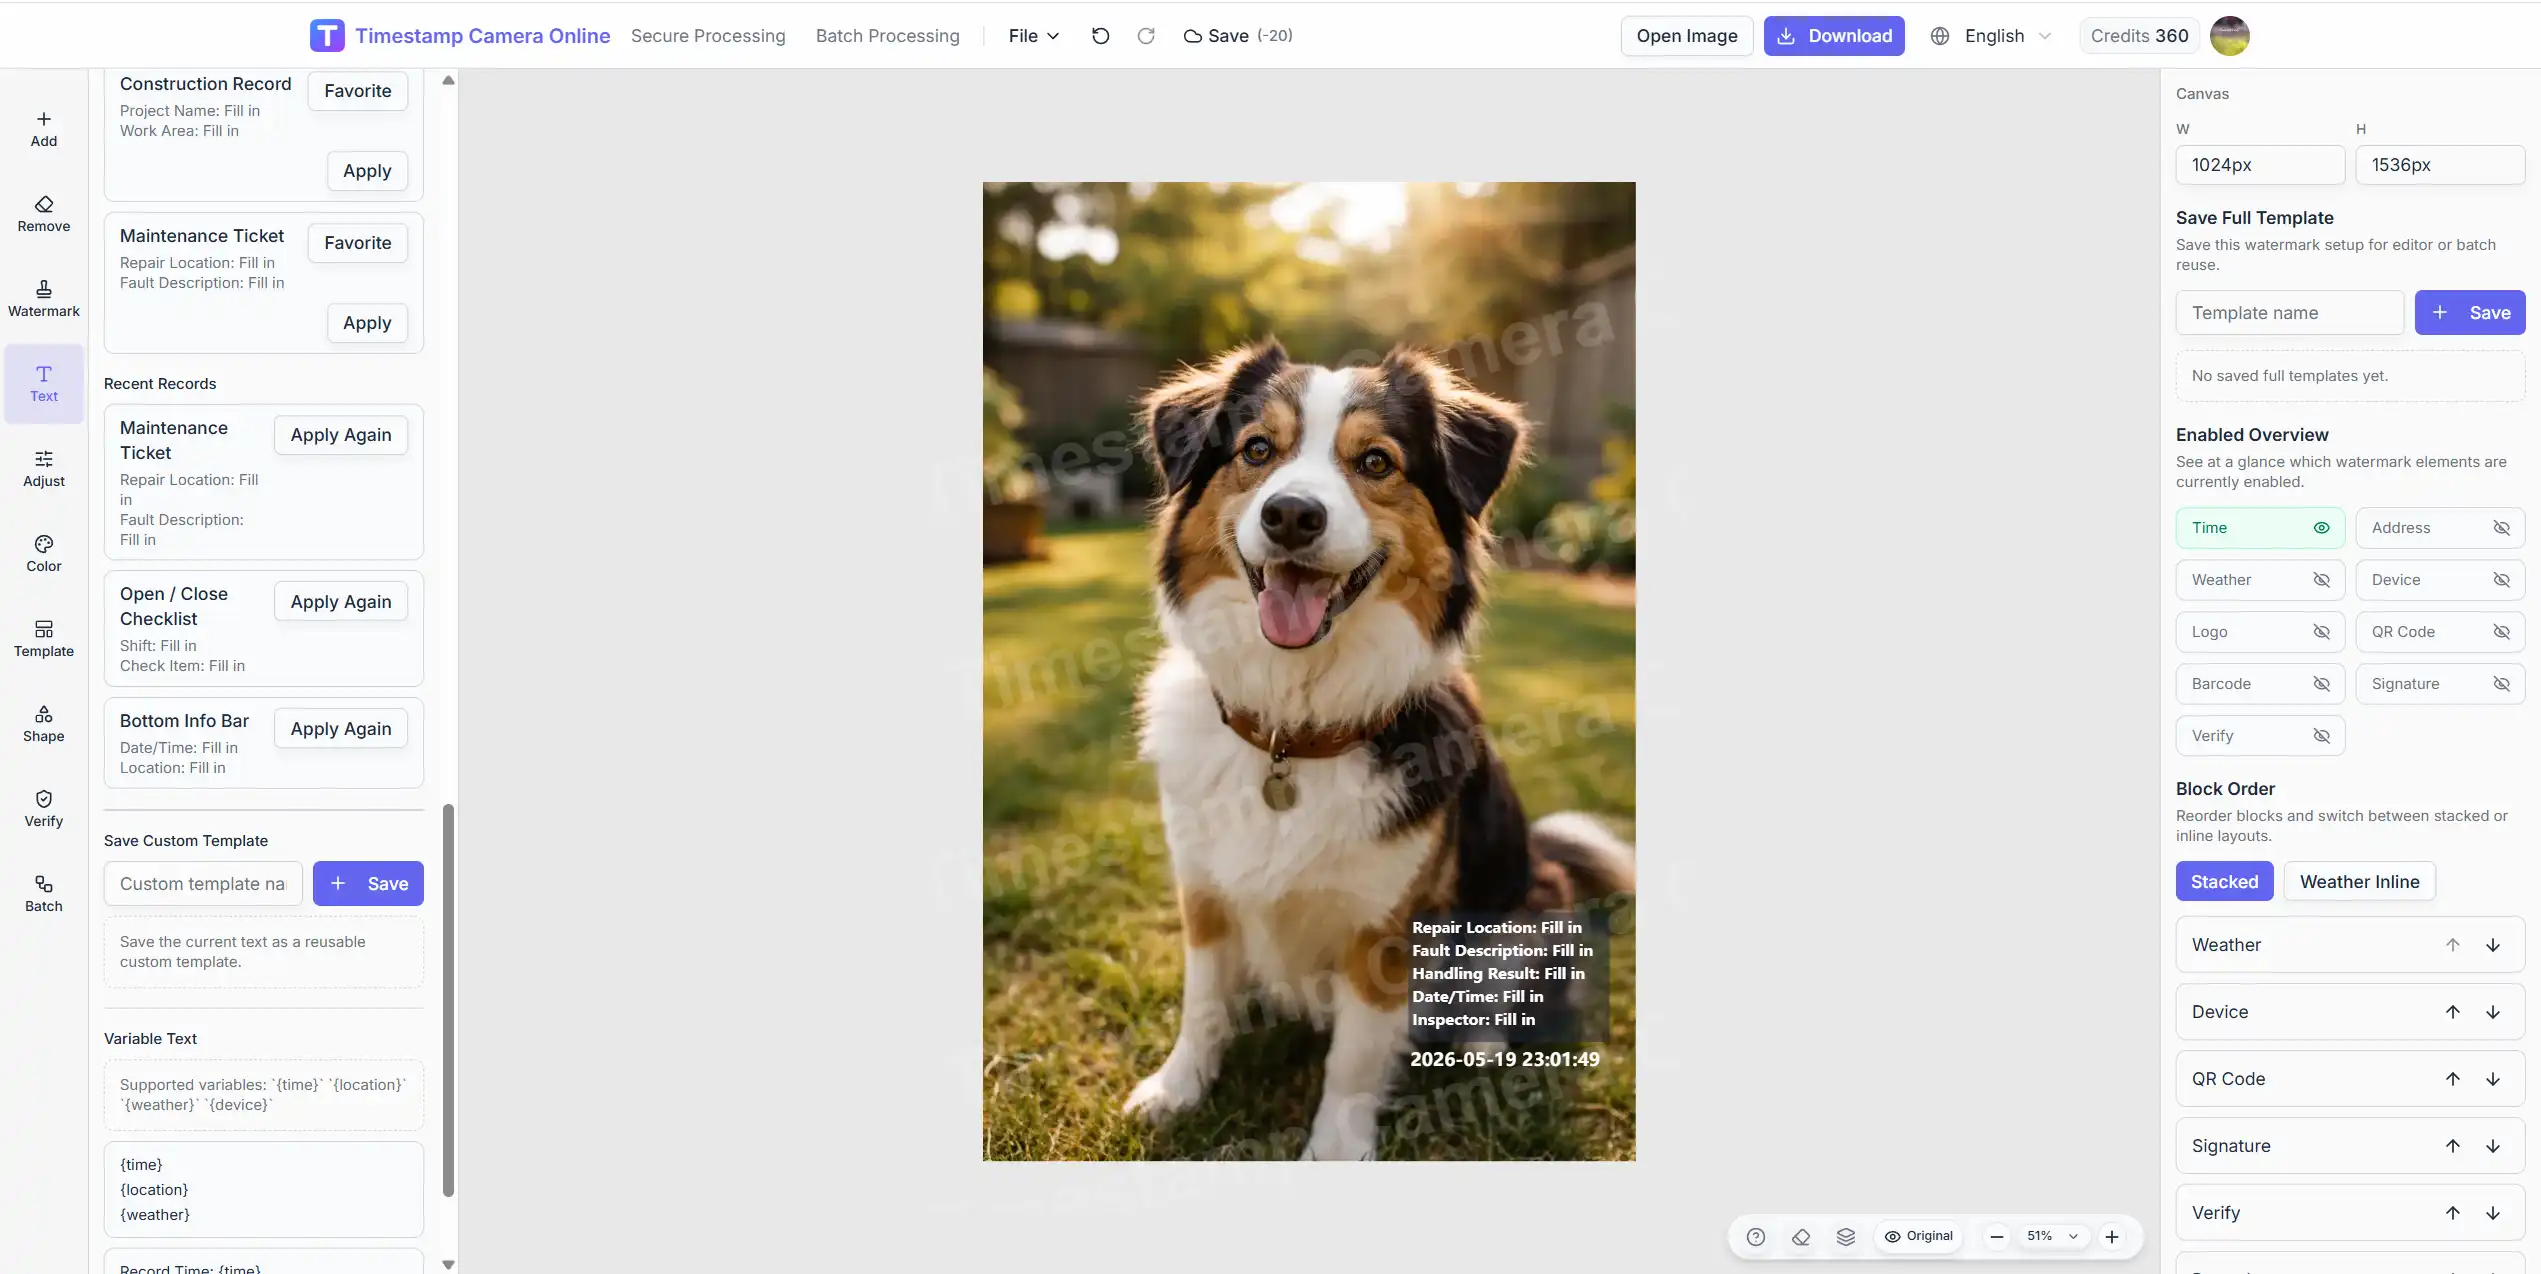
Step 3. Build one readable overlay block
The best result usually groups the data instead of scattering it:
Line 1: 2026-05-12 14:32:08
Line 2: Building A, East Gate
Optional line 3: Lat: xx.xxxx, Lng: xx.xxxx
Optional line 4: Altitude 18m | Speed 0km/h
That structure is easier to review than placing each data point in a different corner.
Step 4. Choose a calm position
Because time plus location uses more space than time alone, corner placement matters even more.
Usually the safest options are:
- bottom-left
- bottom-right
Avoid placing the block over critical details, faces, defects, or labels already present in the image.
Step 5. Adjust privacy and precision together
Location overlays are useful, but not every workflow should expose exact detail.
It is often worth deciding whether to:
- shorten a long address
- hide full coordinates
- keep altitude or speed
- use a general place name instead of an exact site marker
Step 6. Export and review for clarity
Check:
- Is the location readable?
- Is the block too large relative to the image?
- Does the overlay still work on mobile screens?
If not, shorten the address or reduce optional fields before exporting.
Privacy and accuracy tradeoffs
Location overlays are useful, but not every workflow should expose exact detail.
When exact coordinates are appropriate
- internal inspections
- construction records
- technical documentation
- controlled proof workflows
When lighter detail is better
- public-facing social posts
- customer-visible exports
- personal images with privacy concerns
If your product allows manual adjustment or hiding of location information, that is worth emphasizing. It makes the feature more practical, not less.
Need a more locked-down record style?
Secure Processing is useful when time and location need to appear in a more standardized, proof-oriented format.
Common mistakes when adding time and location
Mistake 1. Making the overlay too verbose
More data does not always make a better proof photo.
Mistake 2. Using tiny text for a long address
If the address is long, the answer is not always "shrink the text." Sometimes the answer is "shorten the location label."
Mistake 3. Mixing different location styles in one archive
If one export uses coordinates and another uses a long building address, your review set becomes less consistent.
Mistake 4. Forgetting the real purpose
The overlay should support understanding, not turn the image into a data dump.
Related paths
From this guide, the most natural next steps are:
Final takeaway
Adding timestamp and location to a photo online is not just a bigger watermark. It is a different kind of documentation workflow.
The best results come from:
- choosing the right level of location detail
- grouping the data into one readable block
- positioning it carefully
- exporting with the real review context in mind
That is what makes the final image easier to trust and easier to review later.