How to Add a QR Code to a Photo Online
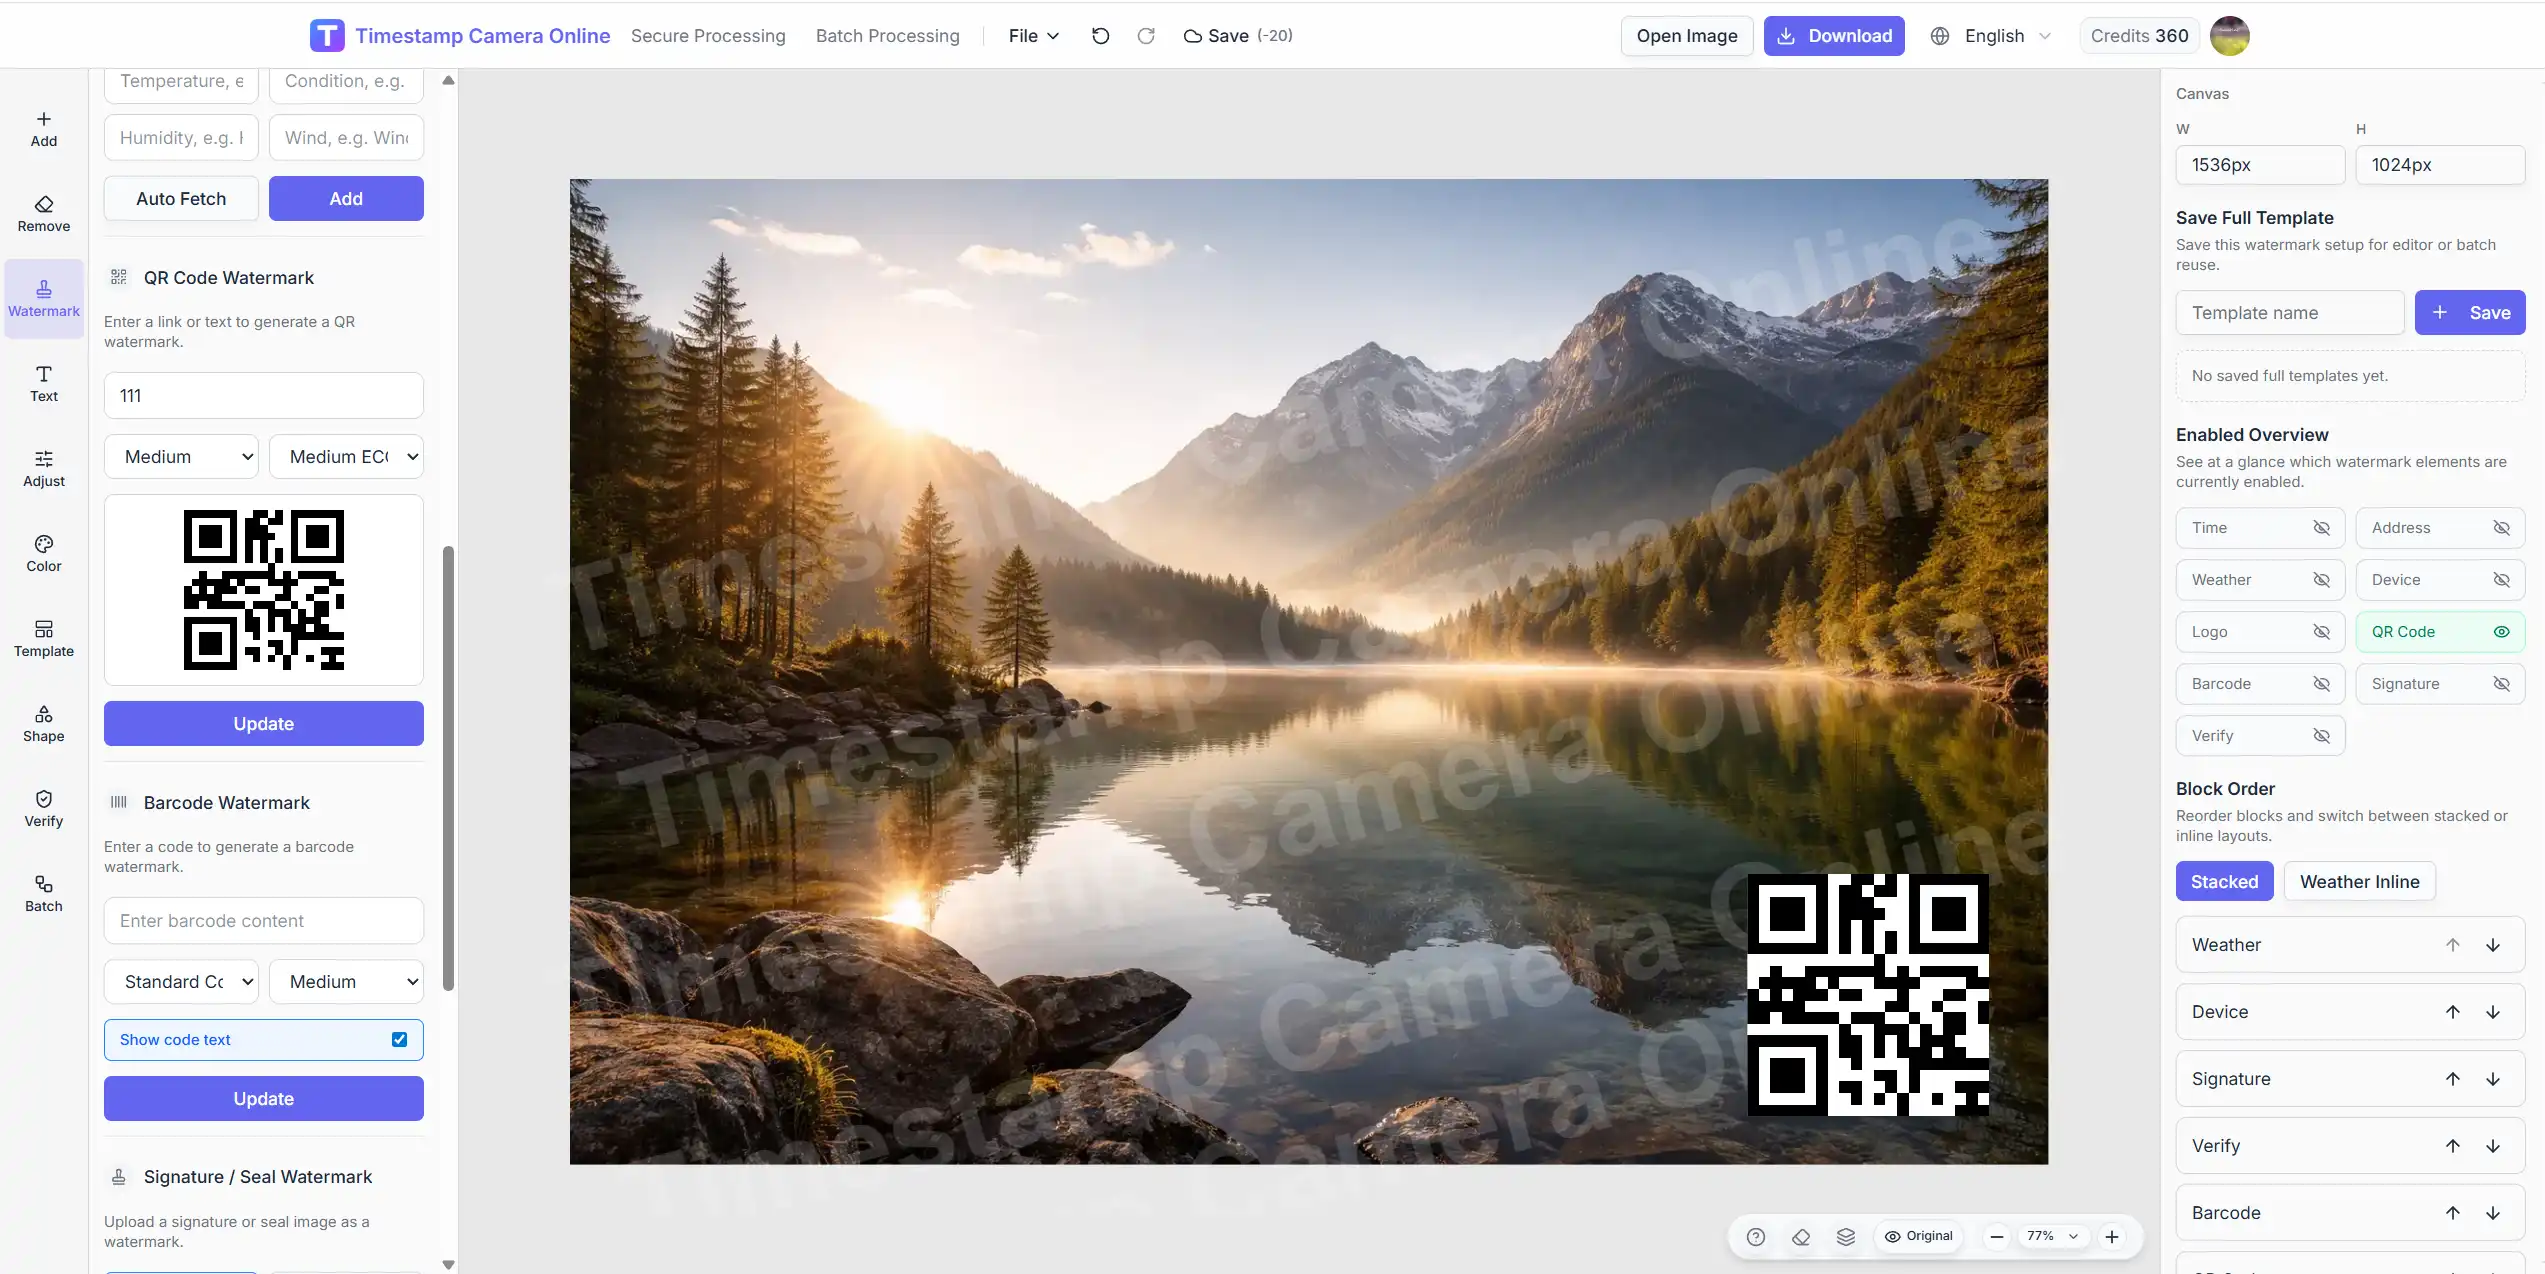
QR codes are useful when a photo needs to do more than show what happened. They can also point to a job number, asset page, delivery record, product URL, or internal checklist.
This makes a QR code a practical overlay for inspection photos, warehouse records, delivery proof, and branded documentation.
Why put a QR code on a photo?
The benefit is not the code itself. The benefit is that the image becomes easier to connect with a wider workflow.
A QR overlay can point to:
- an inspection form
- an order or receipt page
- an internal asset record
- a warranty or service page
- a project or site checklist
Instead of treating the photo as a disconnected file, the QR code helps link it to the record system around it.
Common use cases
Asset management
Inspection photos can carry a QR code that opens the related equipment or maintenance record.
Delivery and logistics
Proof photos can include a QR code tied to a receipt, shipment ID, or handoff page.
Field inspections
Teams can use QR codes to connect images to a checklist, location record, or compliance workflow.
Branded product or marketing images
Some teams use QR overlays to connect printed or shared visuals to a landing page or campaign URL.
A practical workflow
Step 1. Decide what the QR code should open
Before generating anything, decide whether the code links to:
- a URL
- an internal record ID
- a product page
- a tracking page
The QR code should help the image make more sense, not add random visual noise.
Step 2. Upload the image
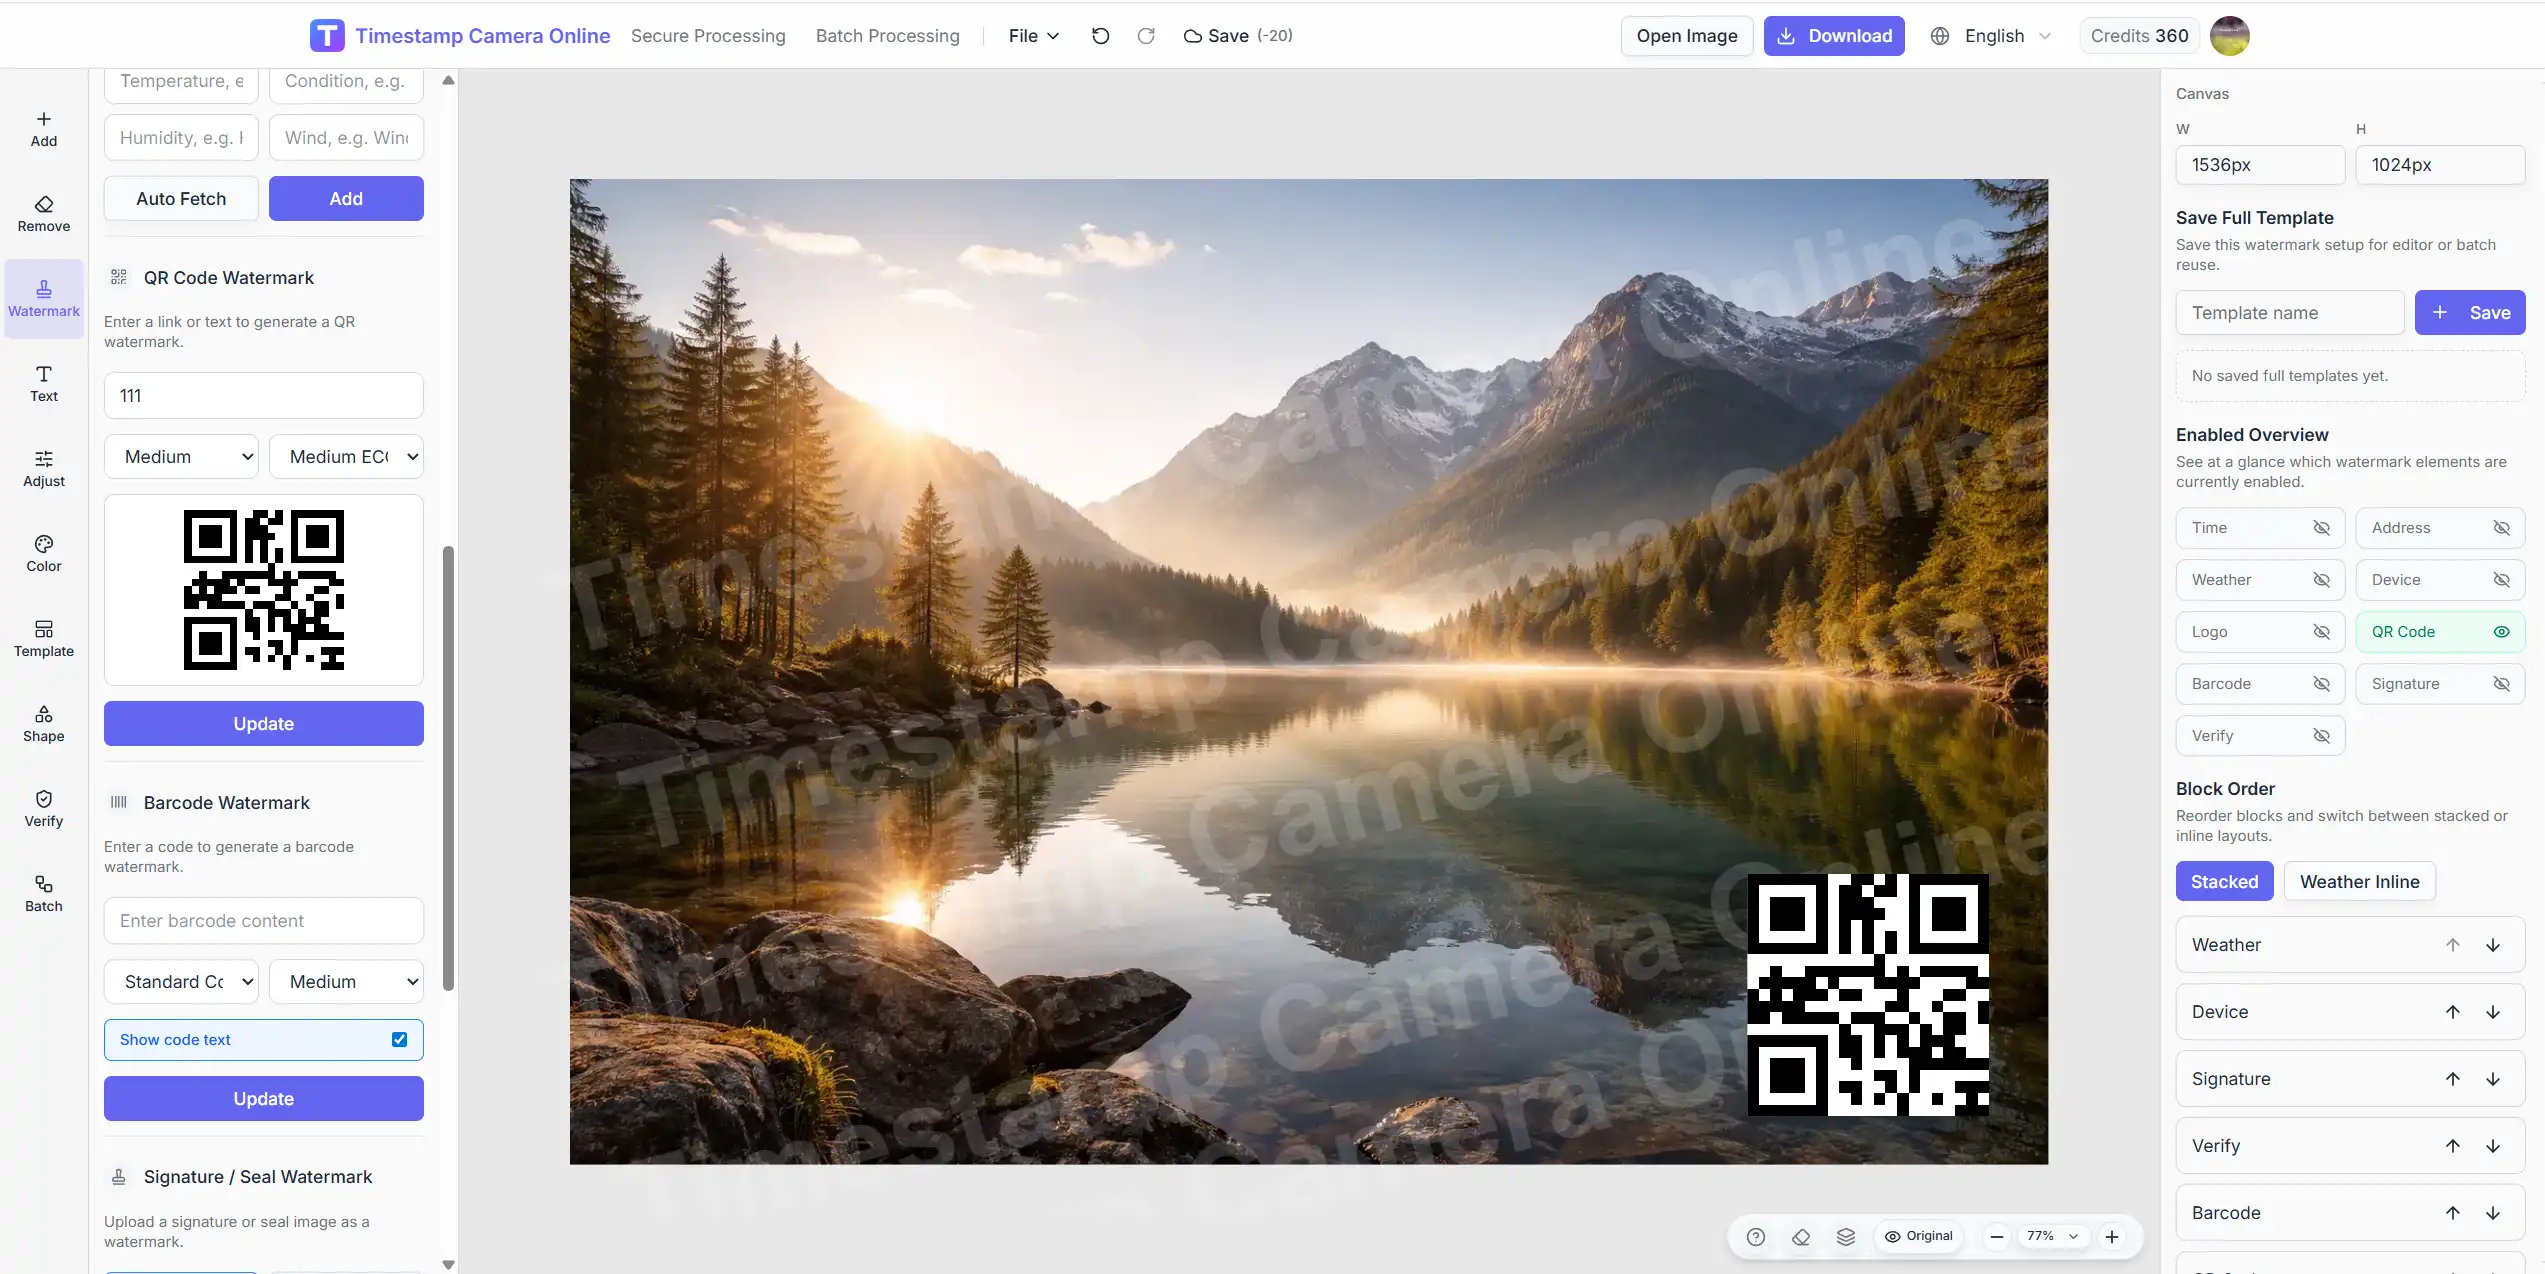
Open the editor and upload the base photo.
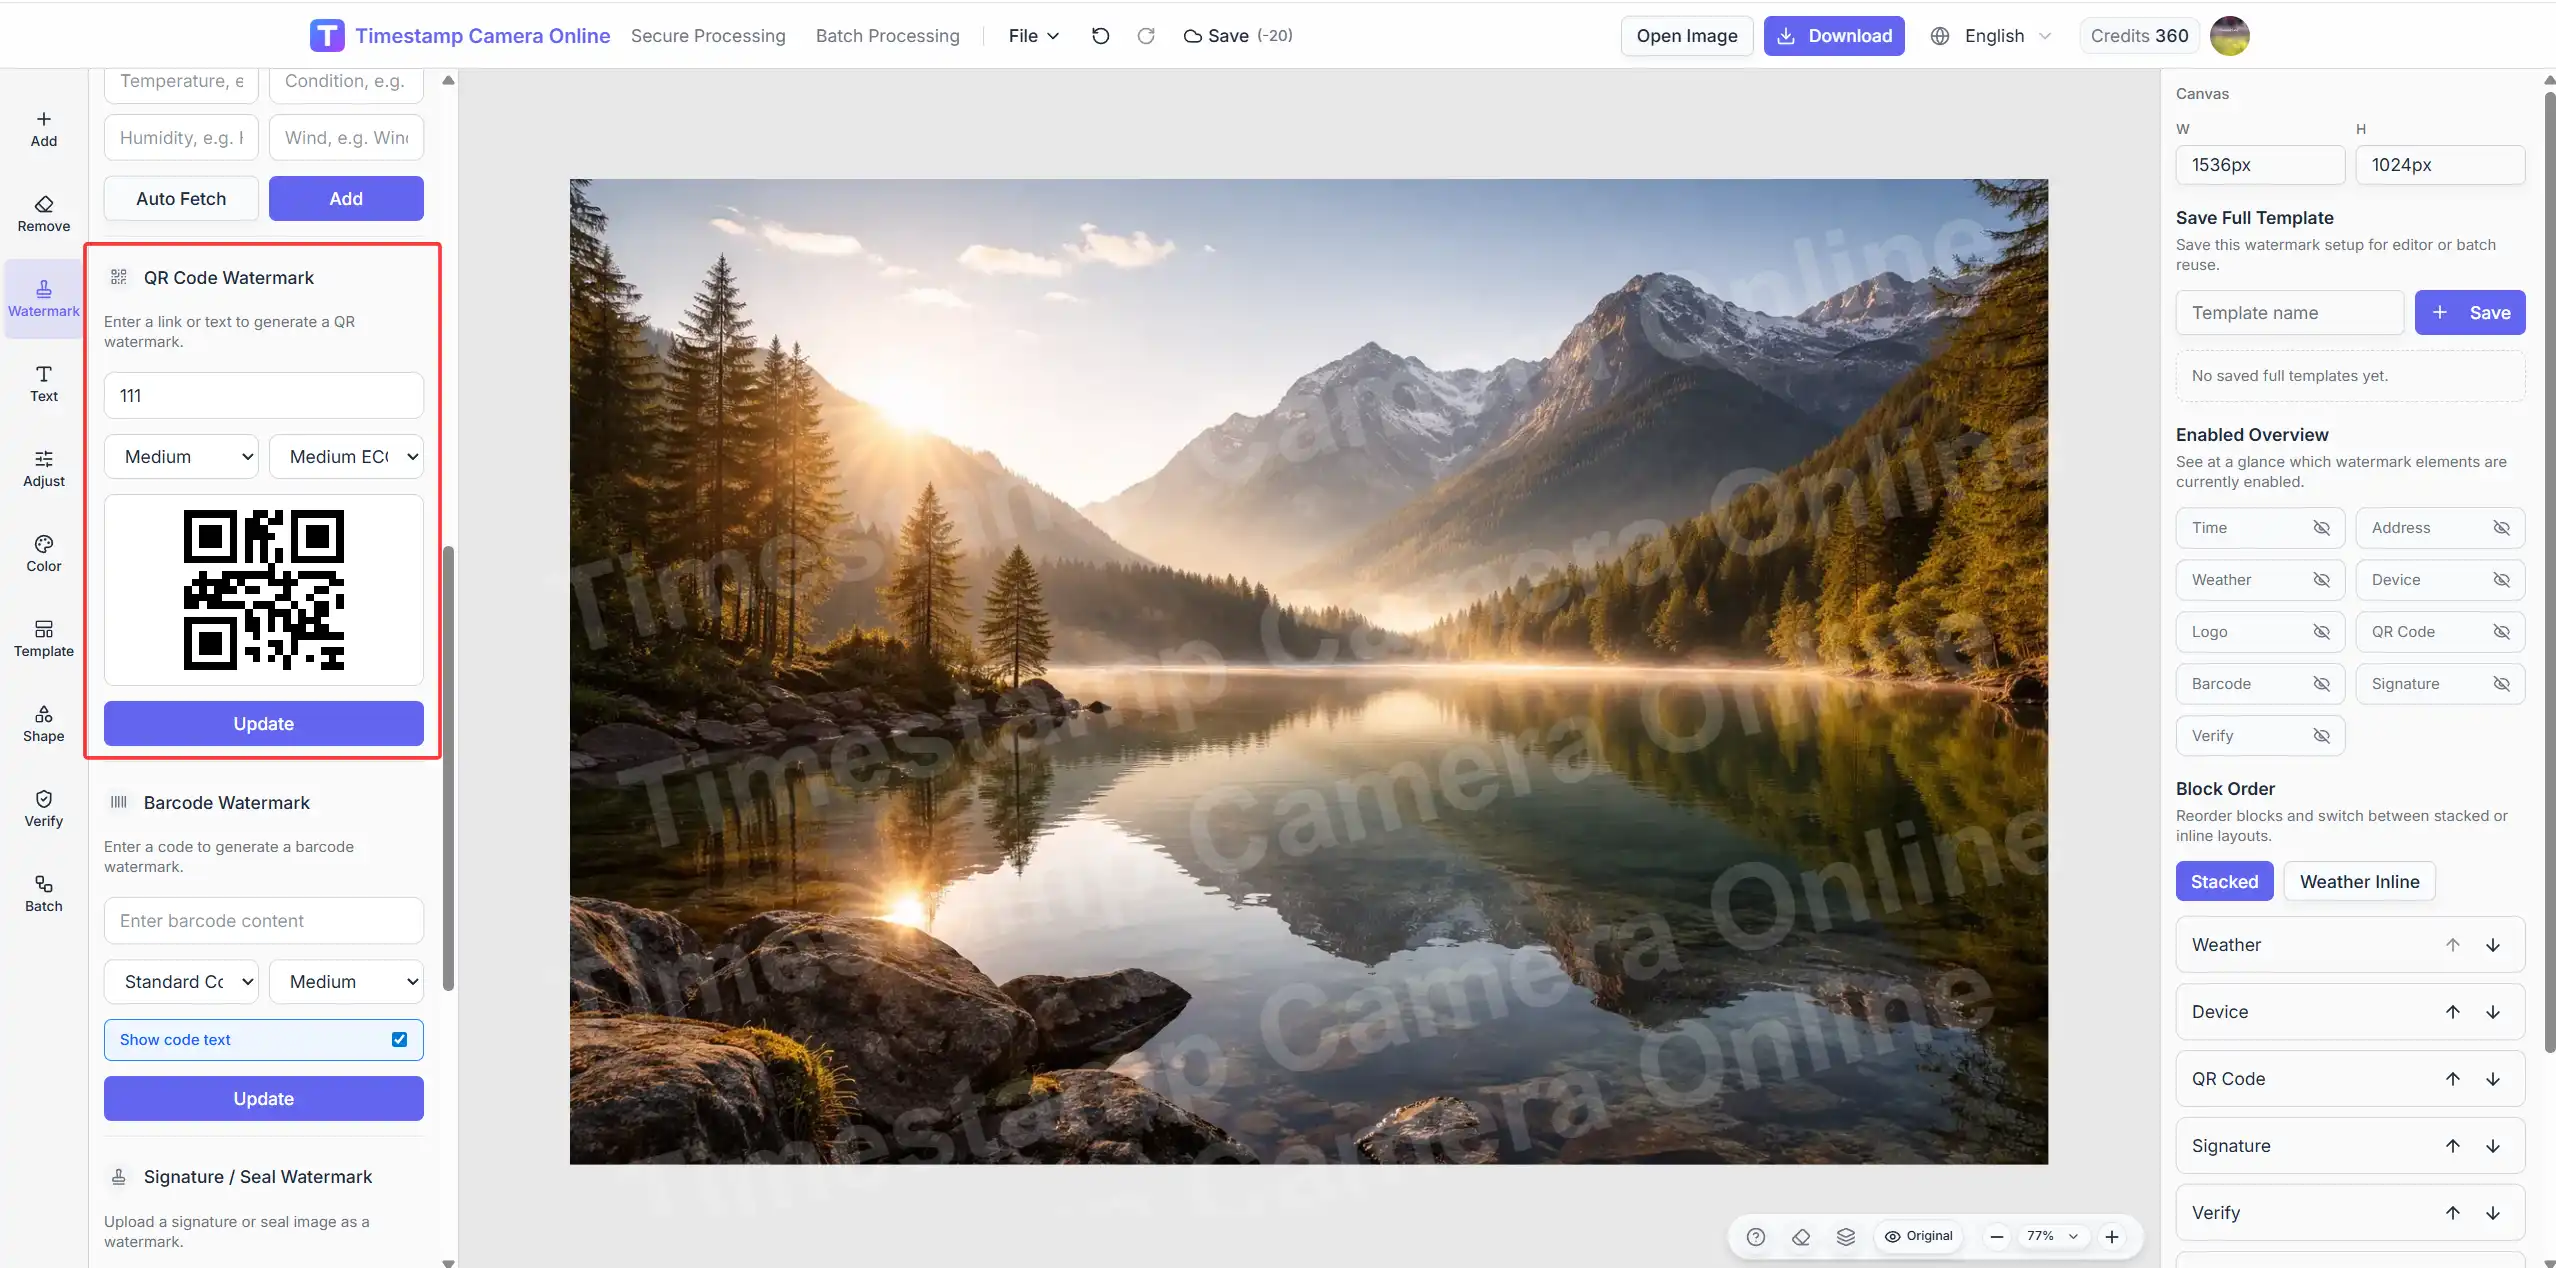
Step 3. Add the QR layer
Generate or paste the QR content, then place the code in a corner that stays visible without blocking the main subject.
Usually the safest positions are:
- bottom-right
- bottom-left
- top-right when the lower area is busy
Step 4. Pair it with the right supporting elements
A QR code is often strongest when used alongside:
- timestamp
- location
- summary text
- logo or signature
That combination makes the image easier to understand both visually and operationally.
Need QR plus timestamp in one image?
Use the full editor when you want a QR code, visible time, and other proof-style layers combined in one export.
Step 5. Export and test the code
Always scan the exported image before you treat the workflow as finished.
Check:
- Does the QR code still scan after export?
- Is the code large enough on mobile screens?
- Does the image still look clean after adding the code?
Best practices
Keep enough contrast
If the QR code sits on a busy background, give it breathing room or a light backing area.
Do not make it too small
A QR code that looks elegant but fails to scan is useless.
Avoid placing it over the main subject
The image still needs to work as an image first.
Match it to the workflow
For proof-style documentation, use a QR code that points to something operationally useful, not just a homepage.
Common mistakes
Mistake 1. Using a QR code without context
If nobody knows what the code is for, it weakens the image instead of helping it.
Mistake 2. Making the code too decorative
The code is a function layer, not just a design element.
Mistake 3. Forgetting to test the exported result
Always scan the final image, not just the original QR source.
Related paths
- Editor for QR plus timestamp workflows
- Add time and location for proof-style photos with place context
- Batch watermark when many images need the same QR layout
Final takeaway
Adding a QR code to a photo online is valuable when the image should connect directly to a broader record, asset, or delivery workflow.
The best result is usually not "a photo with a QR code somewhere." It is a clear image with a scannable code placed deliberately and paired with the right supporting context.